

With most modern Tesla vehicles you can unlock your car with your phone, or a plastic key card which contains an embedded RFID chip. Tesla gives you two cards when you take delivery. So you have those two physical black key cards, or you can use your smartphone. I’ve been just using my iPhone, but also keeping one of the key cards in my Apple MagSafe wallet just in case. I’m glad I did that because one day my Tesla wasn’t happy with my phone for some reason. I needed the key card to drive.
I’m a minimalist. I don’t like to carry things, other than my phone. I don’t even like carrying credit cards and always opt for ApplePay which is thankfully accepted at most places I frequently visit. I downsized to carrying just two or three credit cards using the Apple wallet, but now that I have the Tesla I sometimes forget to grab my wallet out of the junk drawer before I head out.
This happened this morning, forgetting my wallet which contained my driver’s license and key card. So I started looking for another way to minimize further: how can I carry only my phone with my driver’s license sandwiched in the case, but still have a backup plan of the Tesla key card? I can’t sandwich two cards between my phone and the case. Just one–so if I prioritize my driver’s license, then I don’t have a backup plan for my ride.
I started looking for alternative solutions and quickly found people melting down one of their extra key cards with acetone, removing the chip and its wiring, and stuffing it into other things. Rings seems to be the most popular, but I hate wearing jewelry (other than my wedding ring). Other popular items were bracelets, pendants, or stuffing them into keychains that have compartments for such things.
I quickly found that I backed my minimalist self into a corner. I don’t want to wear anything else, carry a wallet, or even my keys. My phone is my car key, and my Tesla (as well as my smartphone) is my garage door key. I have my phone with me 100% of my life, so why can’t I just leave the house whenever I want without filling my pockets with crap from the dark ages?
 Then it hit me. What if I melt down one of my key cards and somehow embed the Tesla RFID chip and its thin wiring to the inside of my phone case. I mean, I safely store my driver’s license in there so why not just store my license and the Tesla key card guts? Brilliant, I thought! But would it work?
Well, after about an hour of R&D in my lab (read: dicking around in my garage), it was done. I had all the tools (not that it takes much) and now my minimalist dream has came true.
The phone
I have the already absurdly large iPhone 13 Pro Max with the Apple leather case. So weight clearly isn’t an issue for me. Adding my driver’s license and a RFID chip doesn’t make much of a difference. There’s plenty of room for both, and I made it work. I’m sure if you have a normal sized smartphone it would work as well. There won’t be any difference if you have an Android phone/case.
Placement

I played around with different placements of the RFID chip and its wiring. I didn’t bother to research the iFixit teardown to proactively avoid transmitters or anything that might get in the way of the RFID. I just played with various areas.
The biggest lesson learned here is that no matter where you put it, it will work great–until you add the phone. My first idea was to put it down towards the bottom, but after putting my phone into the case it was pretty finicky. It didn’t work consistently enough for me.
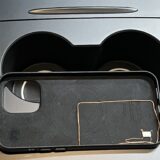
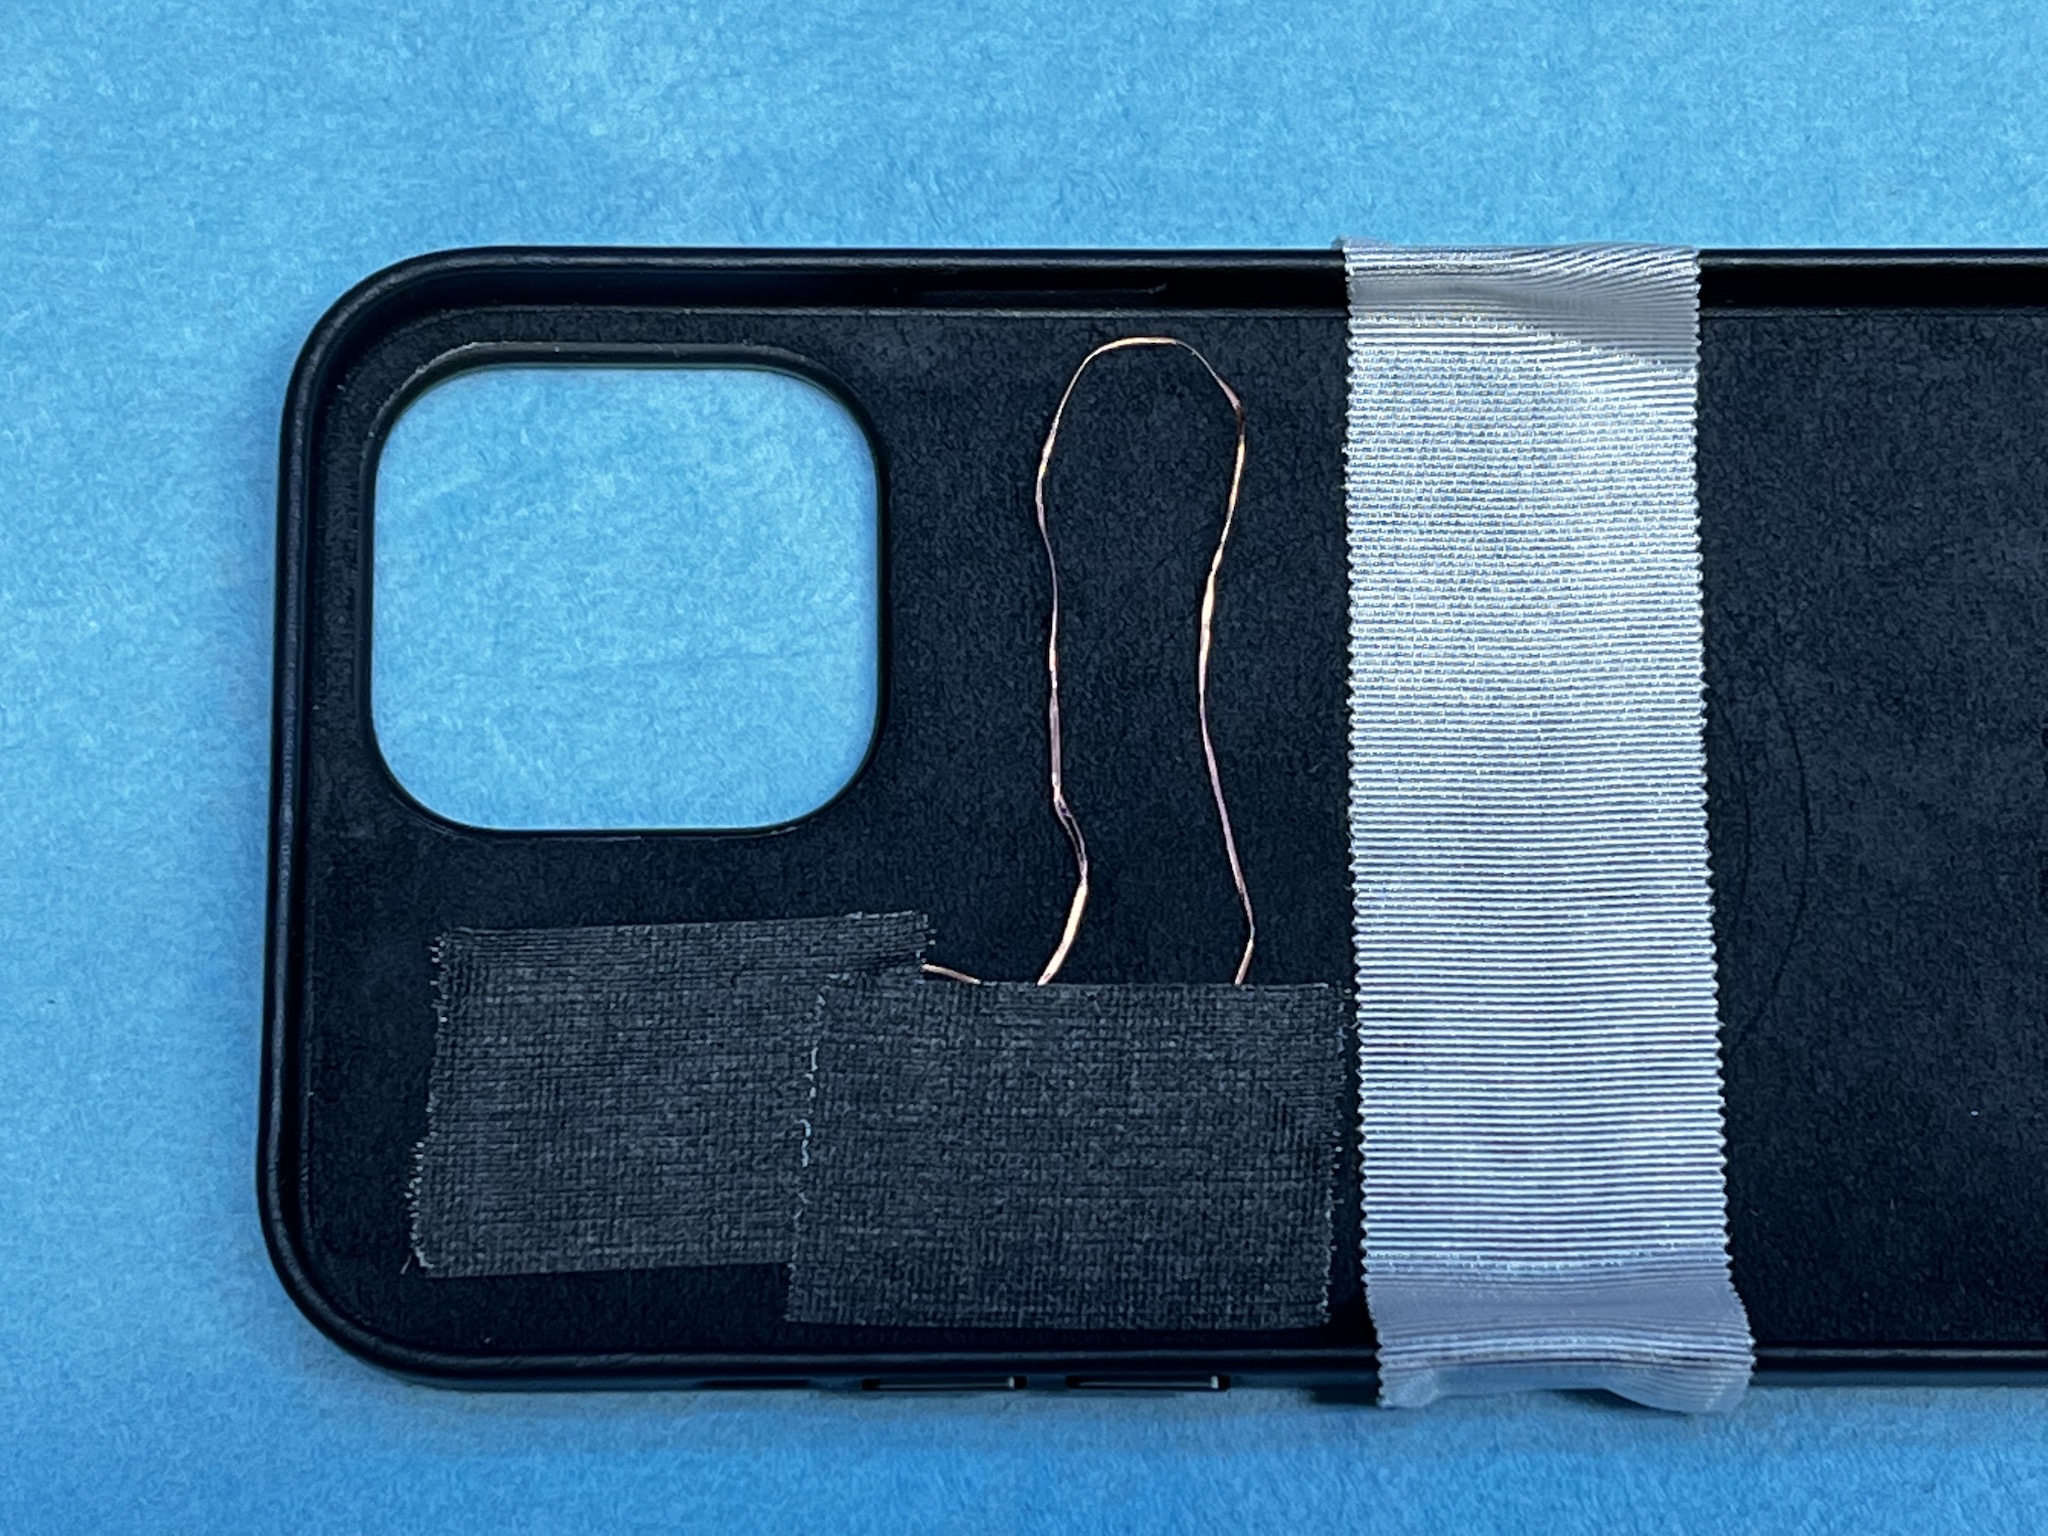
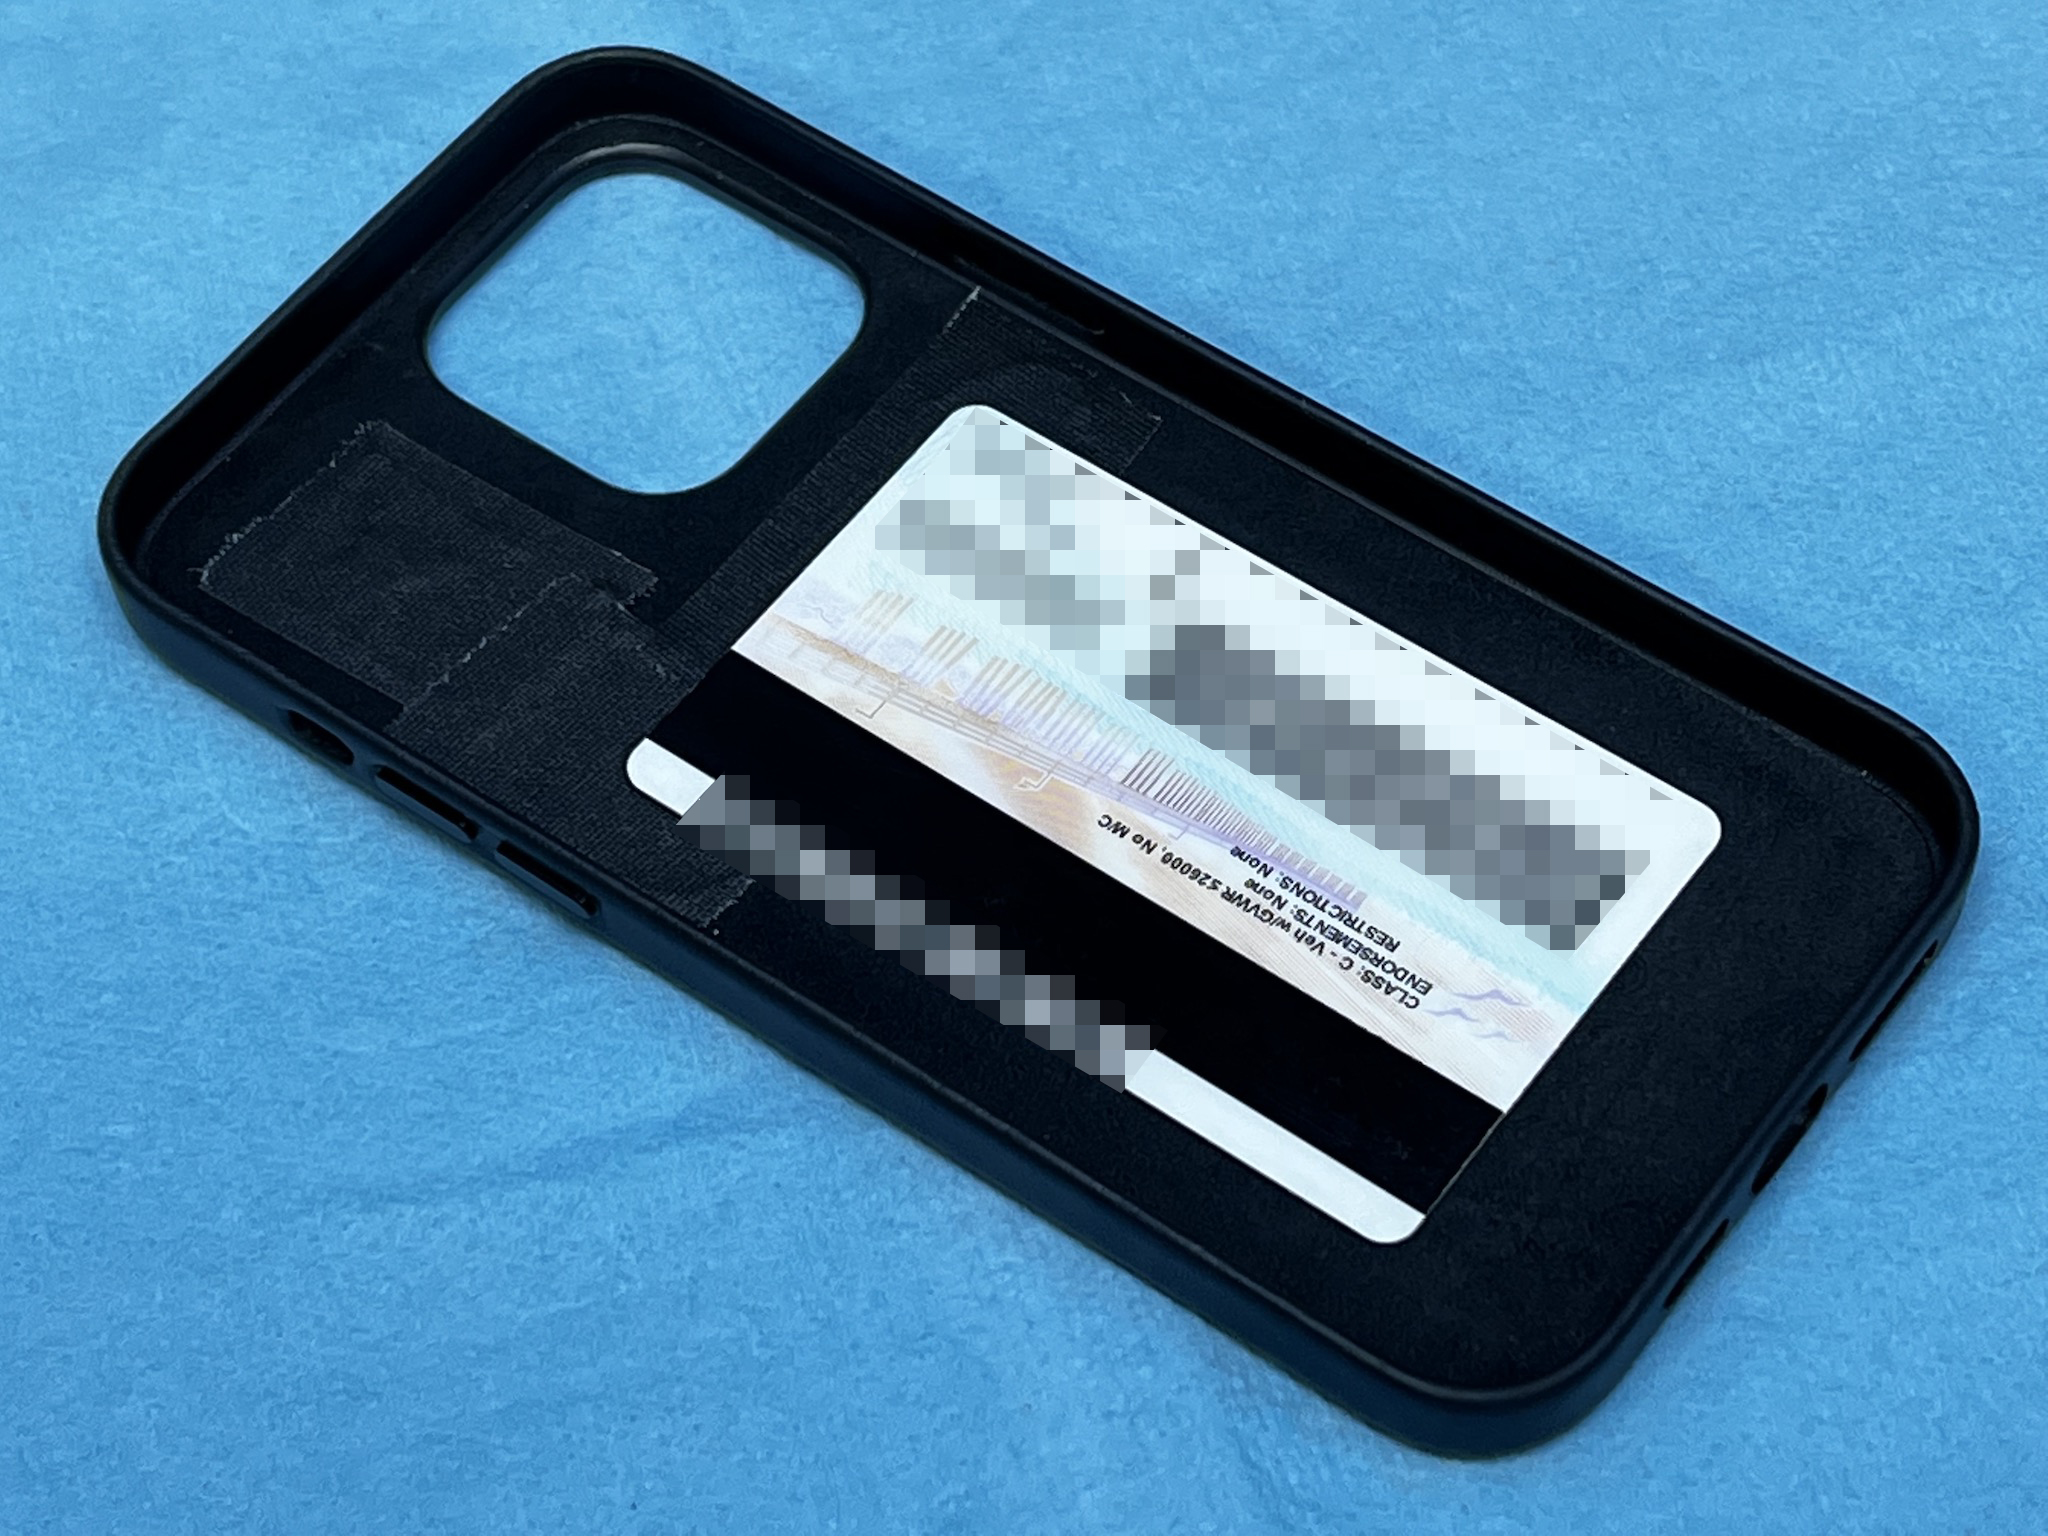
I ended up putting the chip toward the top left corner, then squiggling the wires down just above where my driver’s license would go. I forgot that my driver’s license can’t be flush with the bottom of the case… it has to be a little higher in order for the phone to fit into the case nicely so the Lightning port and speaker at the bottom align correctly. So, in the end my driver’s license sits a little on top of the RFID wires. Not a big deal.
Melting the card
 There are plenty of videos and forum posts already about this, so I won’t go into detail. I just grabbed some ceramic container we had in the kitchen and my bottle of acetone that is probably 20 years old. Whatever you do, don’t use a plastic cup or it too will melt. Use something that’s glass, ceramic, or metal. I also made the mistake of putting too little acetone in. After a few minutes (it really doesn’t take long), it starts to curl up and I ended up adding more.
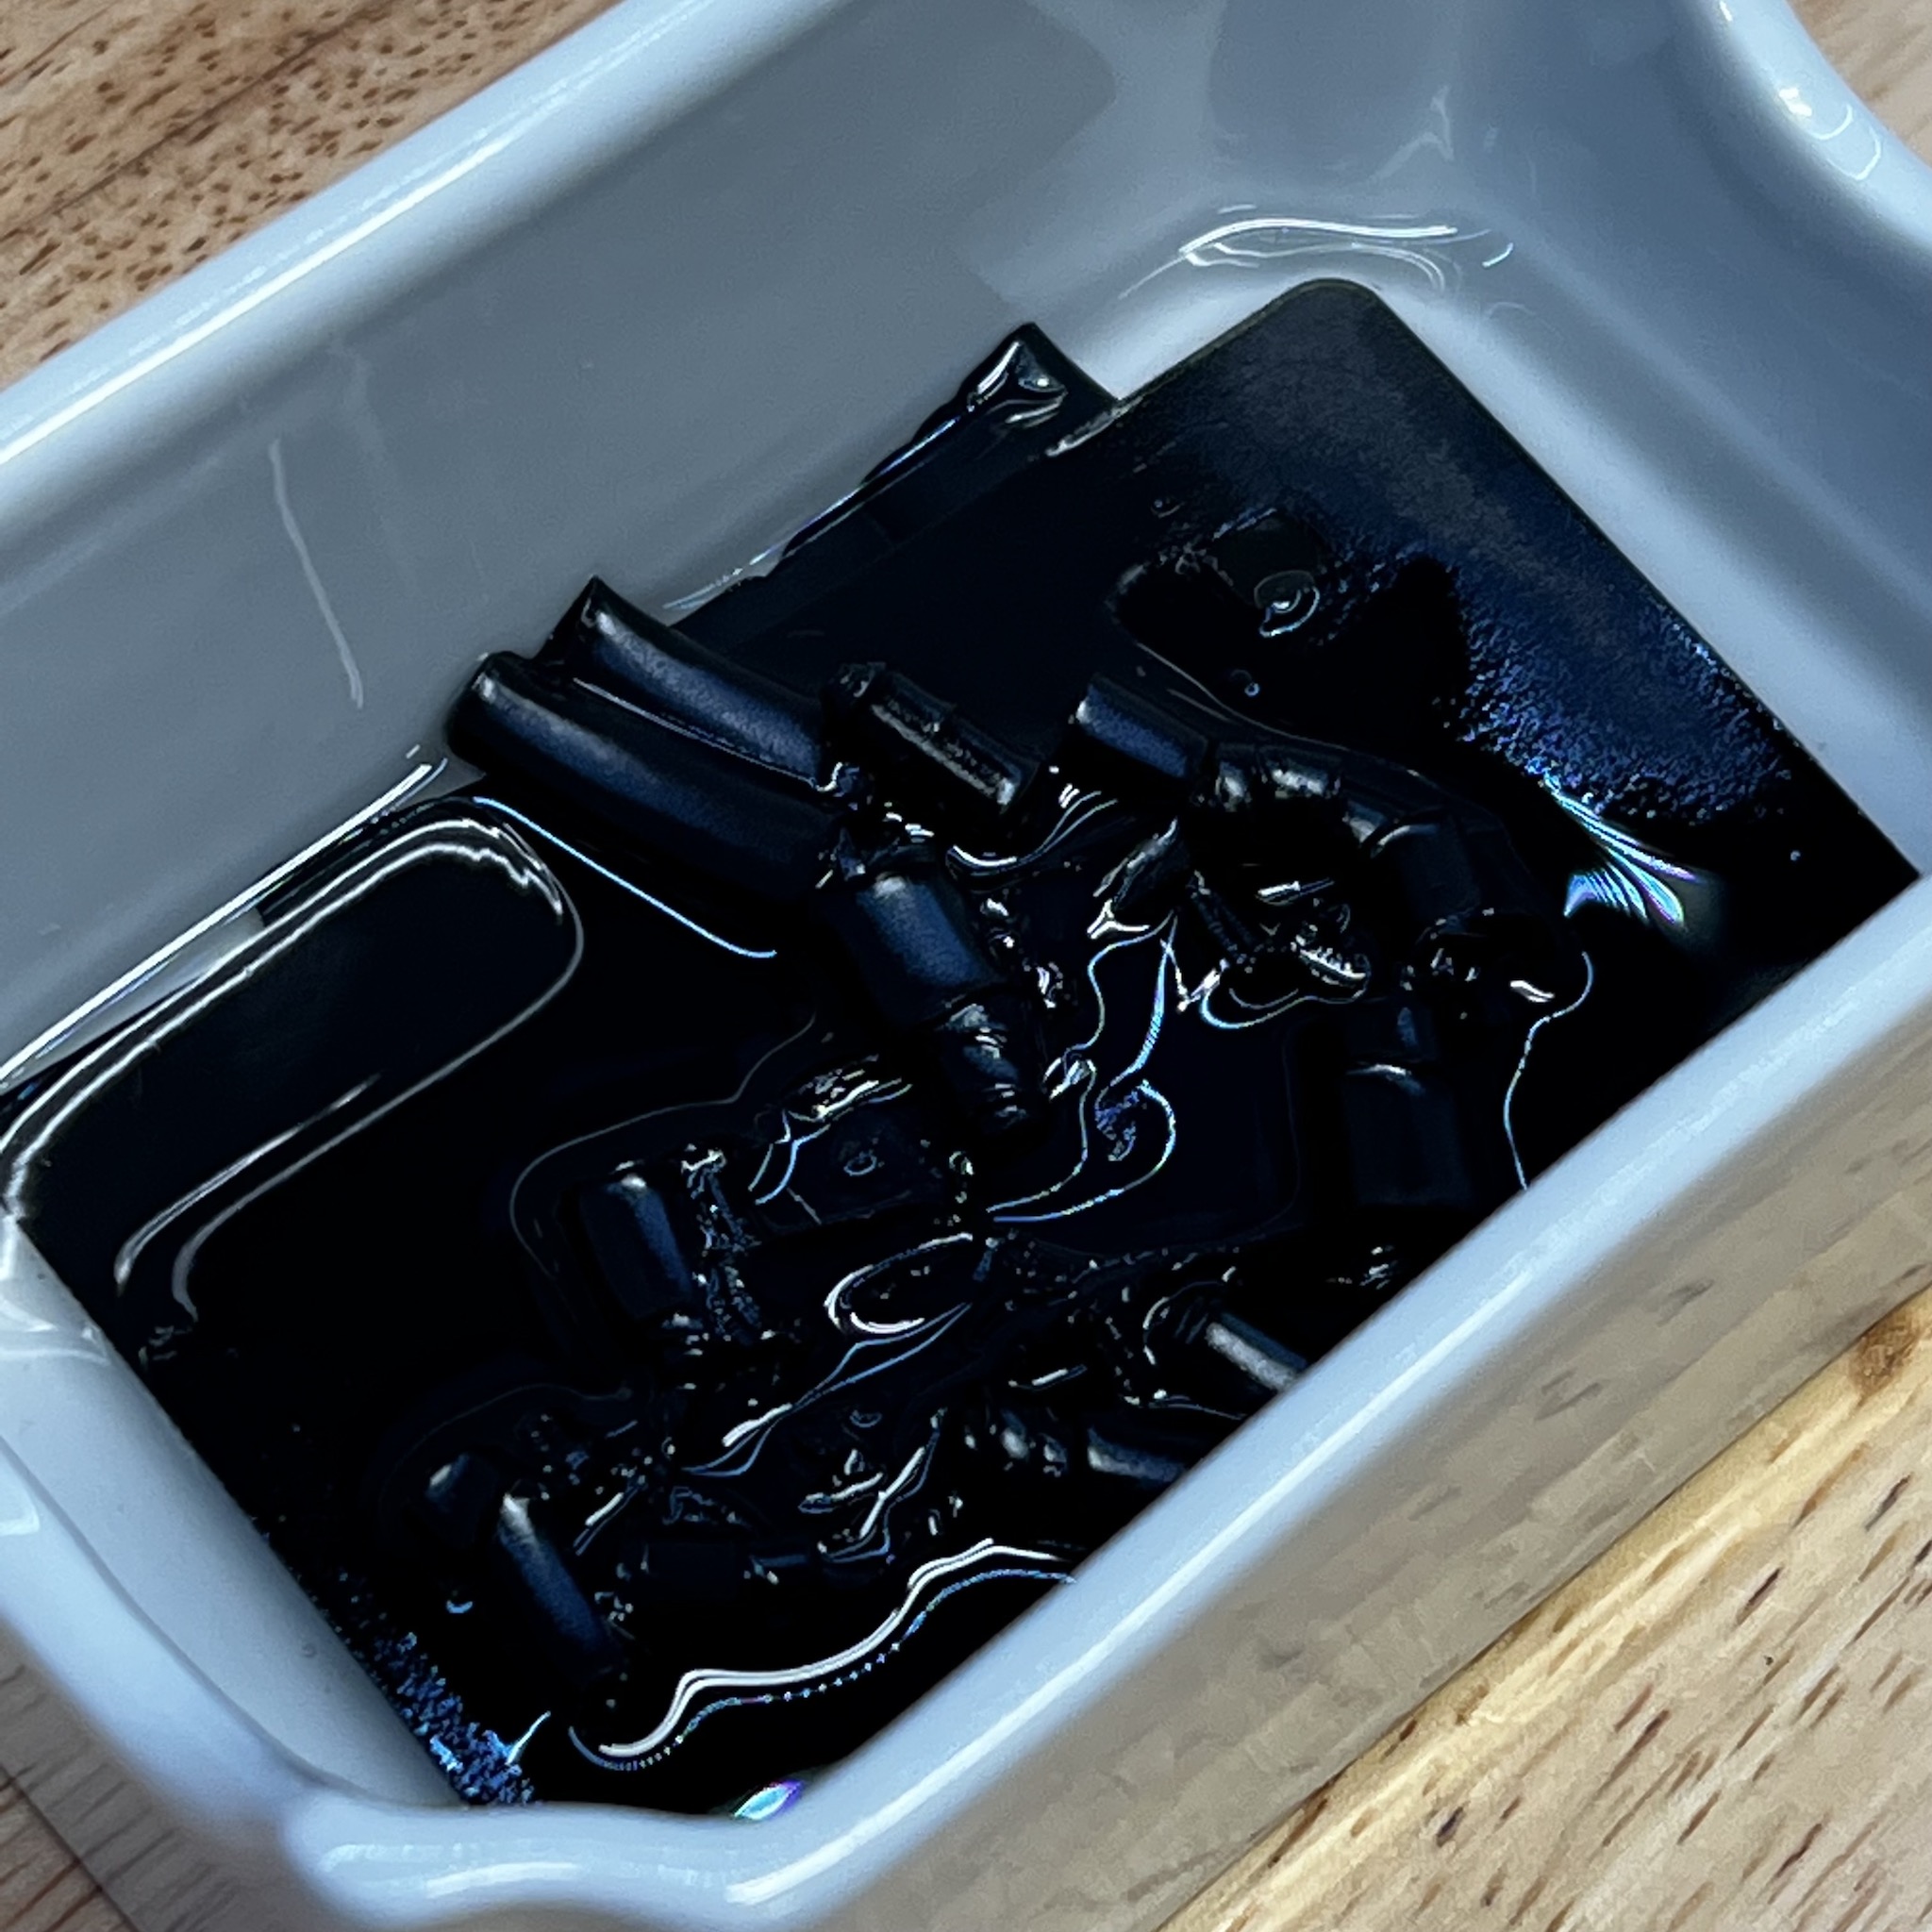
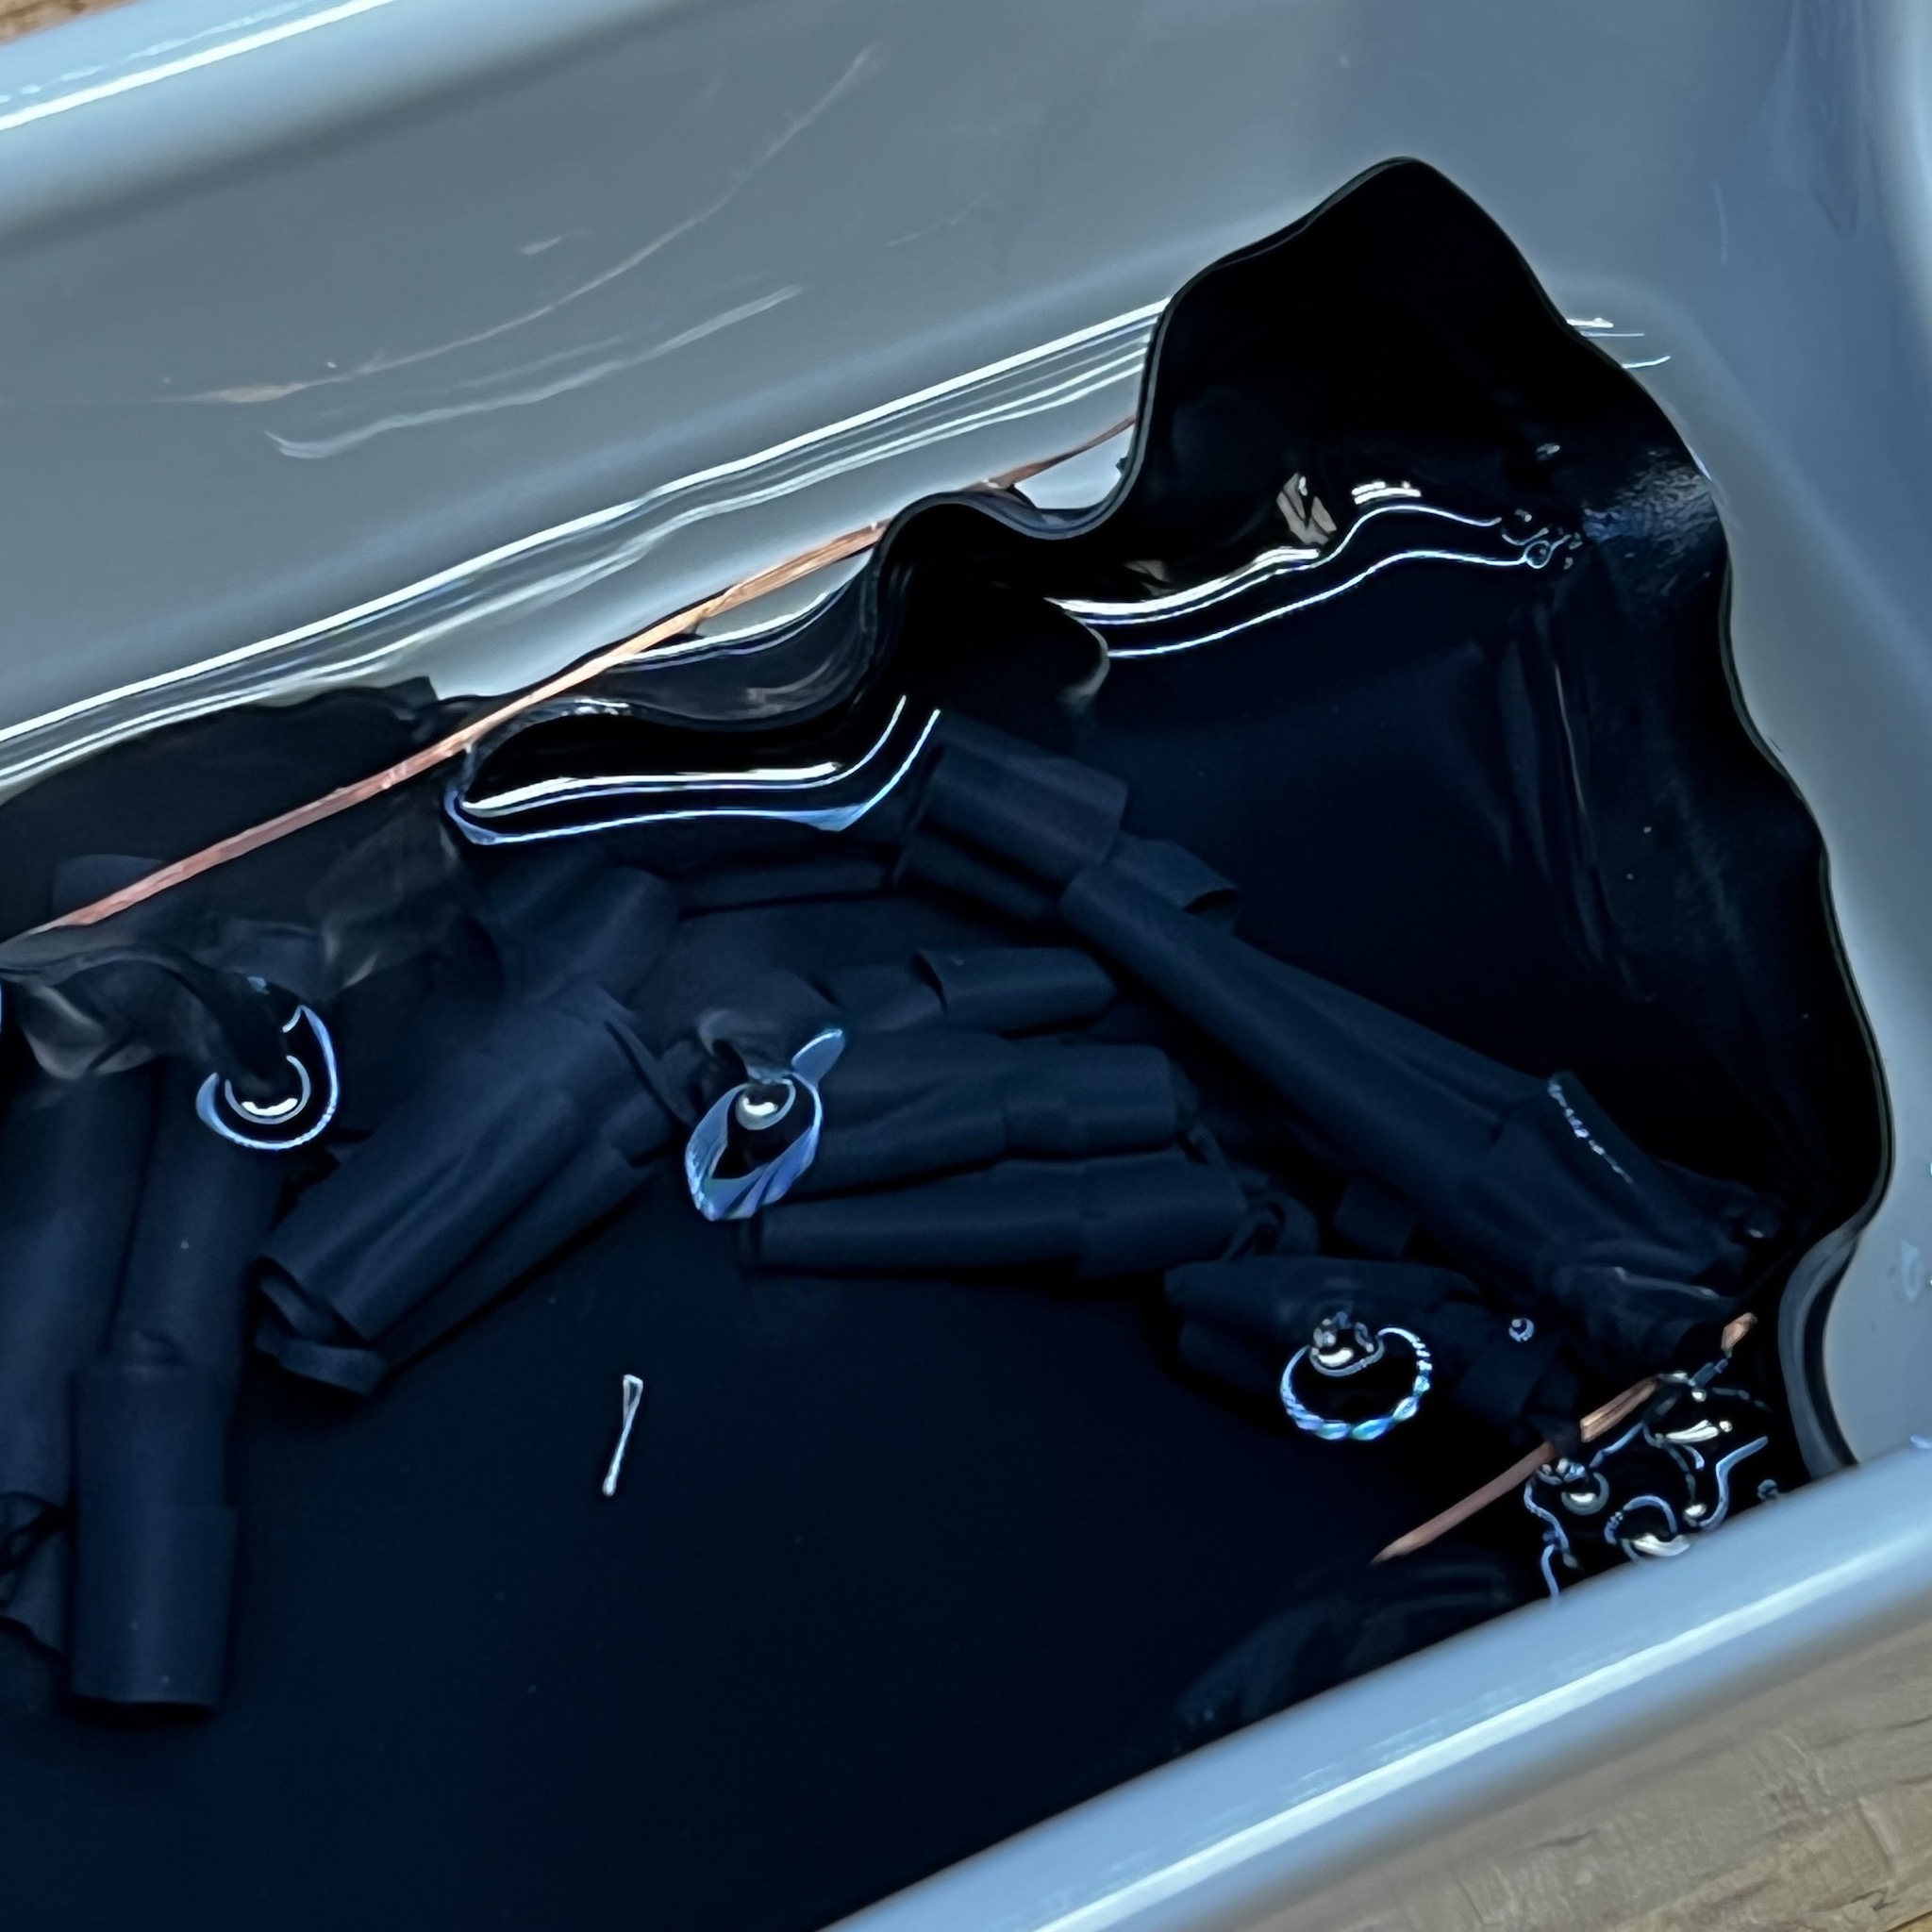
For me and my ancient acetone, it took about 28 minutes and I was able to use my needle-nose pliers to easily extract the RFID chip and its wiring from the plastic mess. Acetone is some amazing stuff… but remember to always wear eye and hand protection. You do not want this stuff spraying into your eyes.
Cutting the RFID wires
Don’t cut the RFID wires. If you do, your only course of action is to solder them back together or pay $35 for a new key card. Will it still work? I’m not willing to find out. I heard you lose the signal strength entirely or substantially. I really wanted to cut them and have the wires go around the edge of the case. But then again, I also wanted it to work!
Adding the RFID chip and wires to my iPhone case
I initially thought I’d be cool and maybe slice some plastic out of the inside edges in order to “bury” the wires, then glue them in place (like spot weld some superglue) but then I thought hell–that would be a crap-ton of work and I’d probably end up ruining my nice $50 iPhone case.
The entire RFID unit is so damn thin, why not just tape it on! In reality you can use any tape you want (even Scotch tape or packaging tape), but I chose gaffer tape because it is super thin but also has a soft cloth-like top. It is also easy to remove without ruining what you adhere it to and leaving a lot of goop behind. I also have some toupee tape that I sometimes use for hiding lav mics. That would have worked just the same.
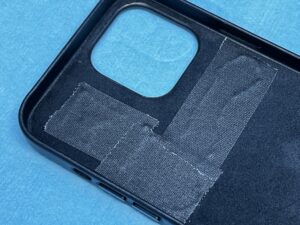
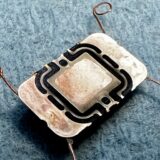
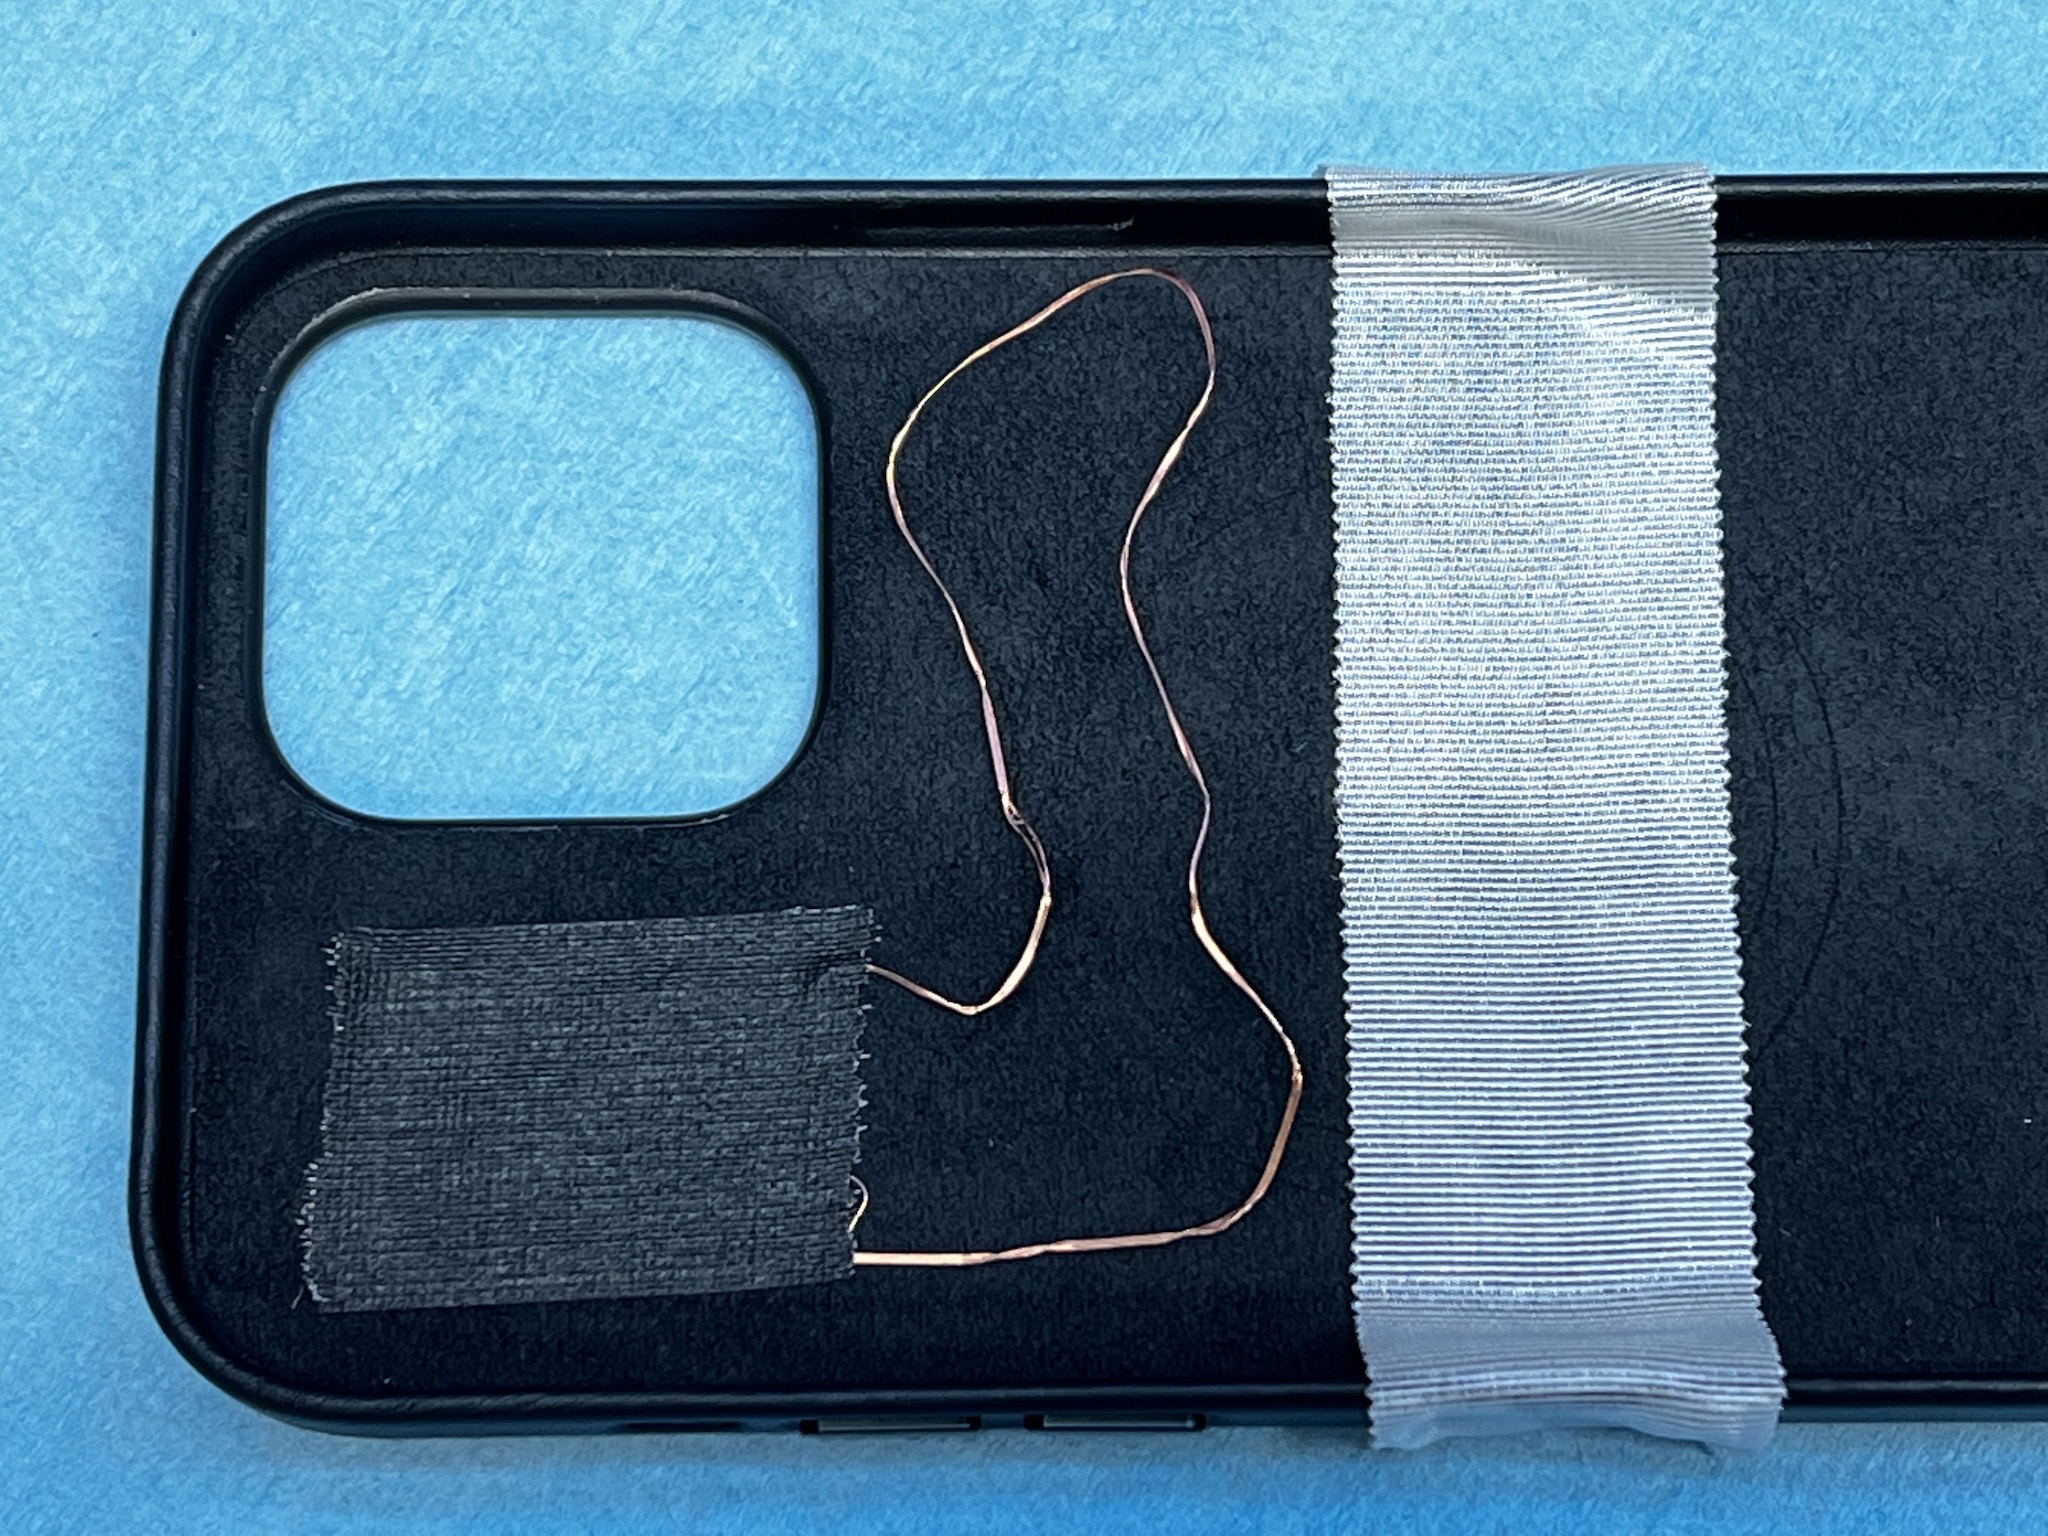
After giving the unit an initial few bends, I secured the chip down along with some of its wiring with one piece of tape, bent the remaining wiring a little more to form it to where I wanted it to go, added a 2nd piece of tape, and then formed it again and secured it with a 3rd.
That was basically it.
Final testing
After I was all done with my DIY Tesla key card RFID iPhone case “lifehack” (ewww I feel dirty for using that overused term), I headed back into the car one more time to pat my minimalist self on the back for a job well done. But wait–it didn’t work as well as before–before I taped it down. What was the deal? I first tried turning off WiFi, thinking maybe that radio was causing interference. Nope. Then I turned off Bluetooth. No change. Damn! Damn! Damn! I turn the damn phone off. Arggggh! No change. I took my driver’s license out. It’s still impossible to get to work. What have I done?! Was it the tape? That’s the only thing I changed after my pre-taping testing!
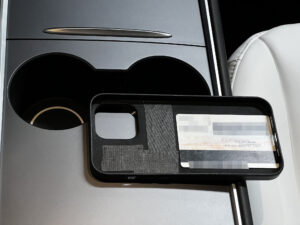
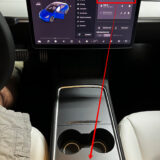
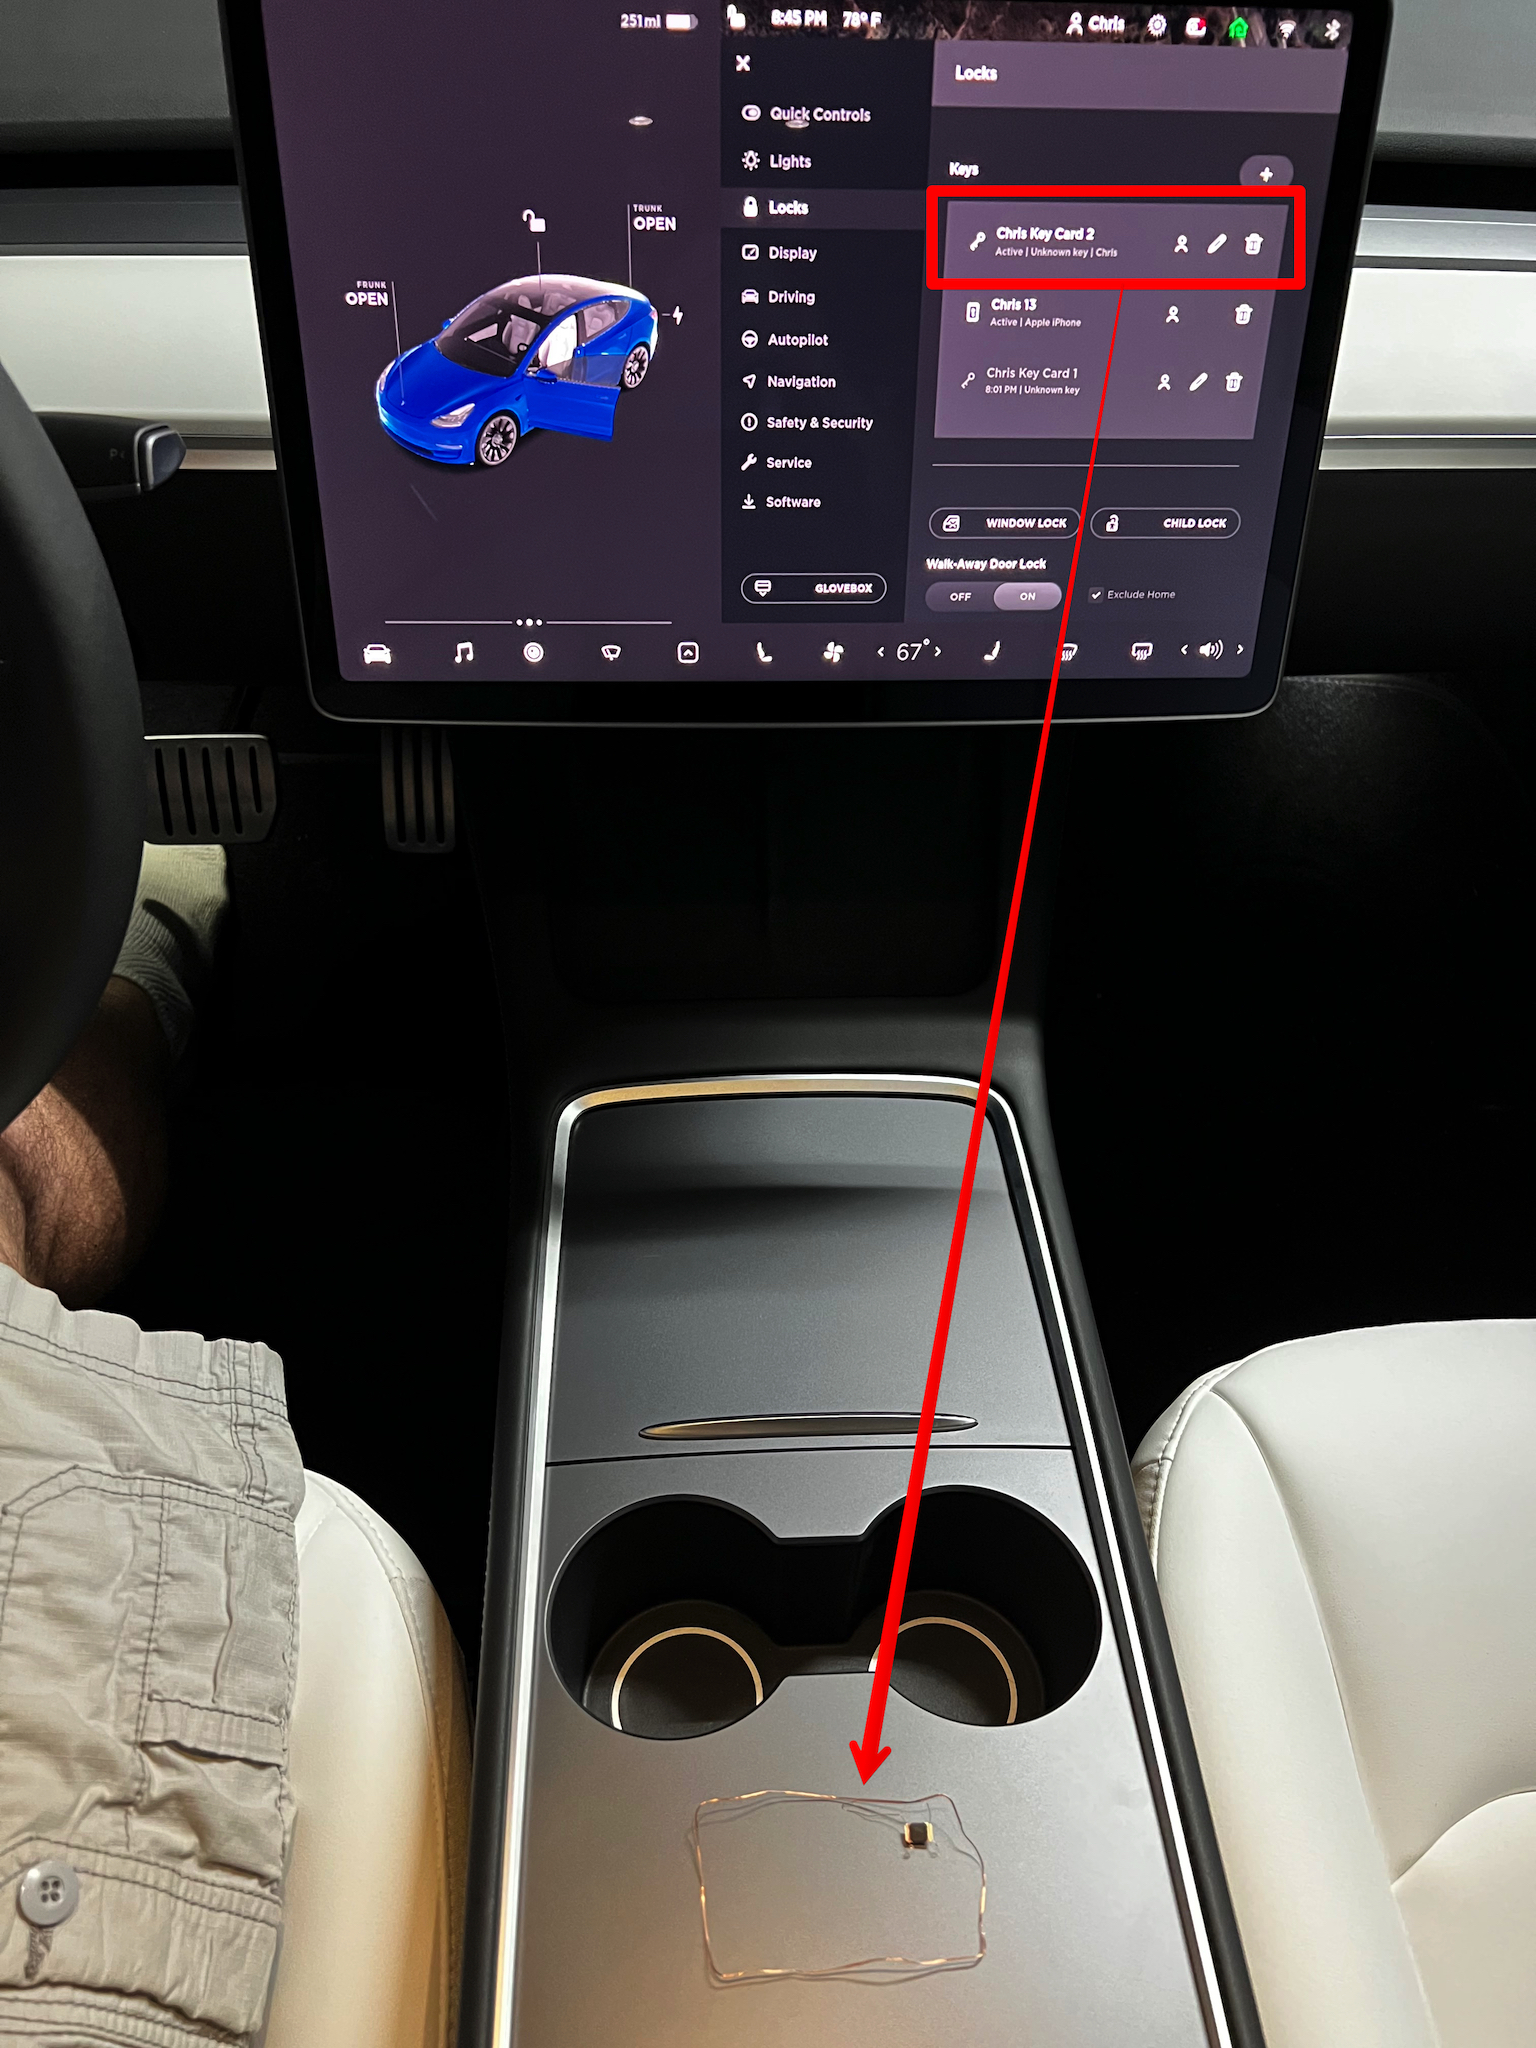
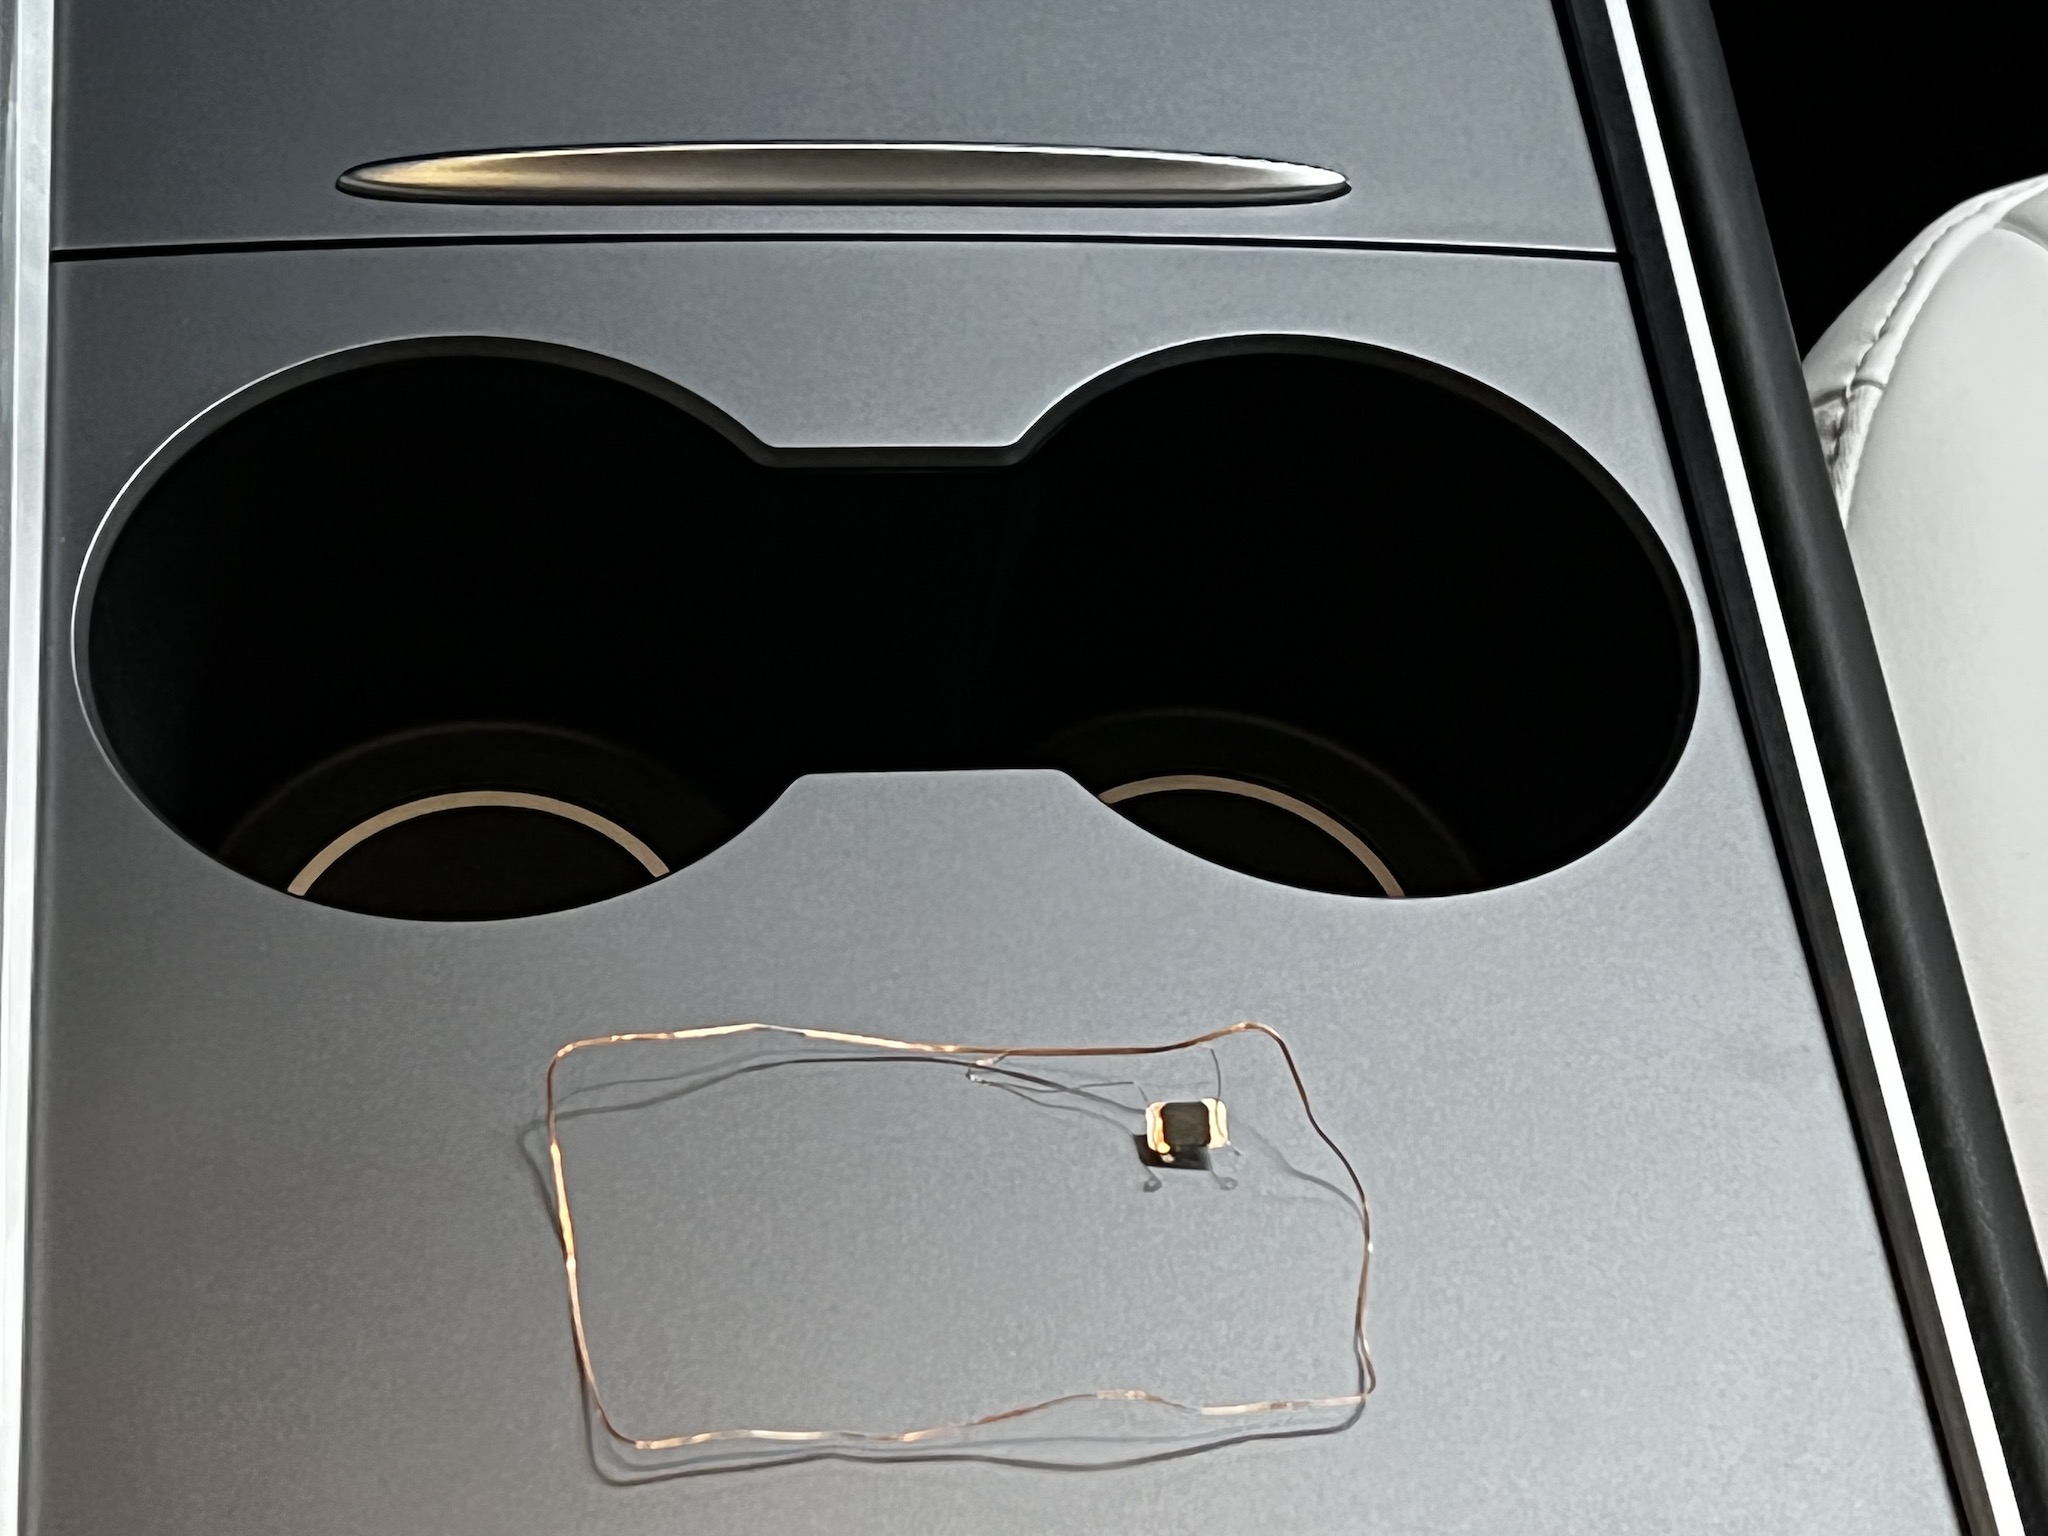
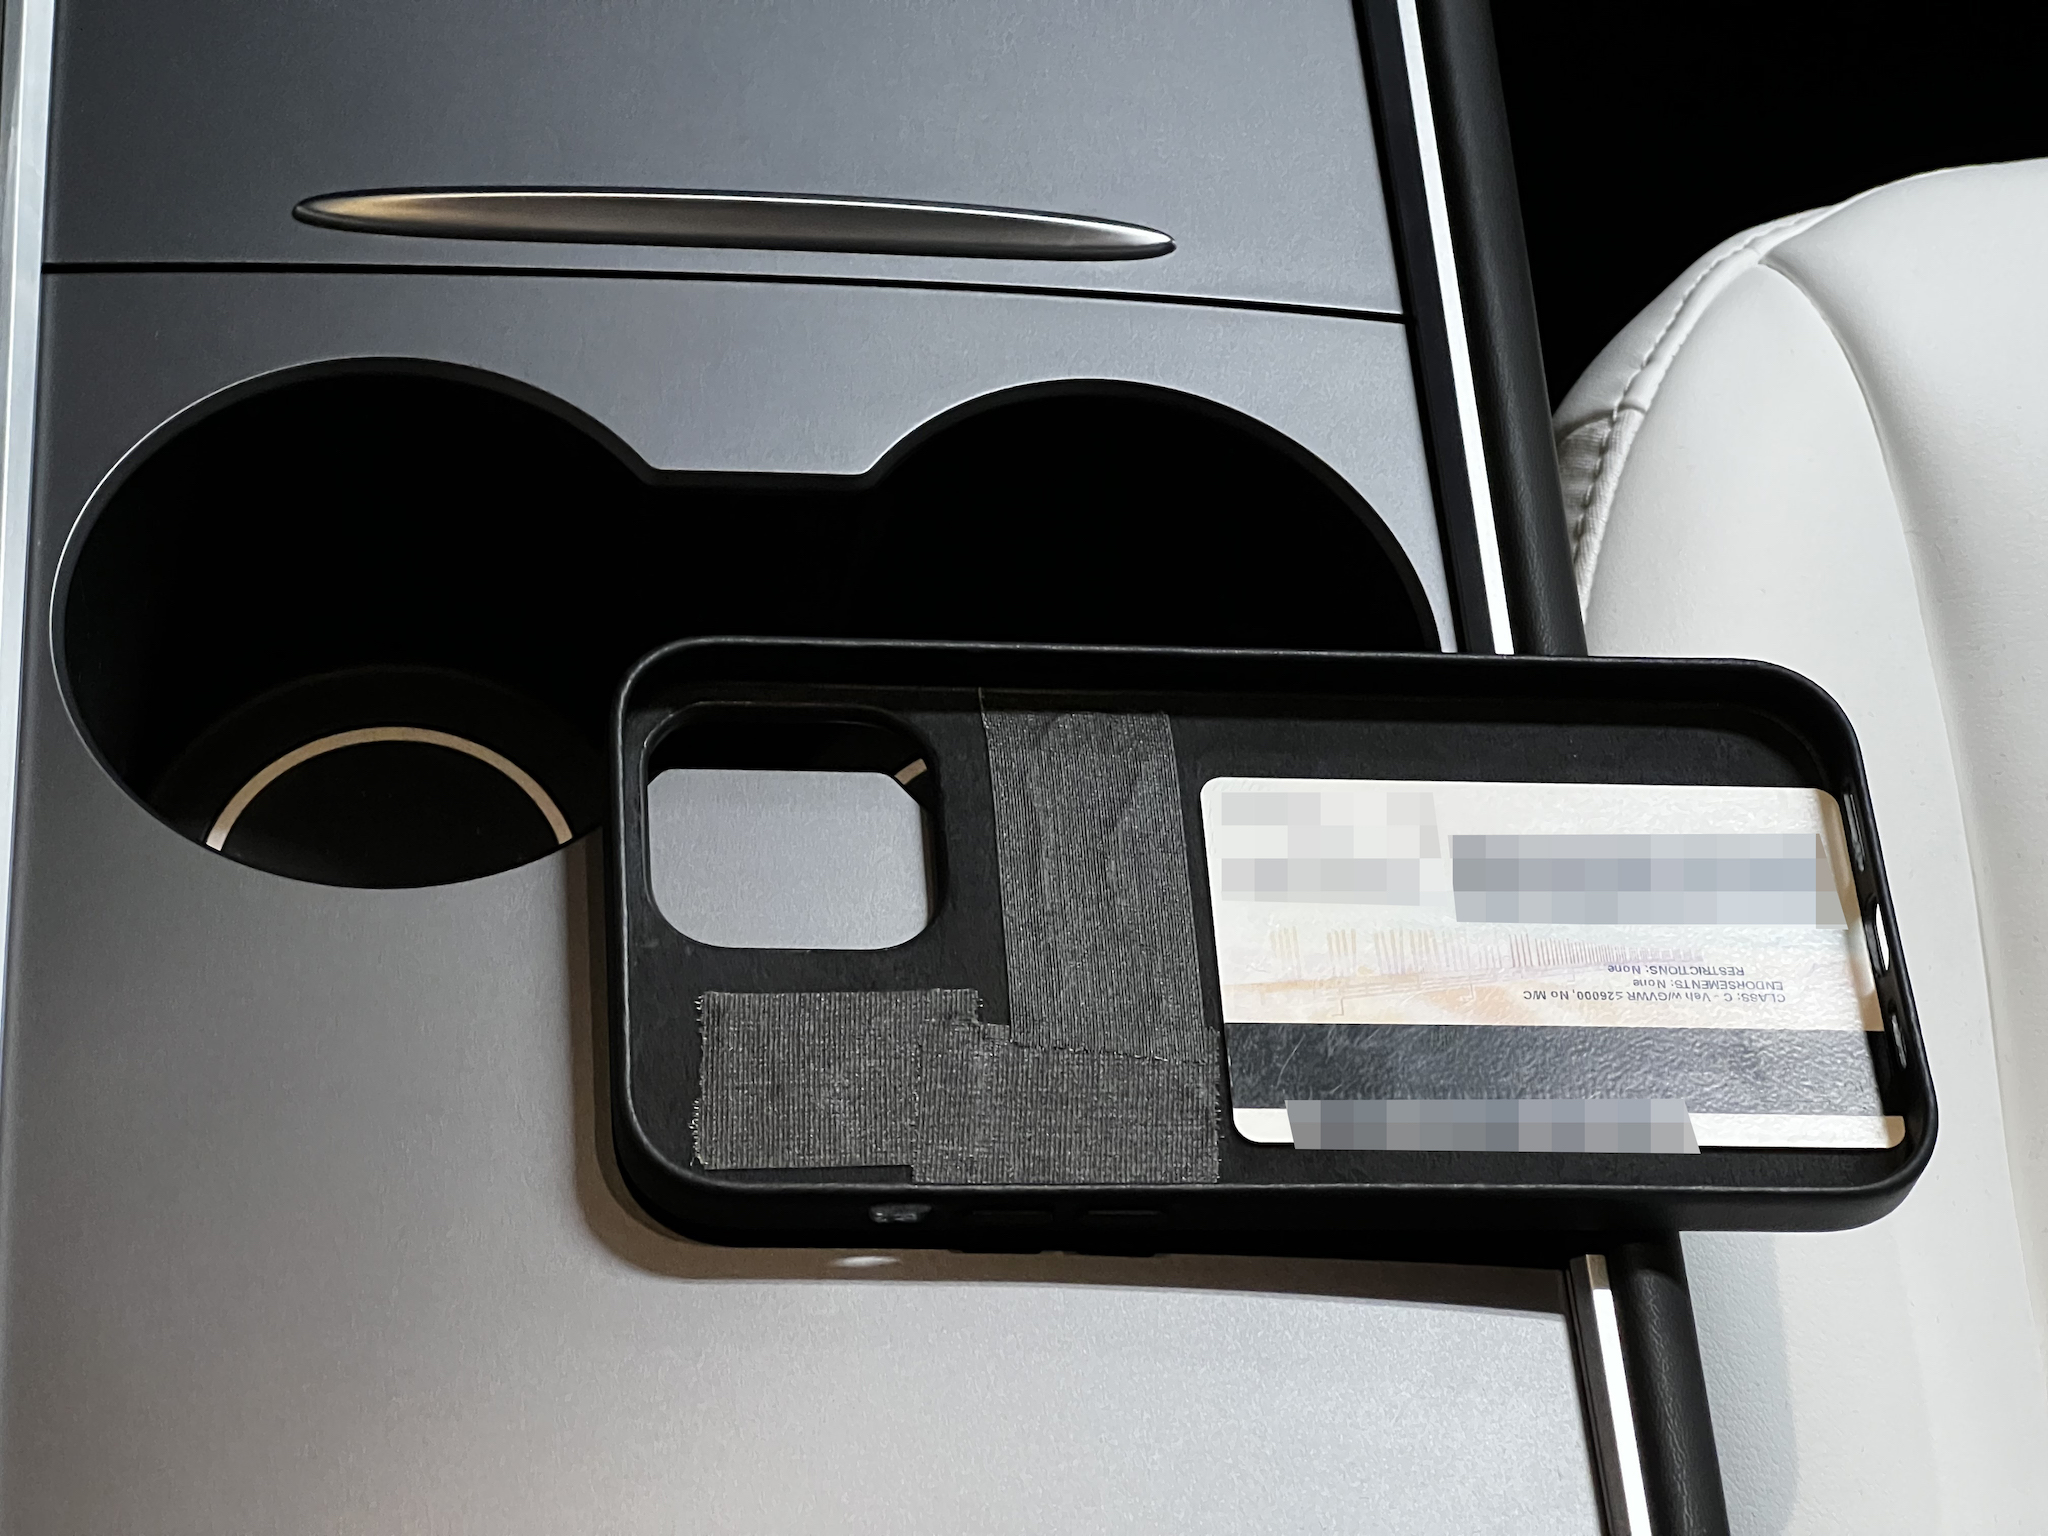
It wasn’t any of that. It’s just placement. It is finicky. It does work. For behind the cup holders I have to place the RFID chip directly in the center. Without the case, you can put it anywhere! But with the case, you have to be very specific. Once I figured it out, I was able to nail it every time.
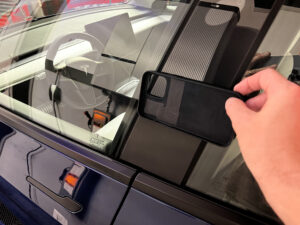
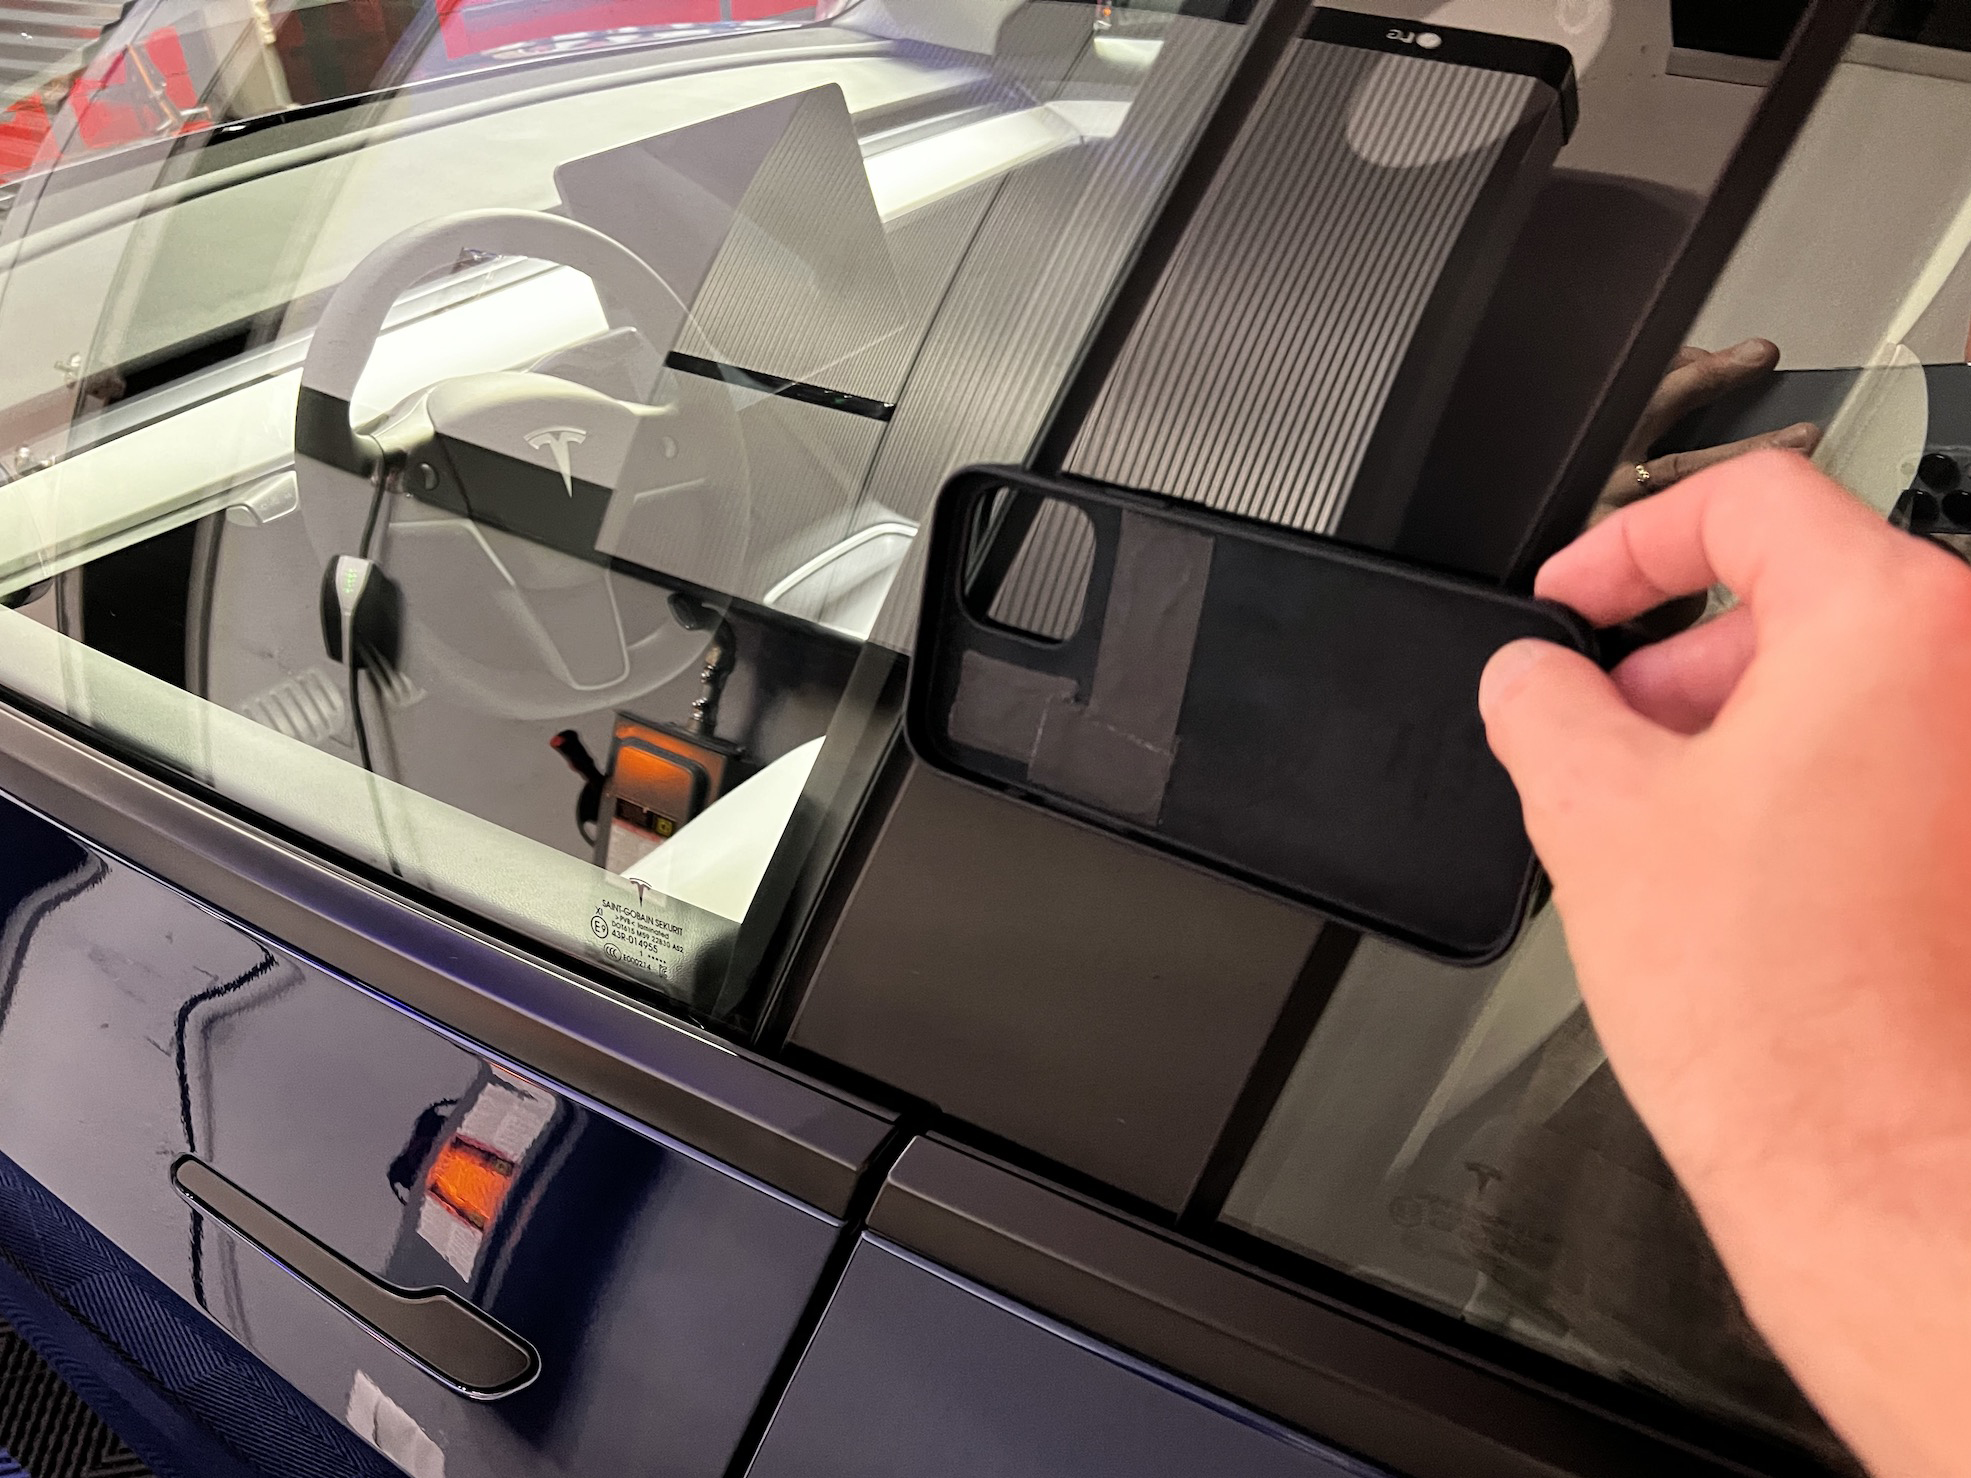
Outside, using my iPhone-embedded Tesla RFID key was even trickier. But I finally figured it out and now I can nail it every time too. There’s a sweet spot and once you figure it out, you’ll have success.
Closing thoughts
If’n the damn thing doesn’t work with the phone in the case, take it out! Then your smartphone case-turned-RFID Tesla key is just as effective as the black key card Tesla gave you. Put it anywhere close and ka-chow–magic happens.
So, not the end of the world if you have to take your phone out. For me, having to use the RFID key instead of my phone key is going to be a rarity. It’s a backup plan in case my car rejects my phone key for some reason, or if my phone dies (which never happens).
My final note is that having the RFID chip and its wiring, plus my driver’s license, does not cause any issues with wireless charging… both inside my car (below the screen) or at home. Also, the phone sits properly inside the case with enough of a lip of the case to protect the screen when putting it face-down.
TL;DR
- Melt your Tesla key card in acetone for about 30 minutes
- Tape the RFID chip and wiring to the inside of your phone case
- Bob’s your uncle
Photos
If you followed along with my wordy story of how I transplanted the guts of a Tesla key card into my iPhone case and want to see the purty pictures I took, well you’re in luck. Click away…
-
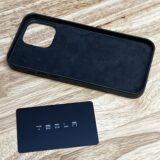
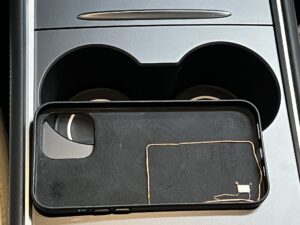
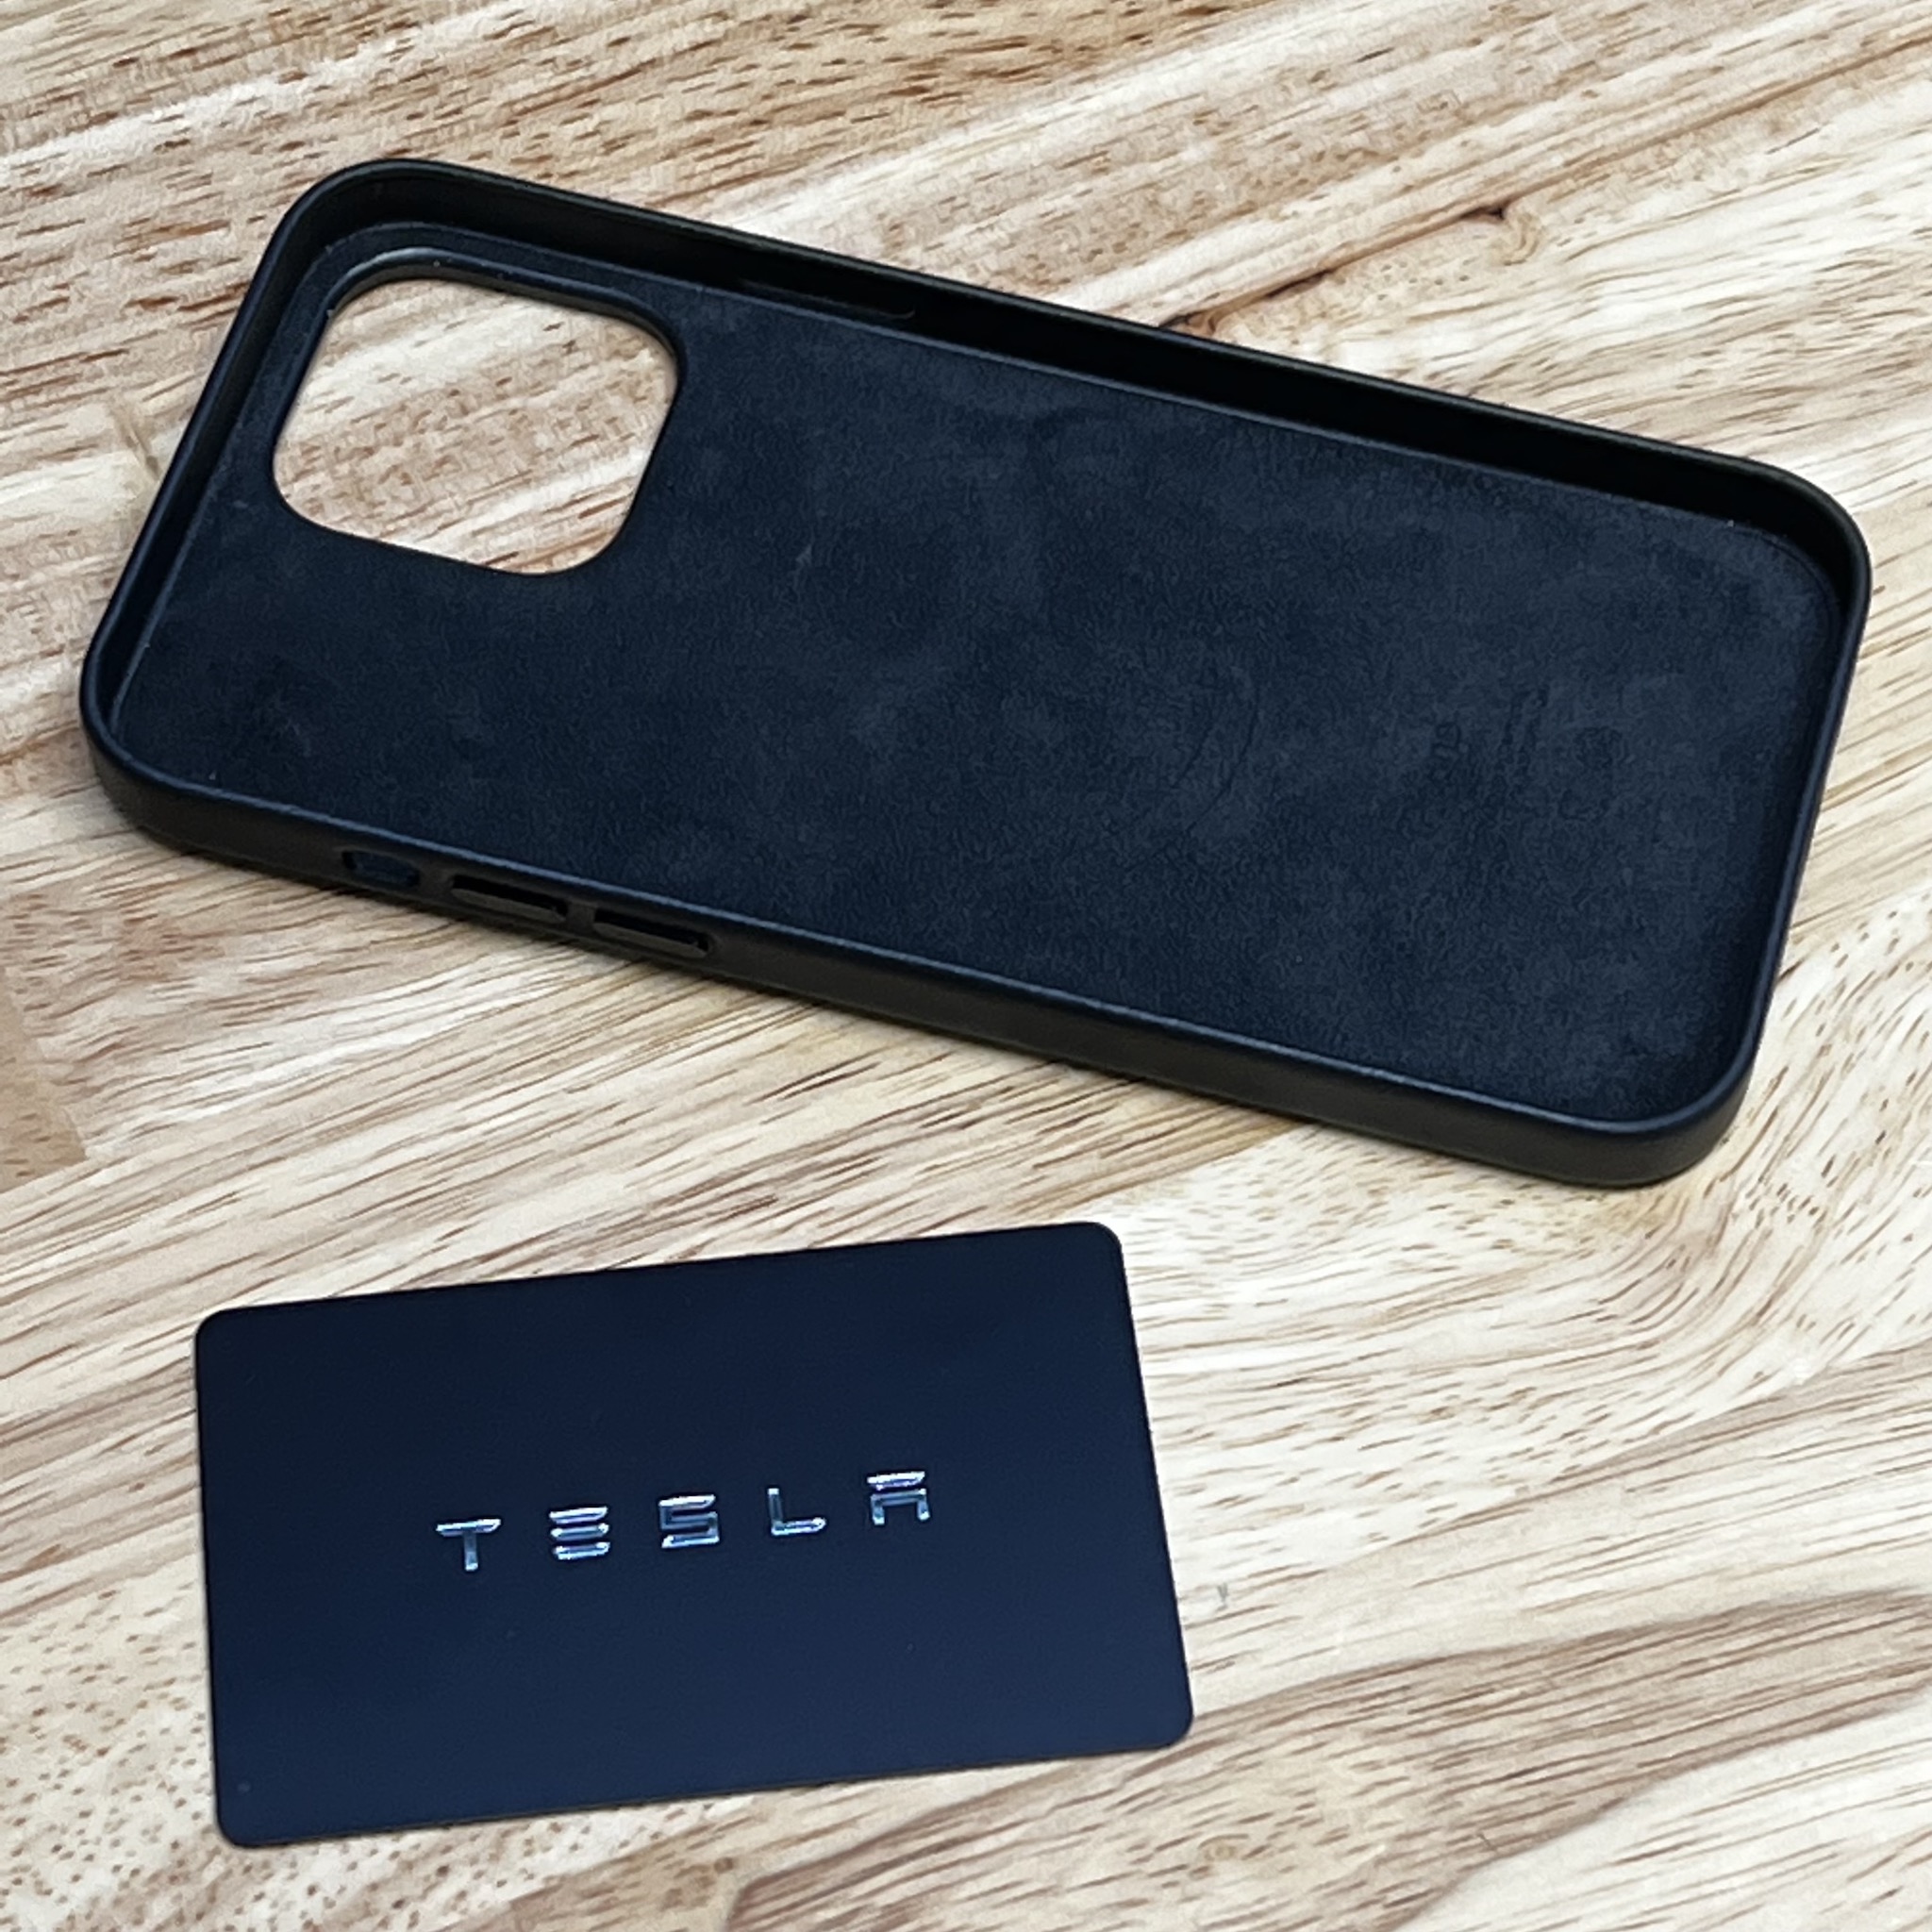
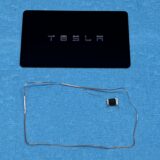
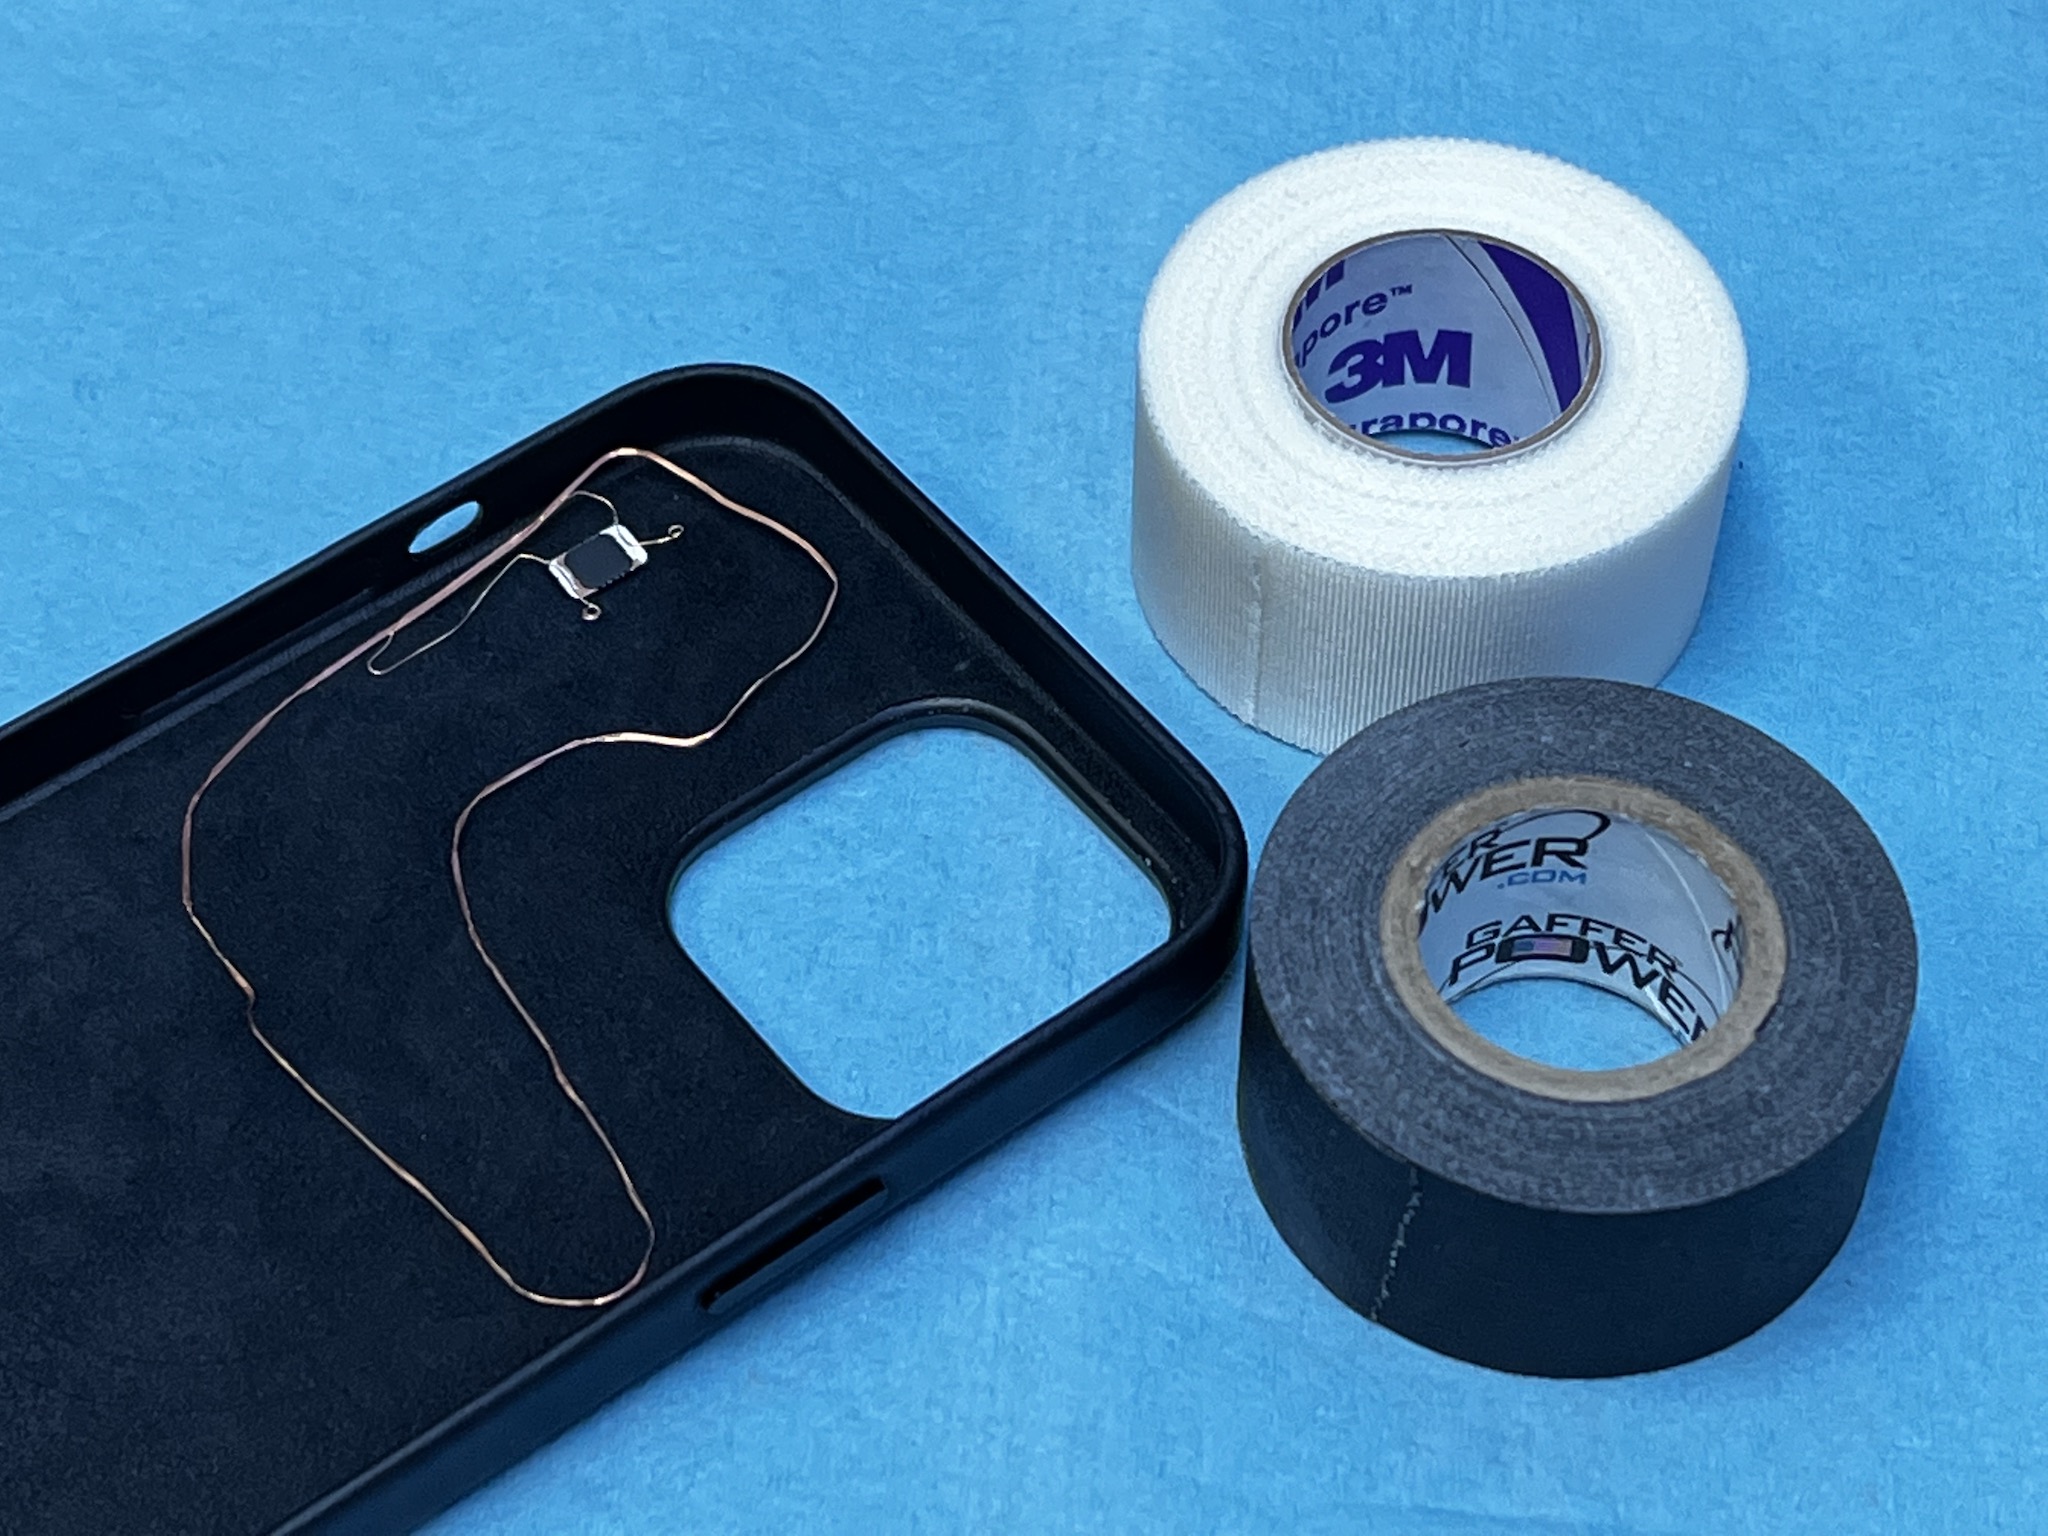
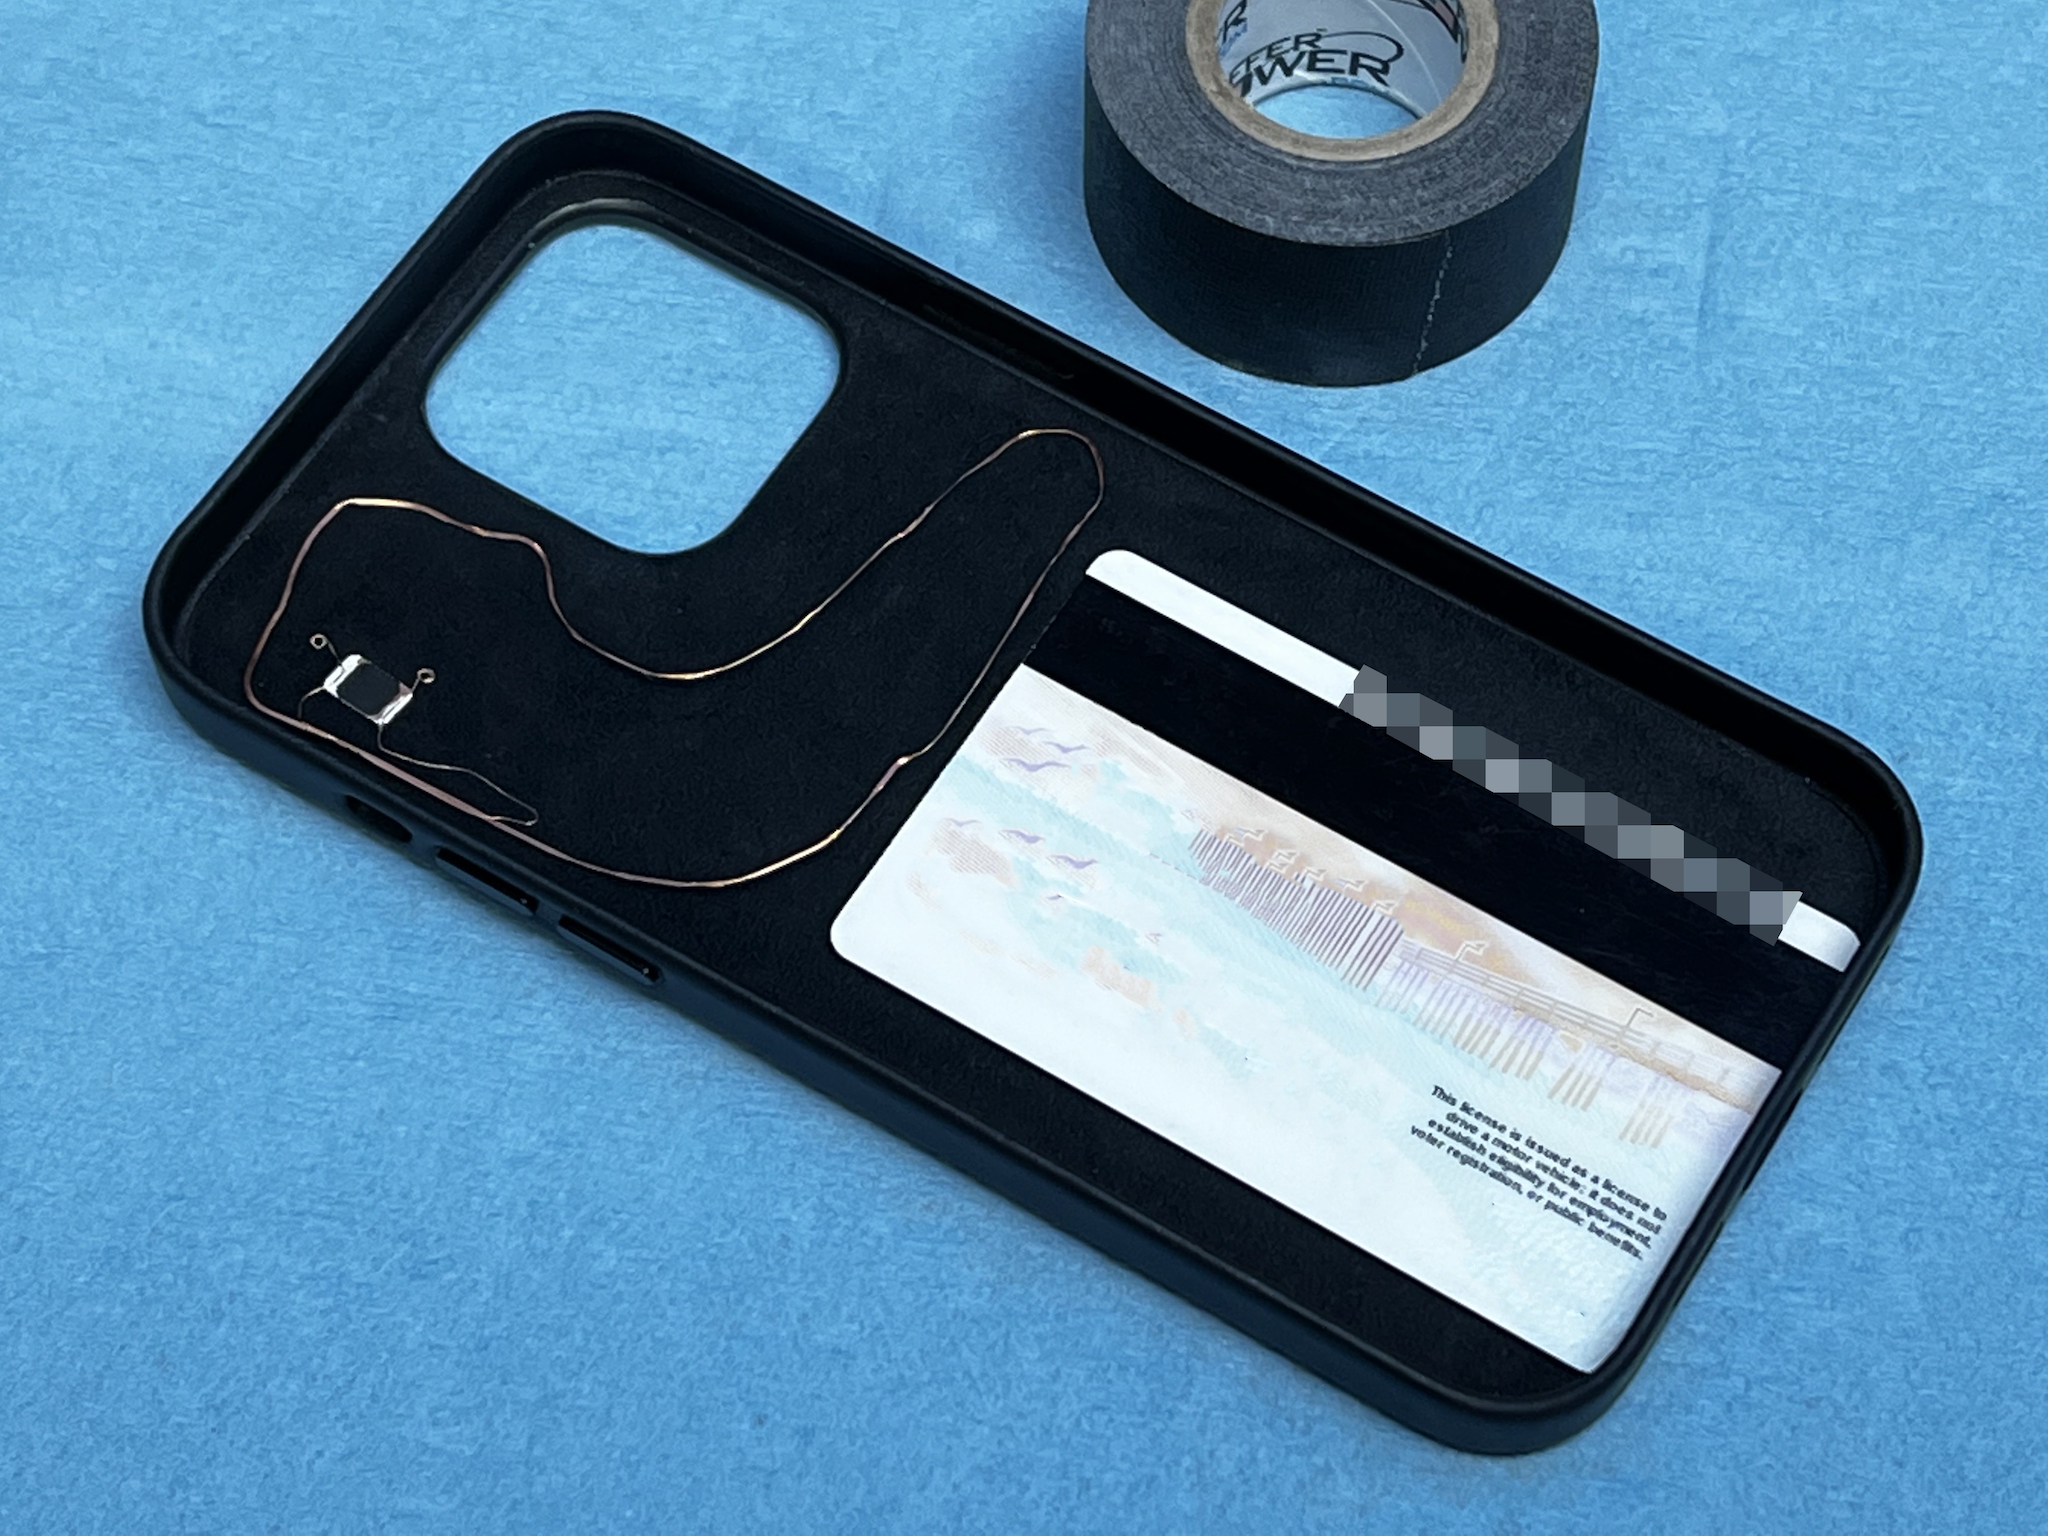
- The goal: put the guts of the card inside that iPhone 13 Pro Max case
-
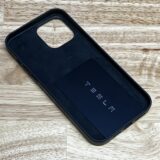
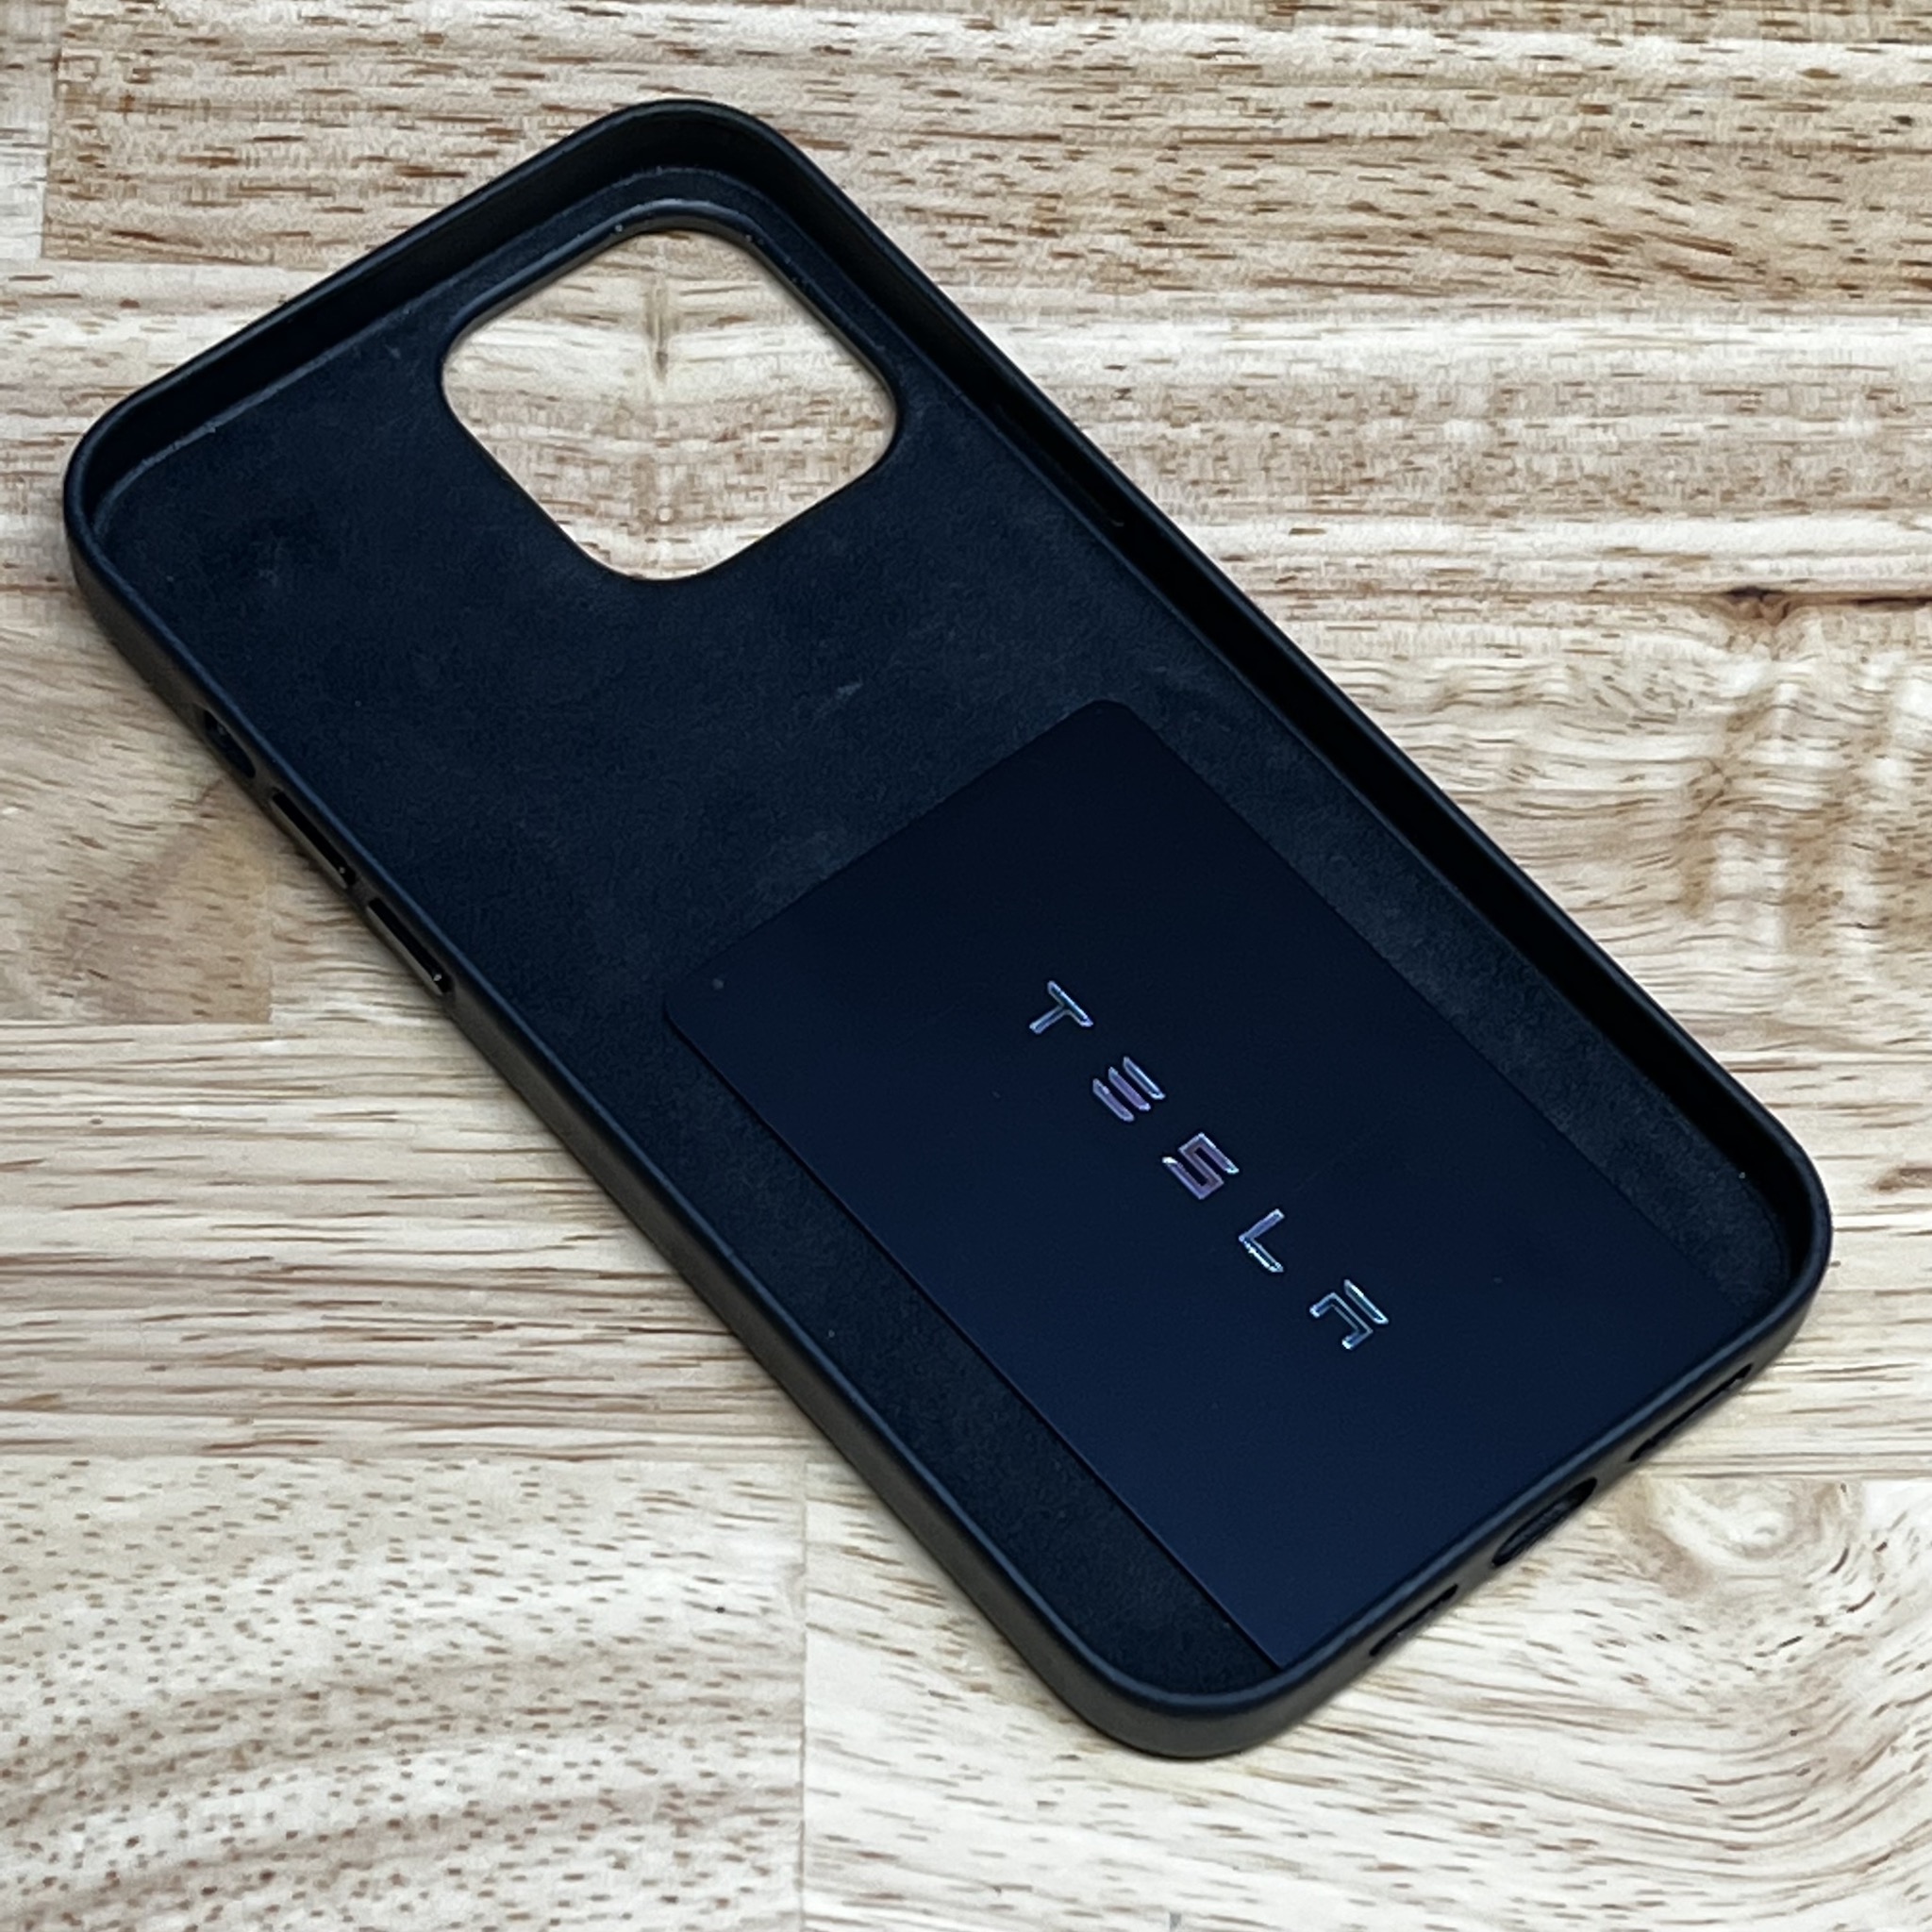
- This actually works GREAT! However, I need that single card space for my driver’s license
-
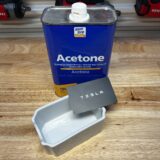
- I recommend using something larger than this sugar organizer. A small mug or glass will be better

-

- You’re in trouble now, buddy

-

- A few seconds later the logo starts to come off

-

- I’m melting… MELTING!
-

- The wires clearly visible now
-
- What it looks like inside the key card (same positioning)

-
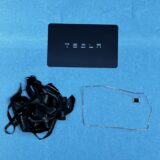
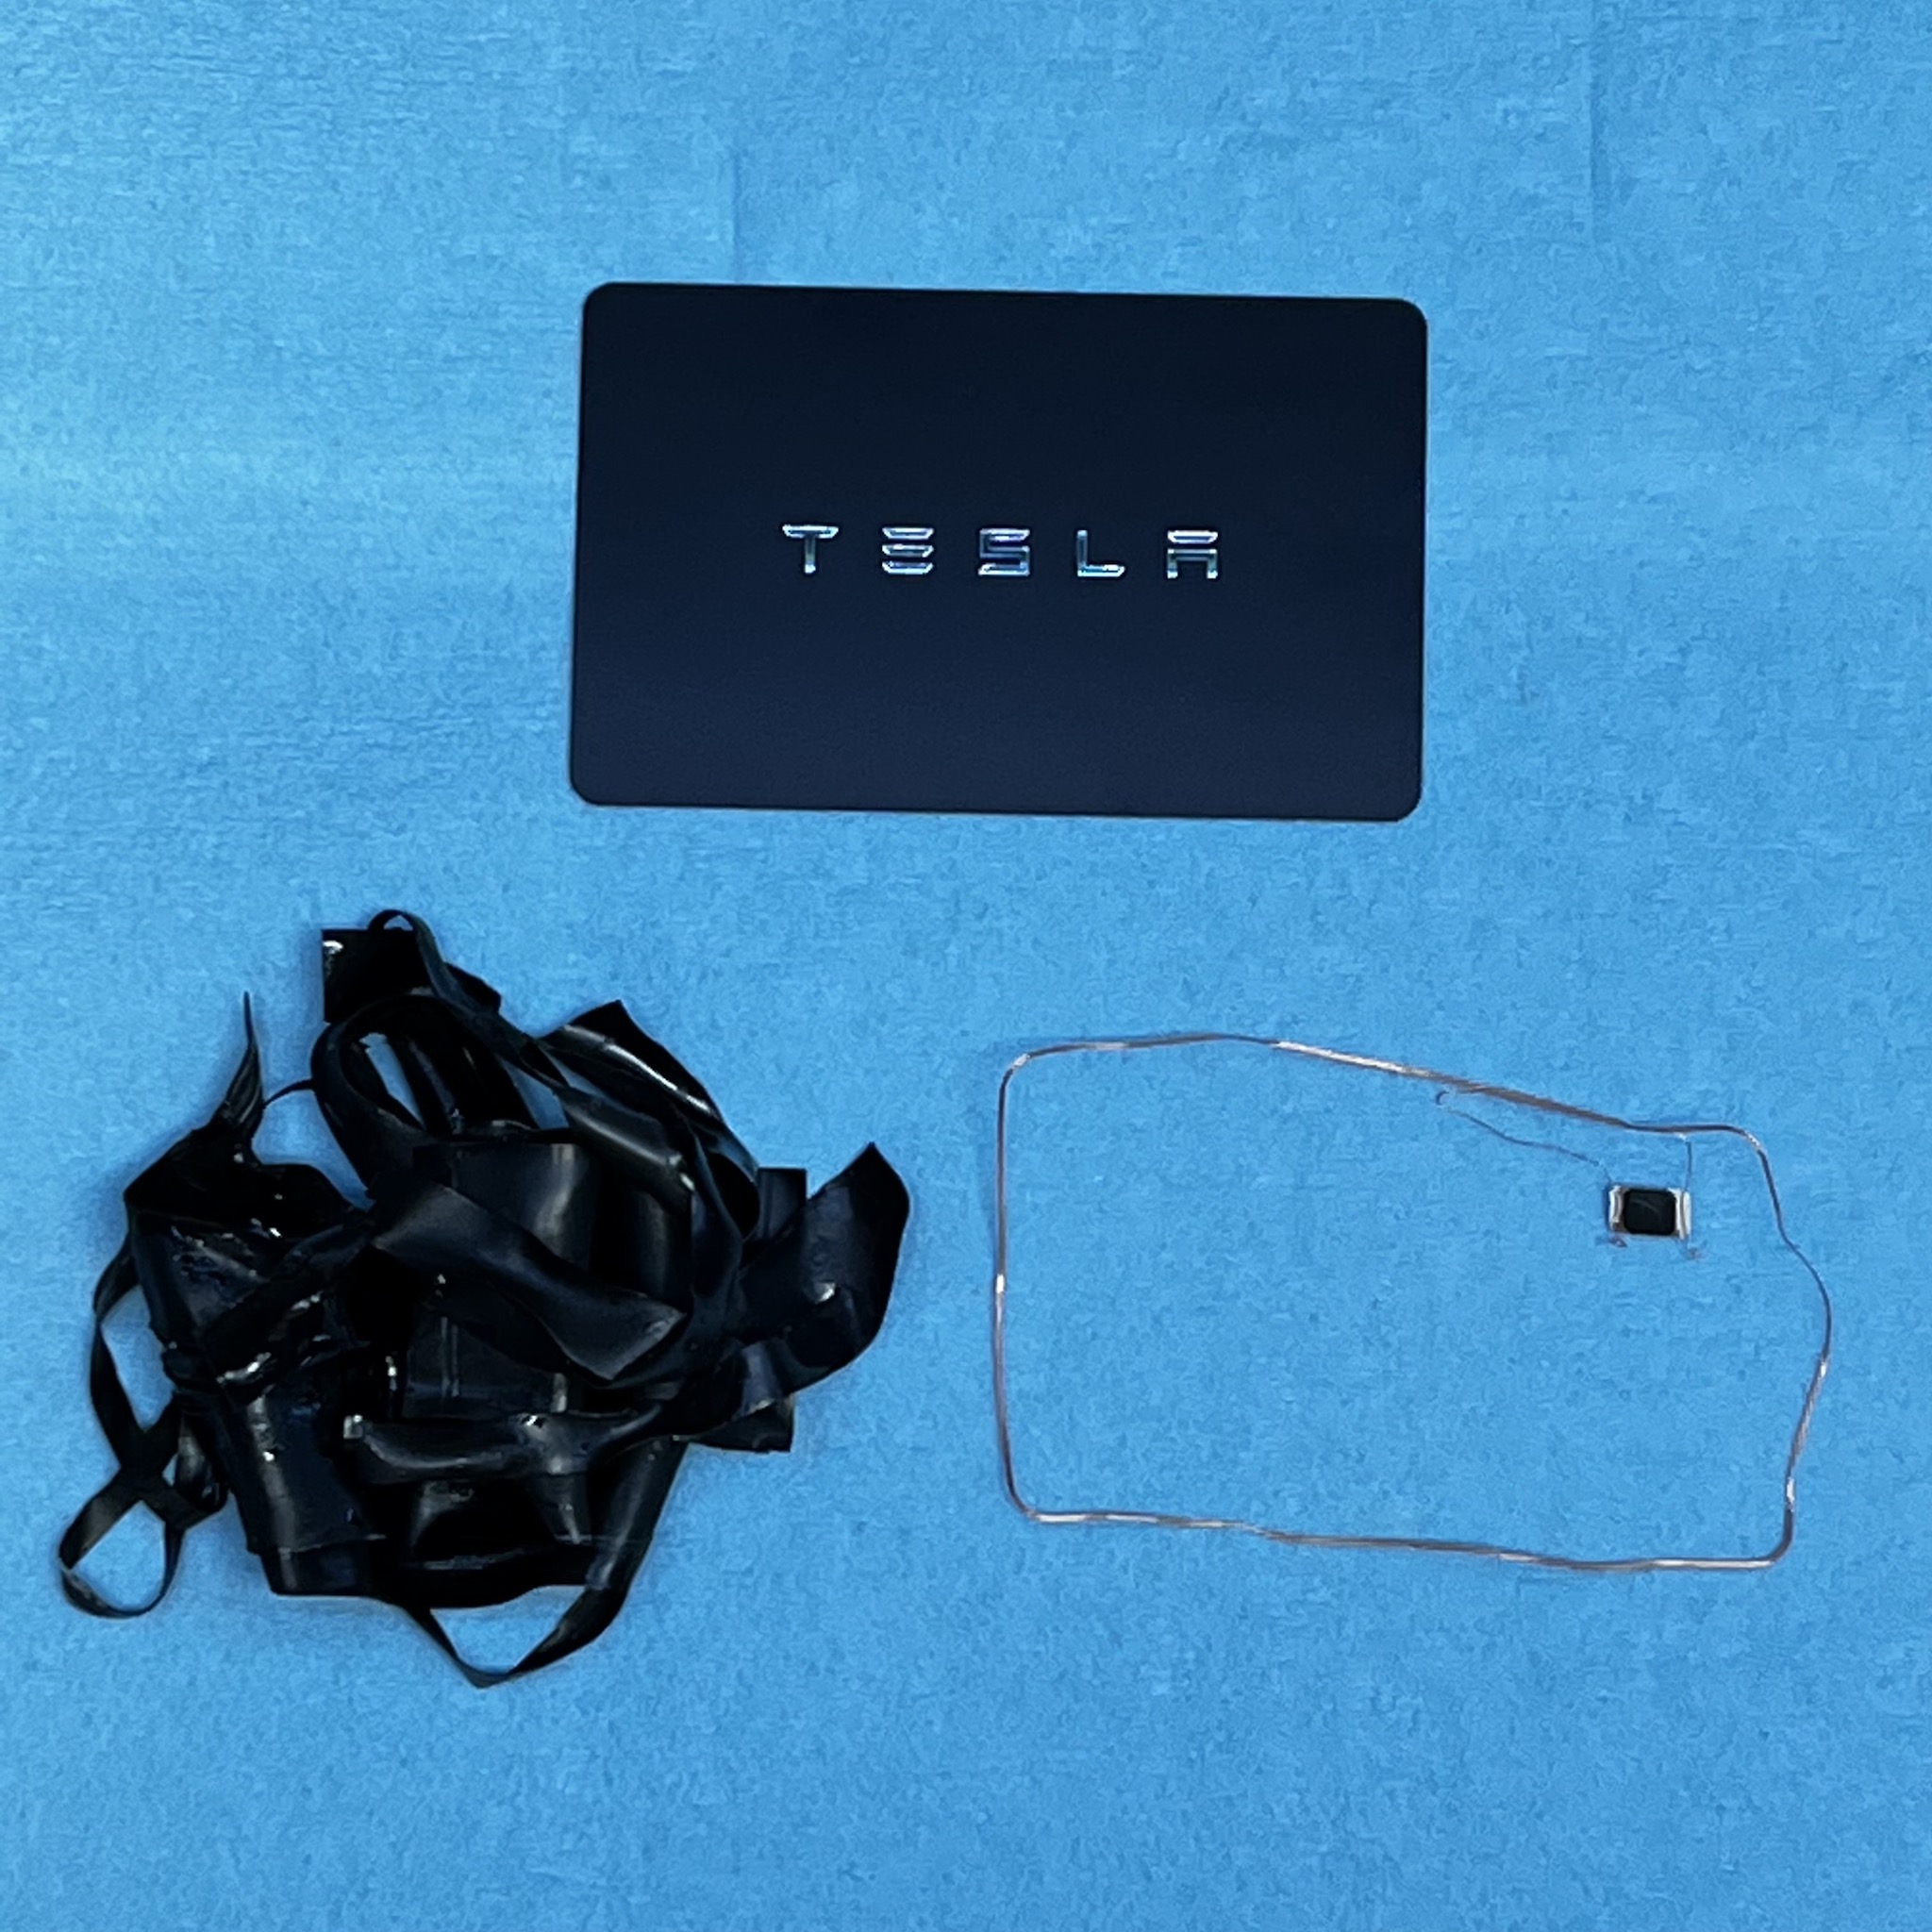
- The good, the ugly, and the naked RFID
-
- First test: make sure it still works outside of the card
-

- It looks so nekkid!
-
- Initial positioning for testing (not where I ended up putting it)
-
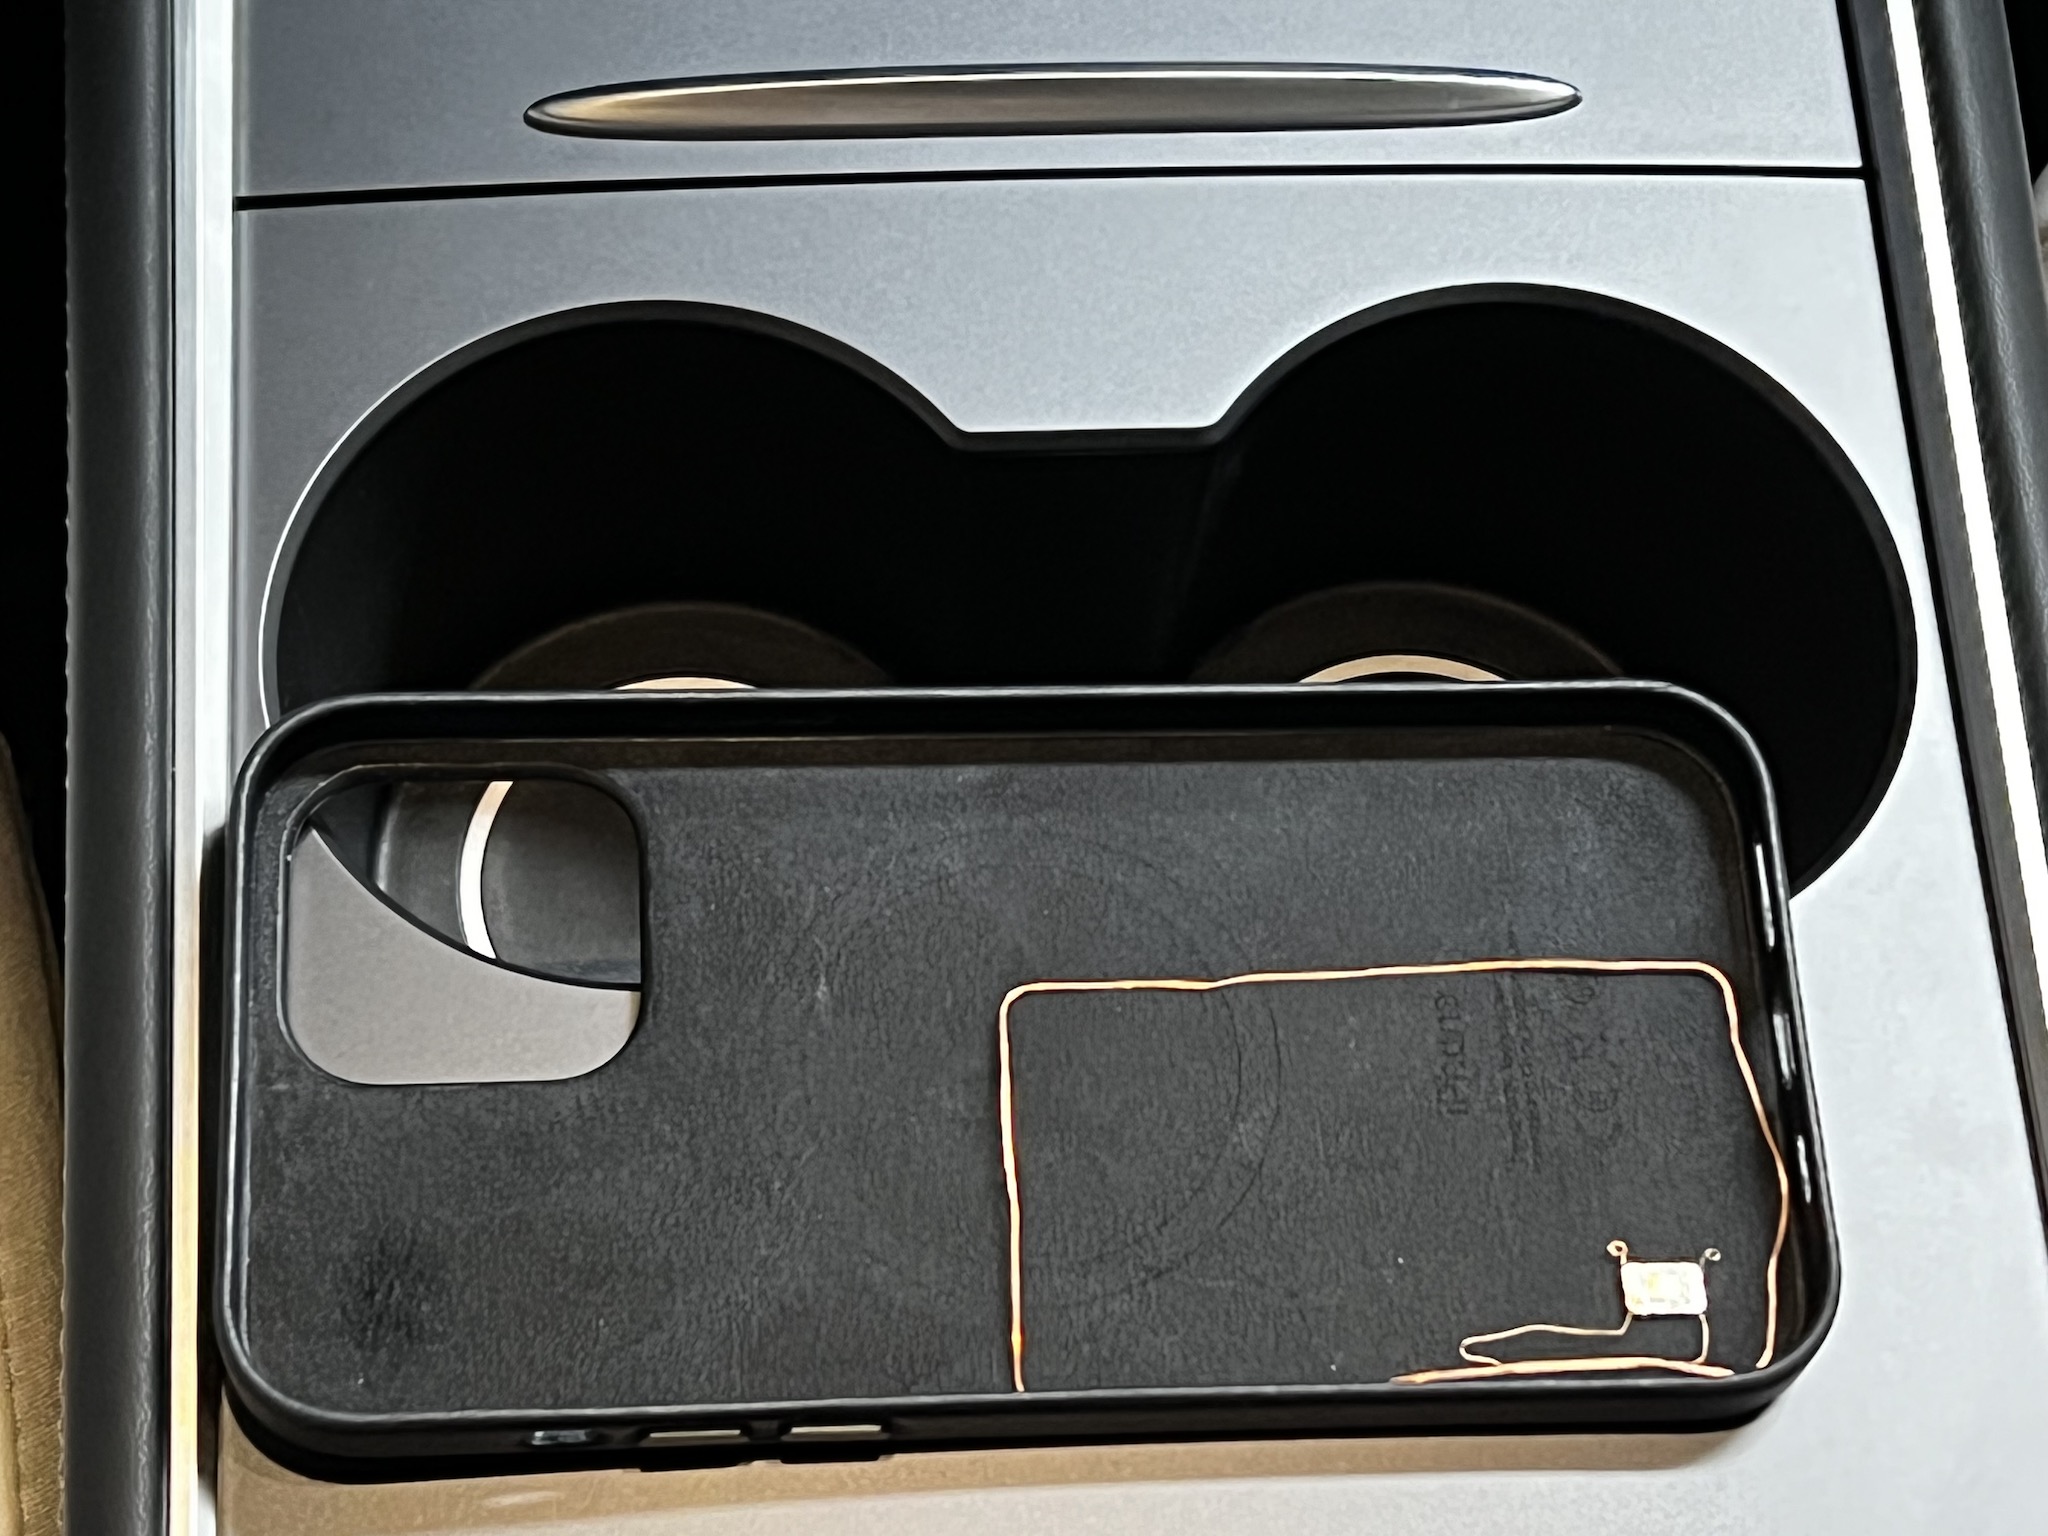
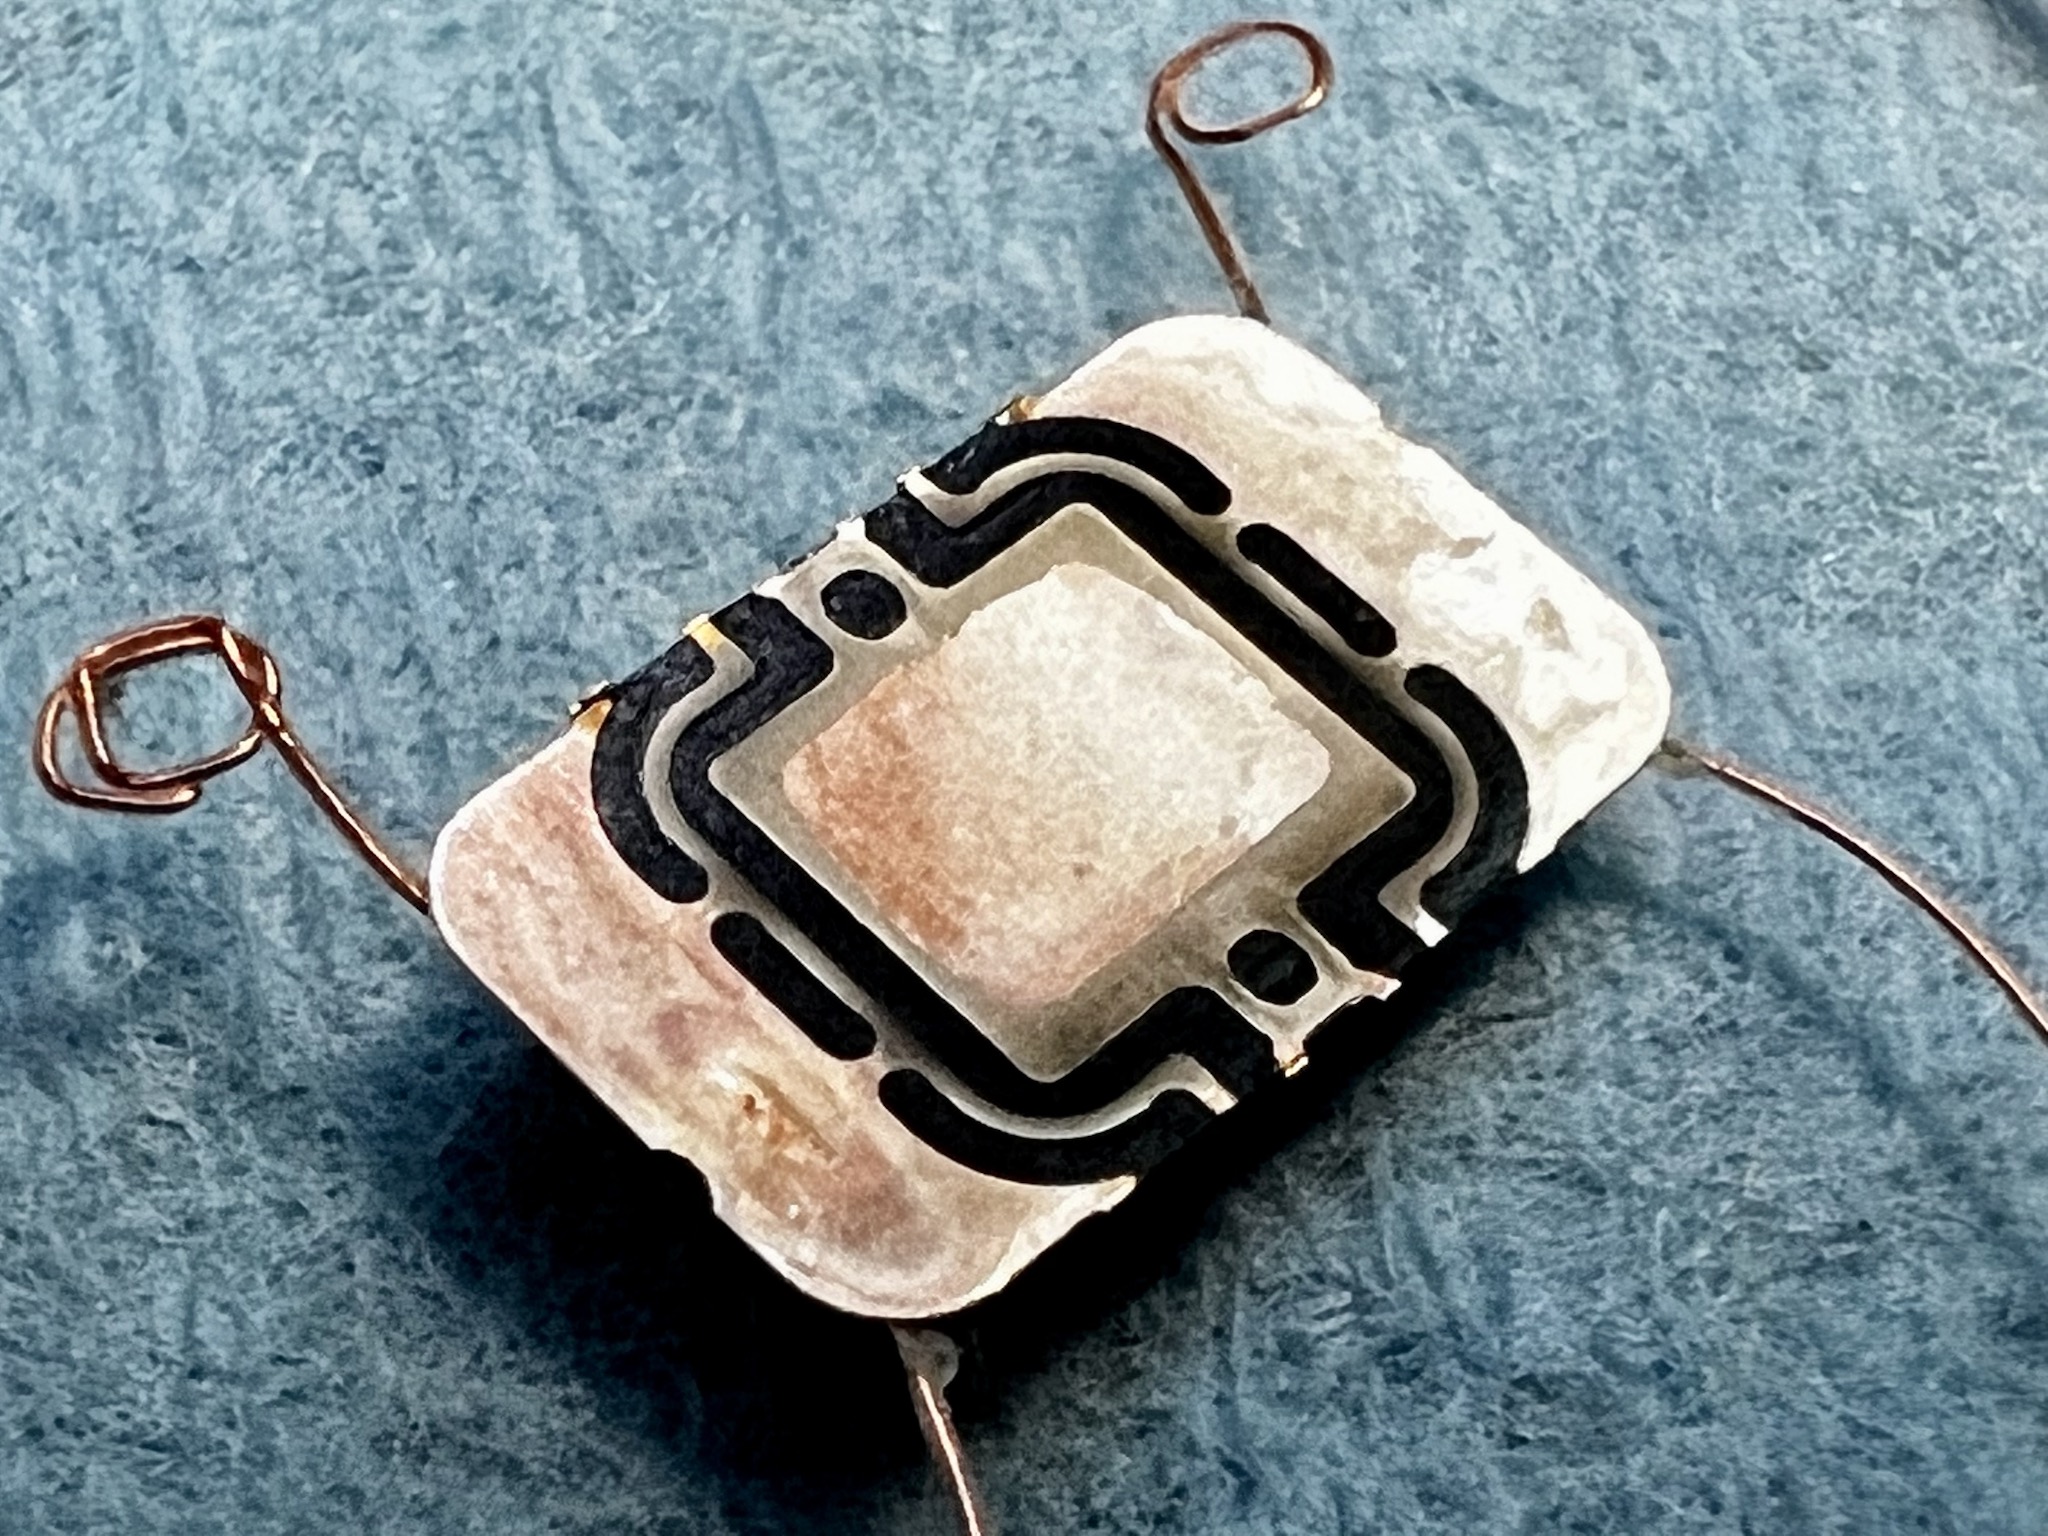
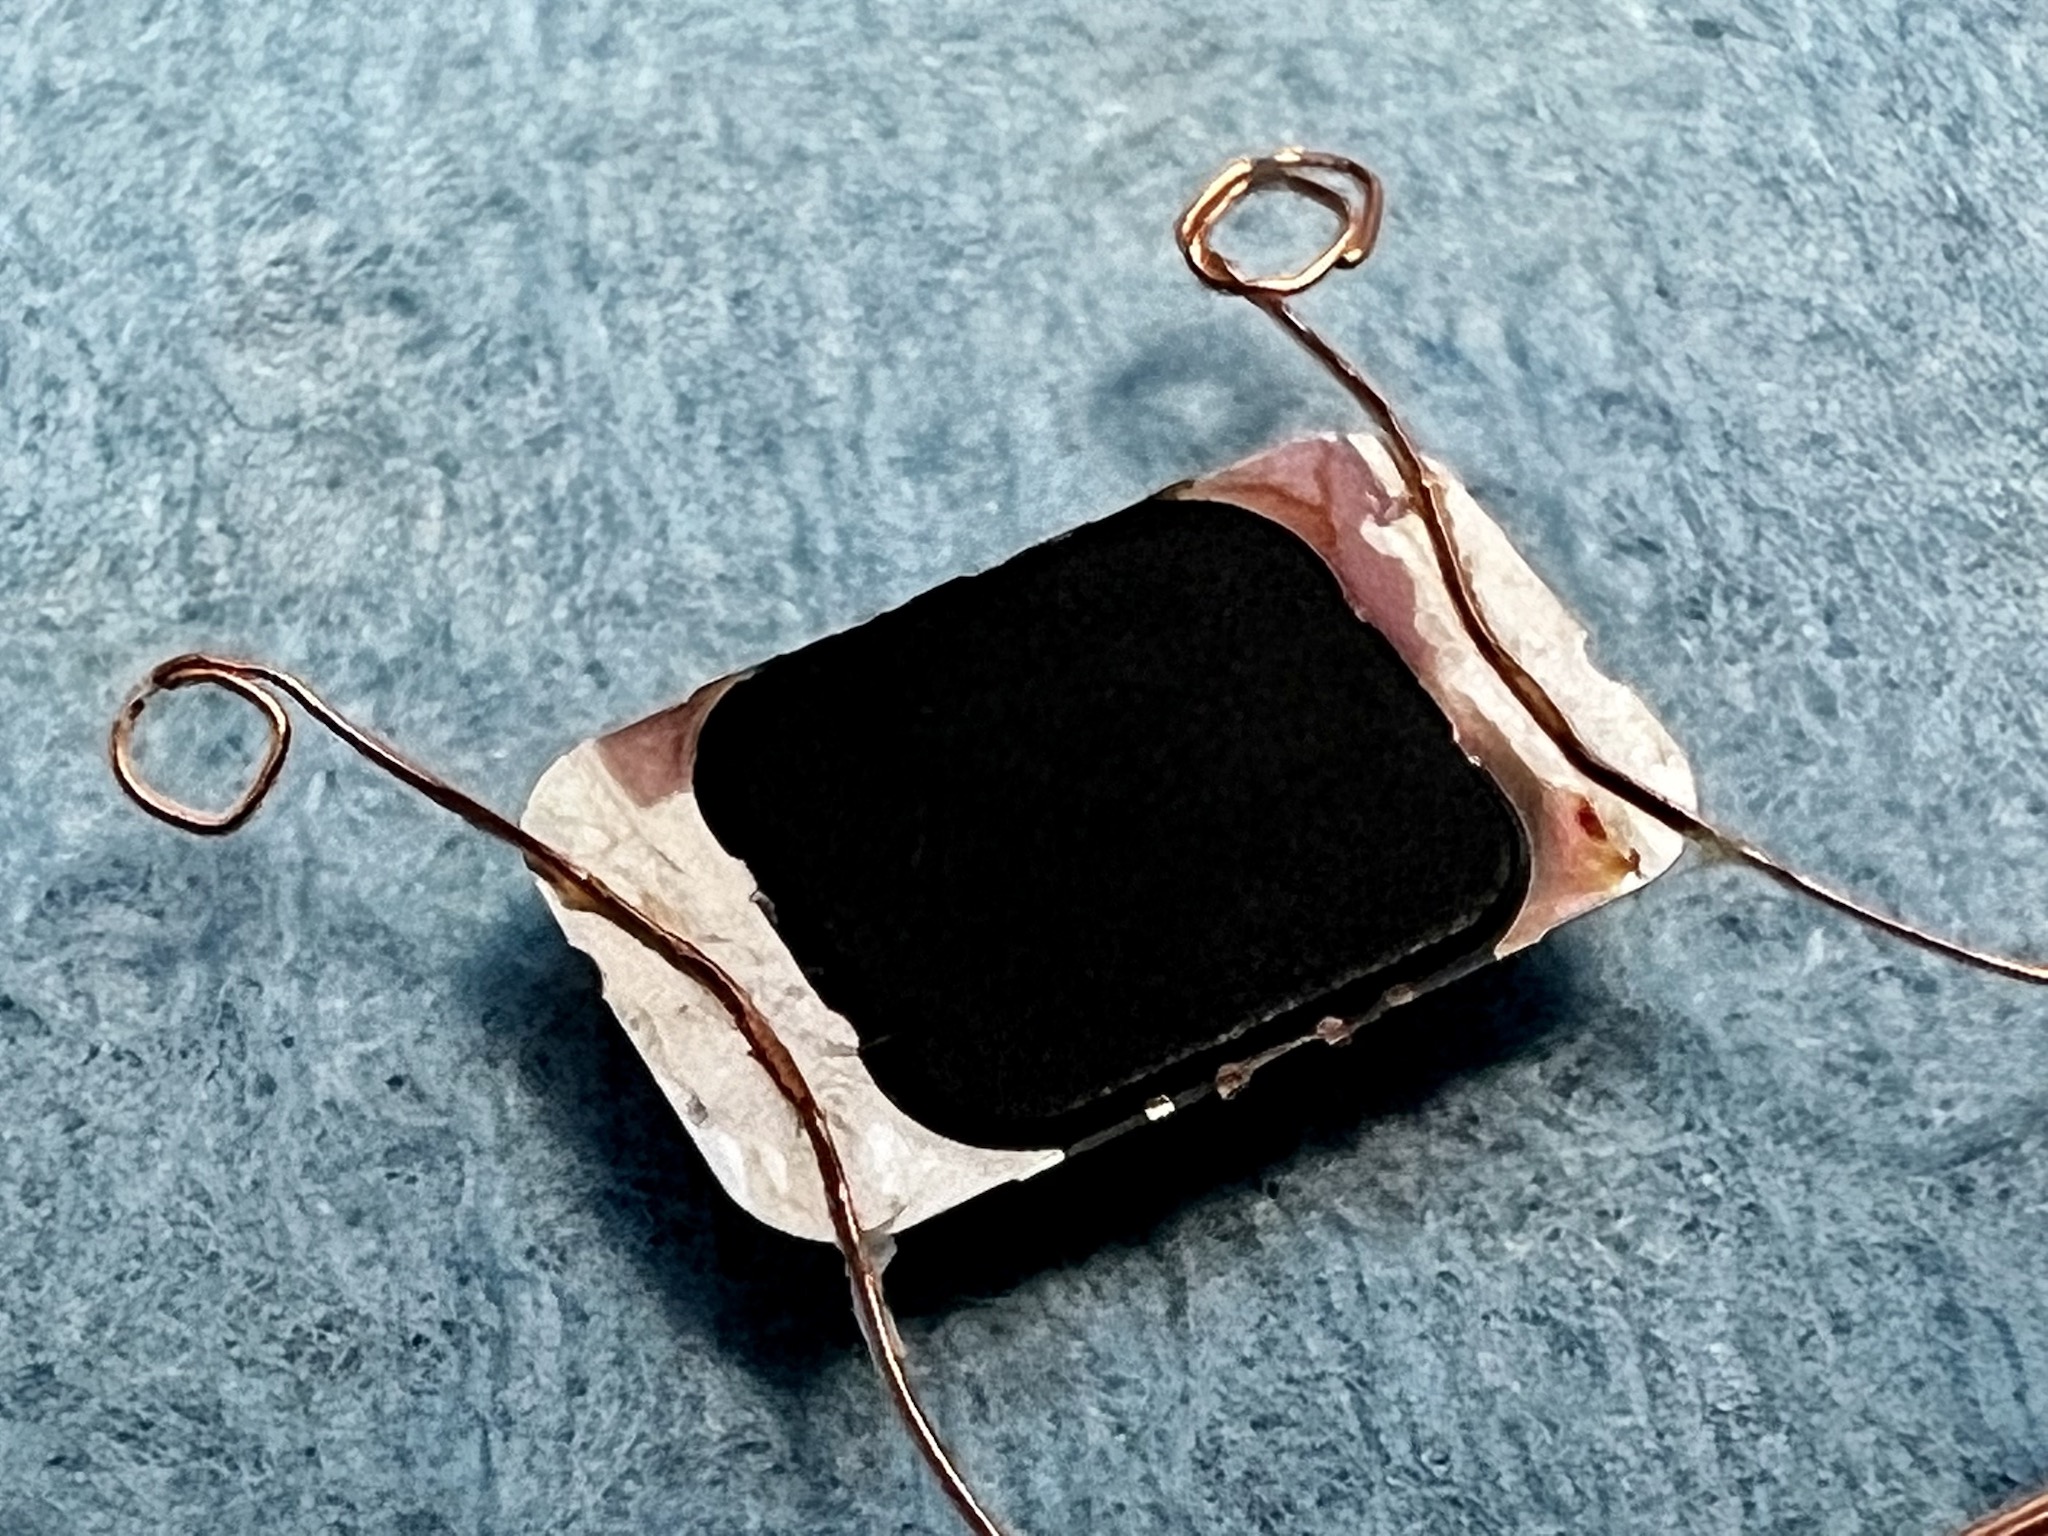
- Close up of RFID chip
-
- Close up of RFID chip
-
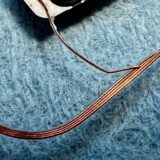
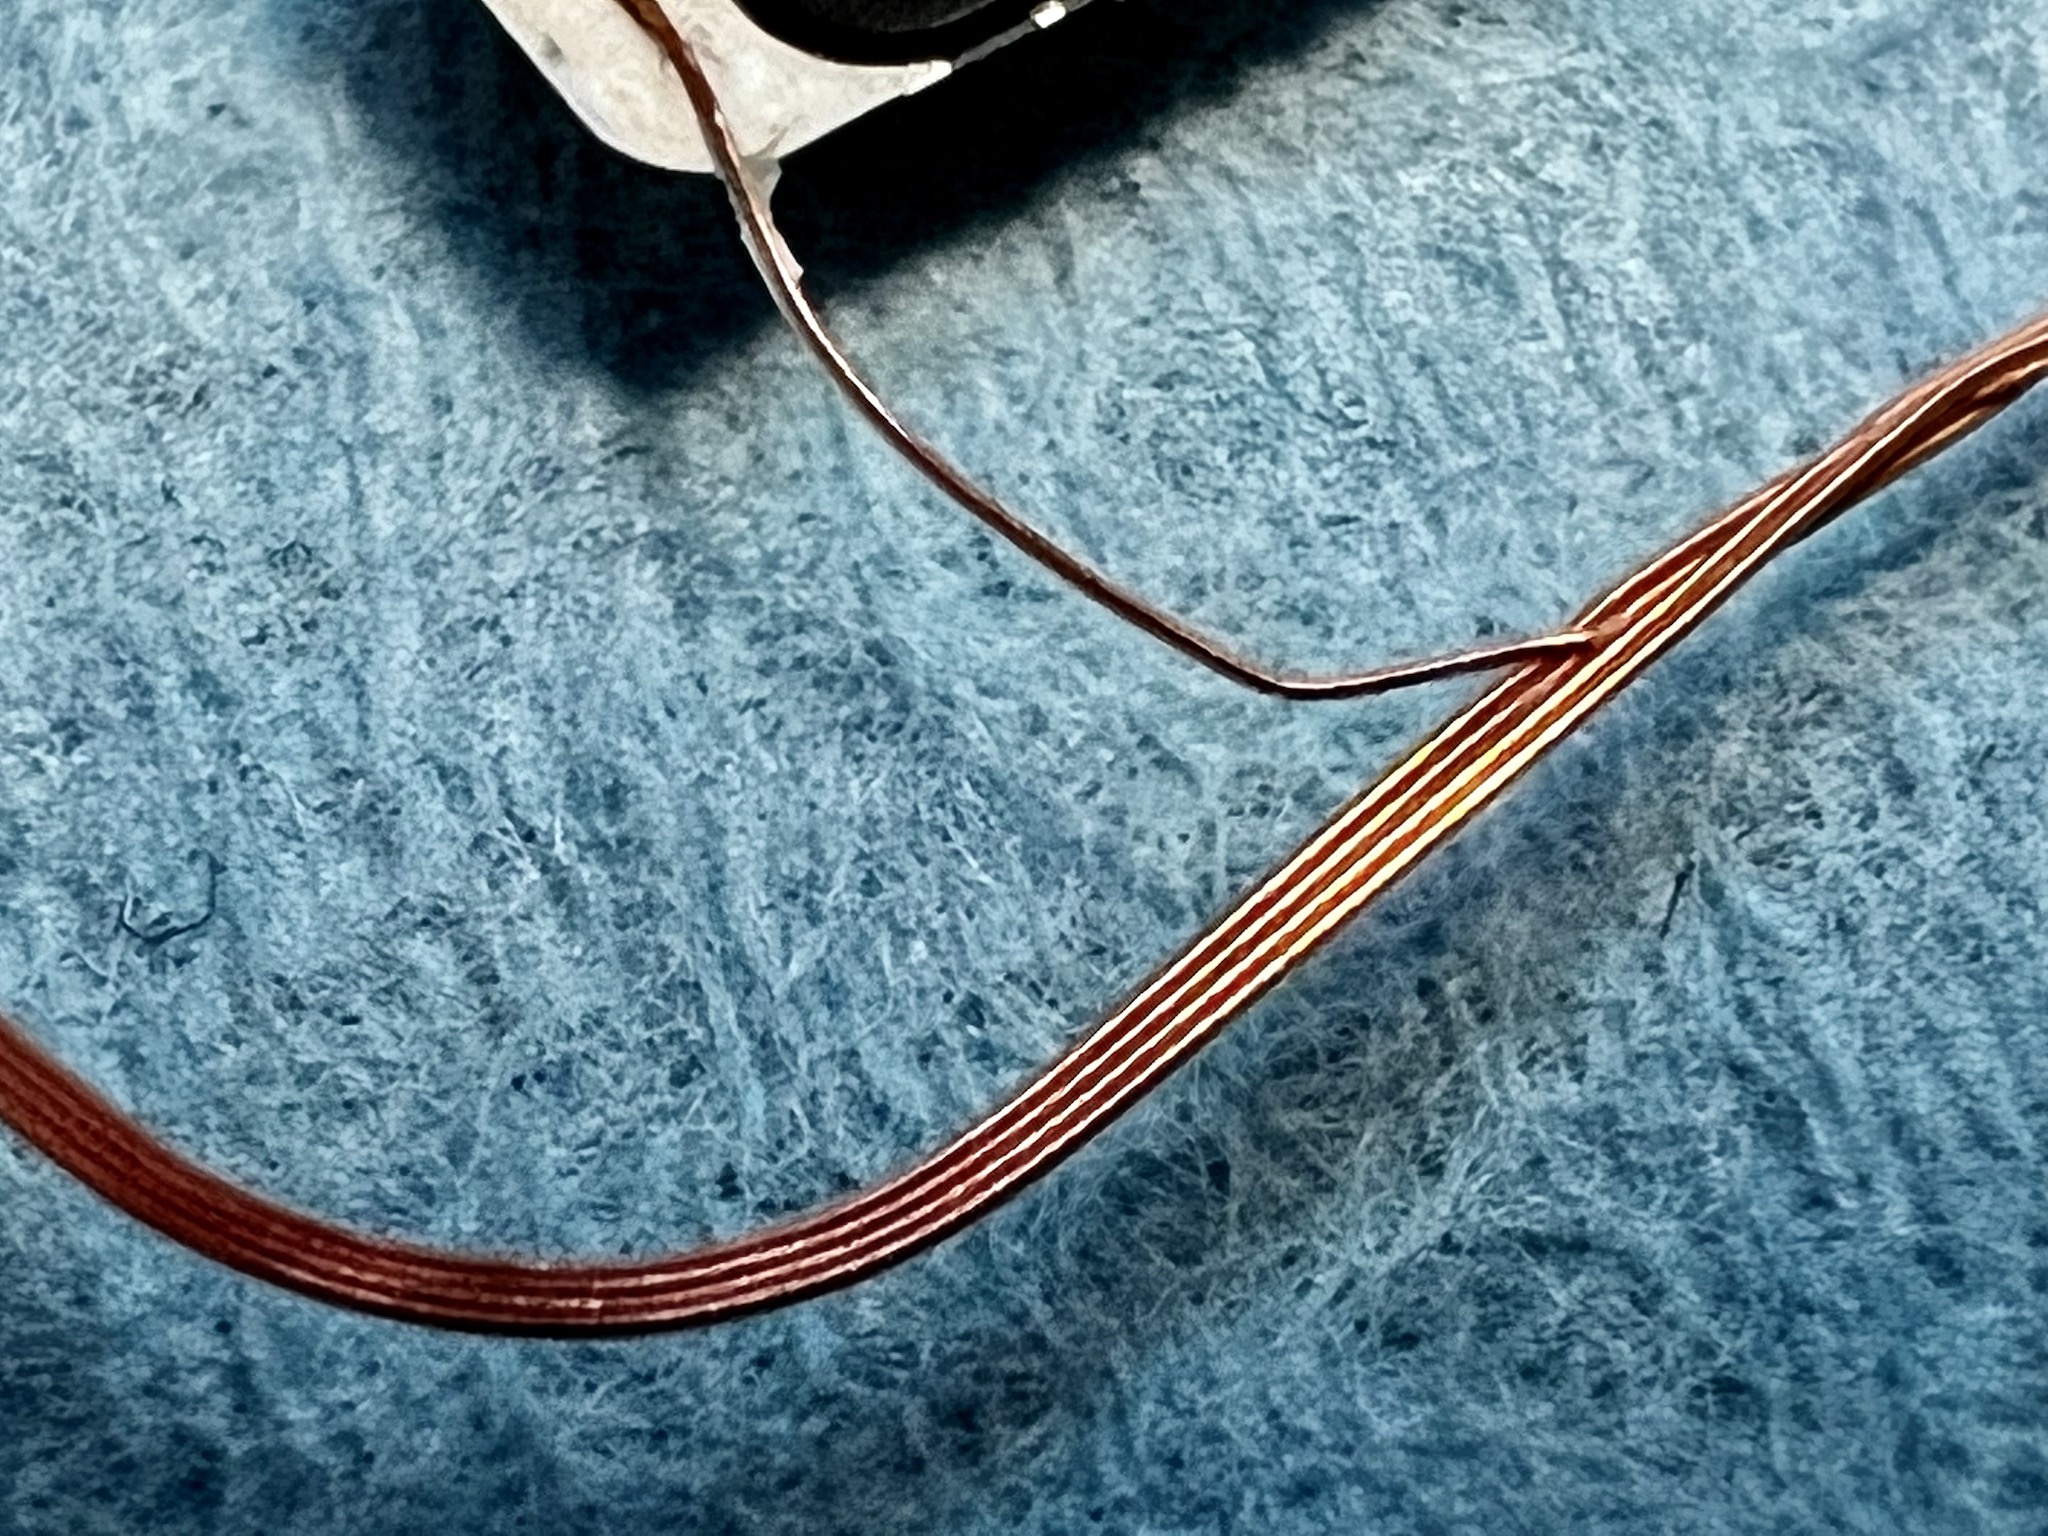
- Close up of RFID wiring
-
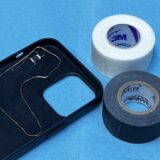
- I used gaffer tape but you can also use toupee tape or really anything you want
-
- Figuring out where my license would go. I ended up placing it too low. You need about 1/4″ inch of space between the card and the bottom in order for the phone to sit properly
-
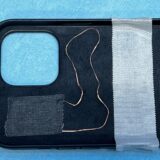
- I put a piece of tape as a marker where the top of my card would go (again, it was too low). The first piece of tape is applied
-
- The 2nd piece of tape is applied
-
- The 3rd and final piece of tape is applied

-

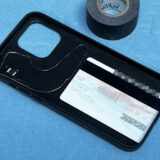
- Best placement of case with phone inside (had to take my phone out for this pic)
-
- Best placement of phone/case on b-pillar outside the car (had to take my phone out to take this pic)
-
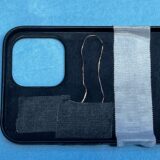
- In the end, I messed up with the placement of the wiring a bit, as the card should be about 1/4″ (if not more) from the bottom of the phone case in order the phone to sit properly inside the case. It ended up not being a big deal having my driver’s license rest on top of some of the wires.
Discover more from Chris Duke
Subscribe to get the latest posts sent to your email.
Leave a Reply