
 I’ve been doing voice overs forever – it’s a blast! Friends often ask me how to get started, but they’re usually on a tight budget. Recommending a good mic for cheap has always been tough… until now!
My go-to for recording my professional voice over work is a Sennheiser MKH416 with a RØDECaster Duo setup. Unfortunately, my setup starts at $1,500. I’ve always hesitated to recommend budget microphones to beginners, as the quality can be hit-or-miss. So, I decided to personally test a few affordable options to ensure I could confidently suggest a great starting point for aspiring voiceover artists.
In my last search for budget mics (keep in mind this was many years ago), one budget brand name I kept hearing about in the VO community was FIFINE. No, it’s not a common name such as Sennheiser, Shure, and Audio-Technica, but sometimes that really doesn’t matter. This is one of those times. I decided to try out their latest XLR/USB mic so that I had something I could recommend that supported either methods of input.
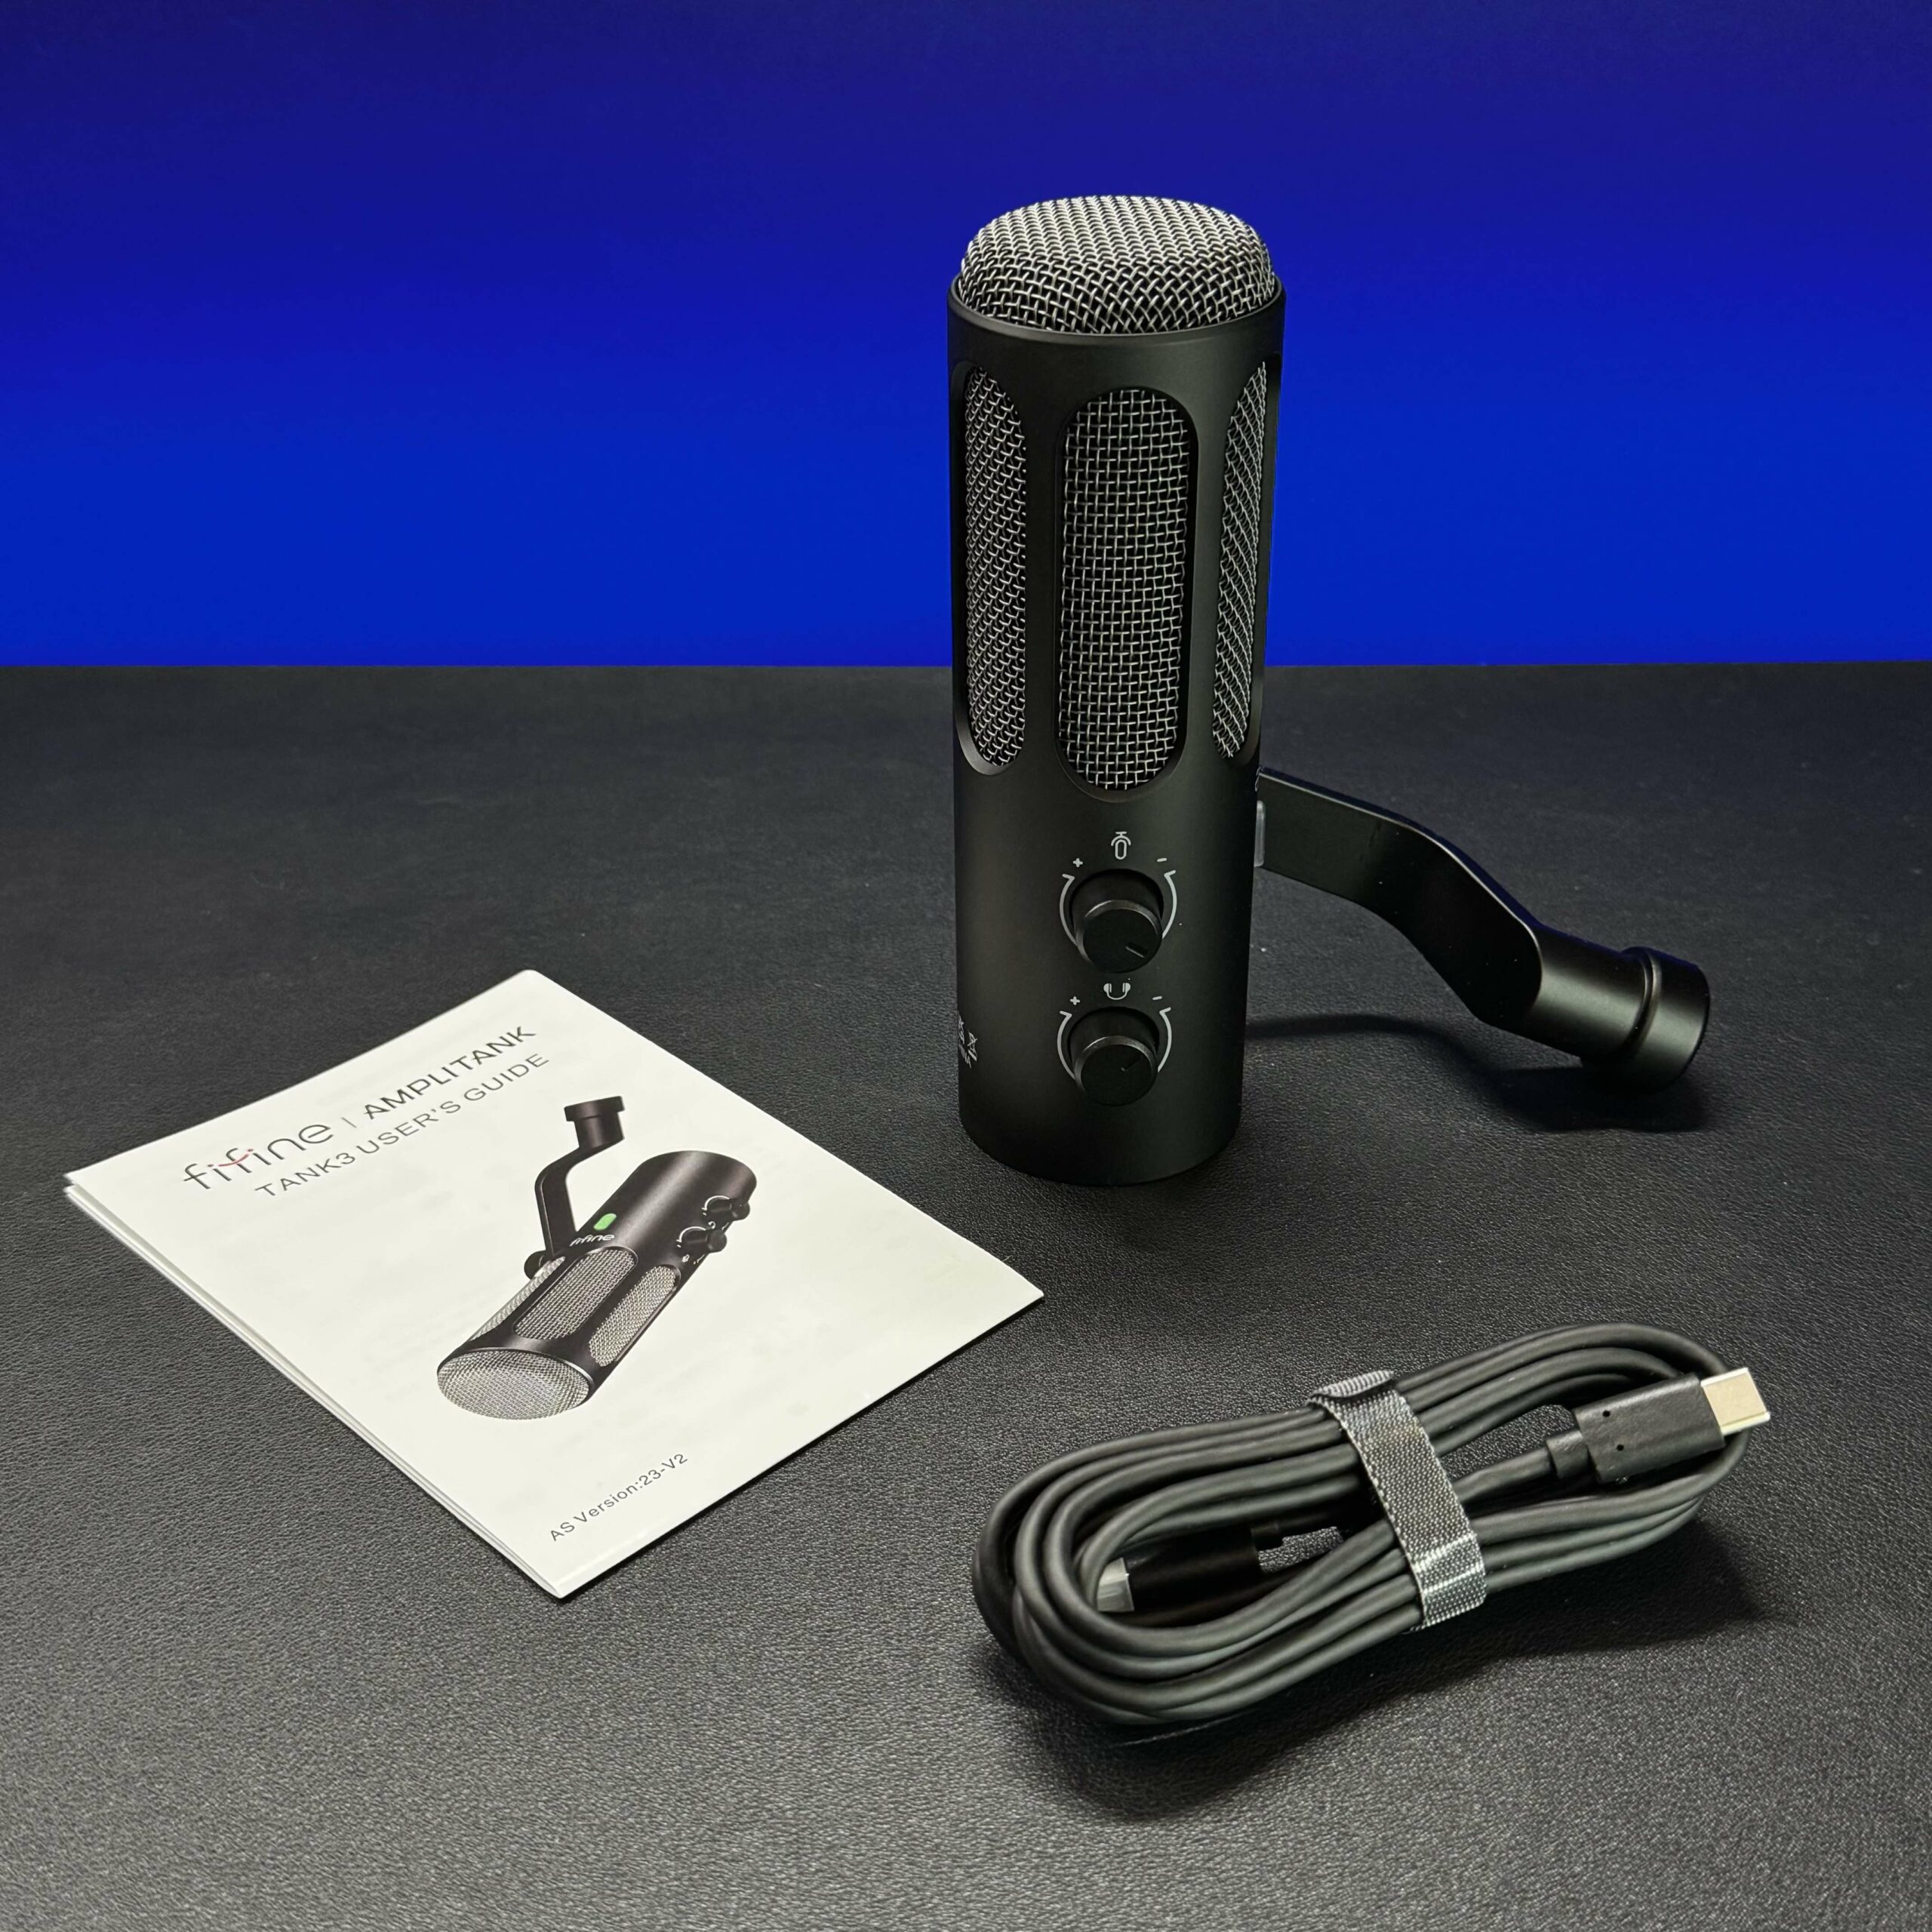
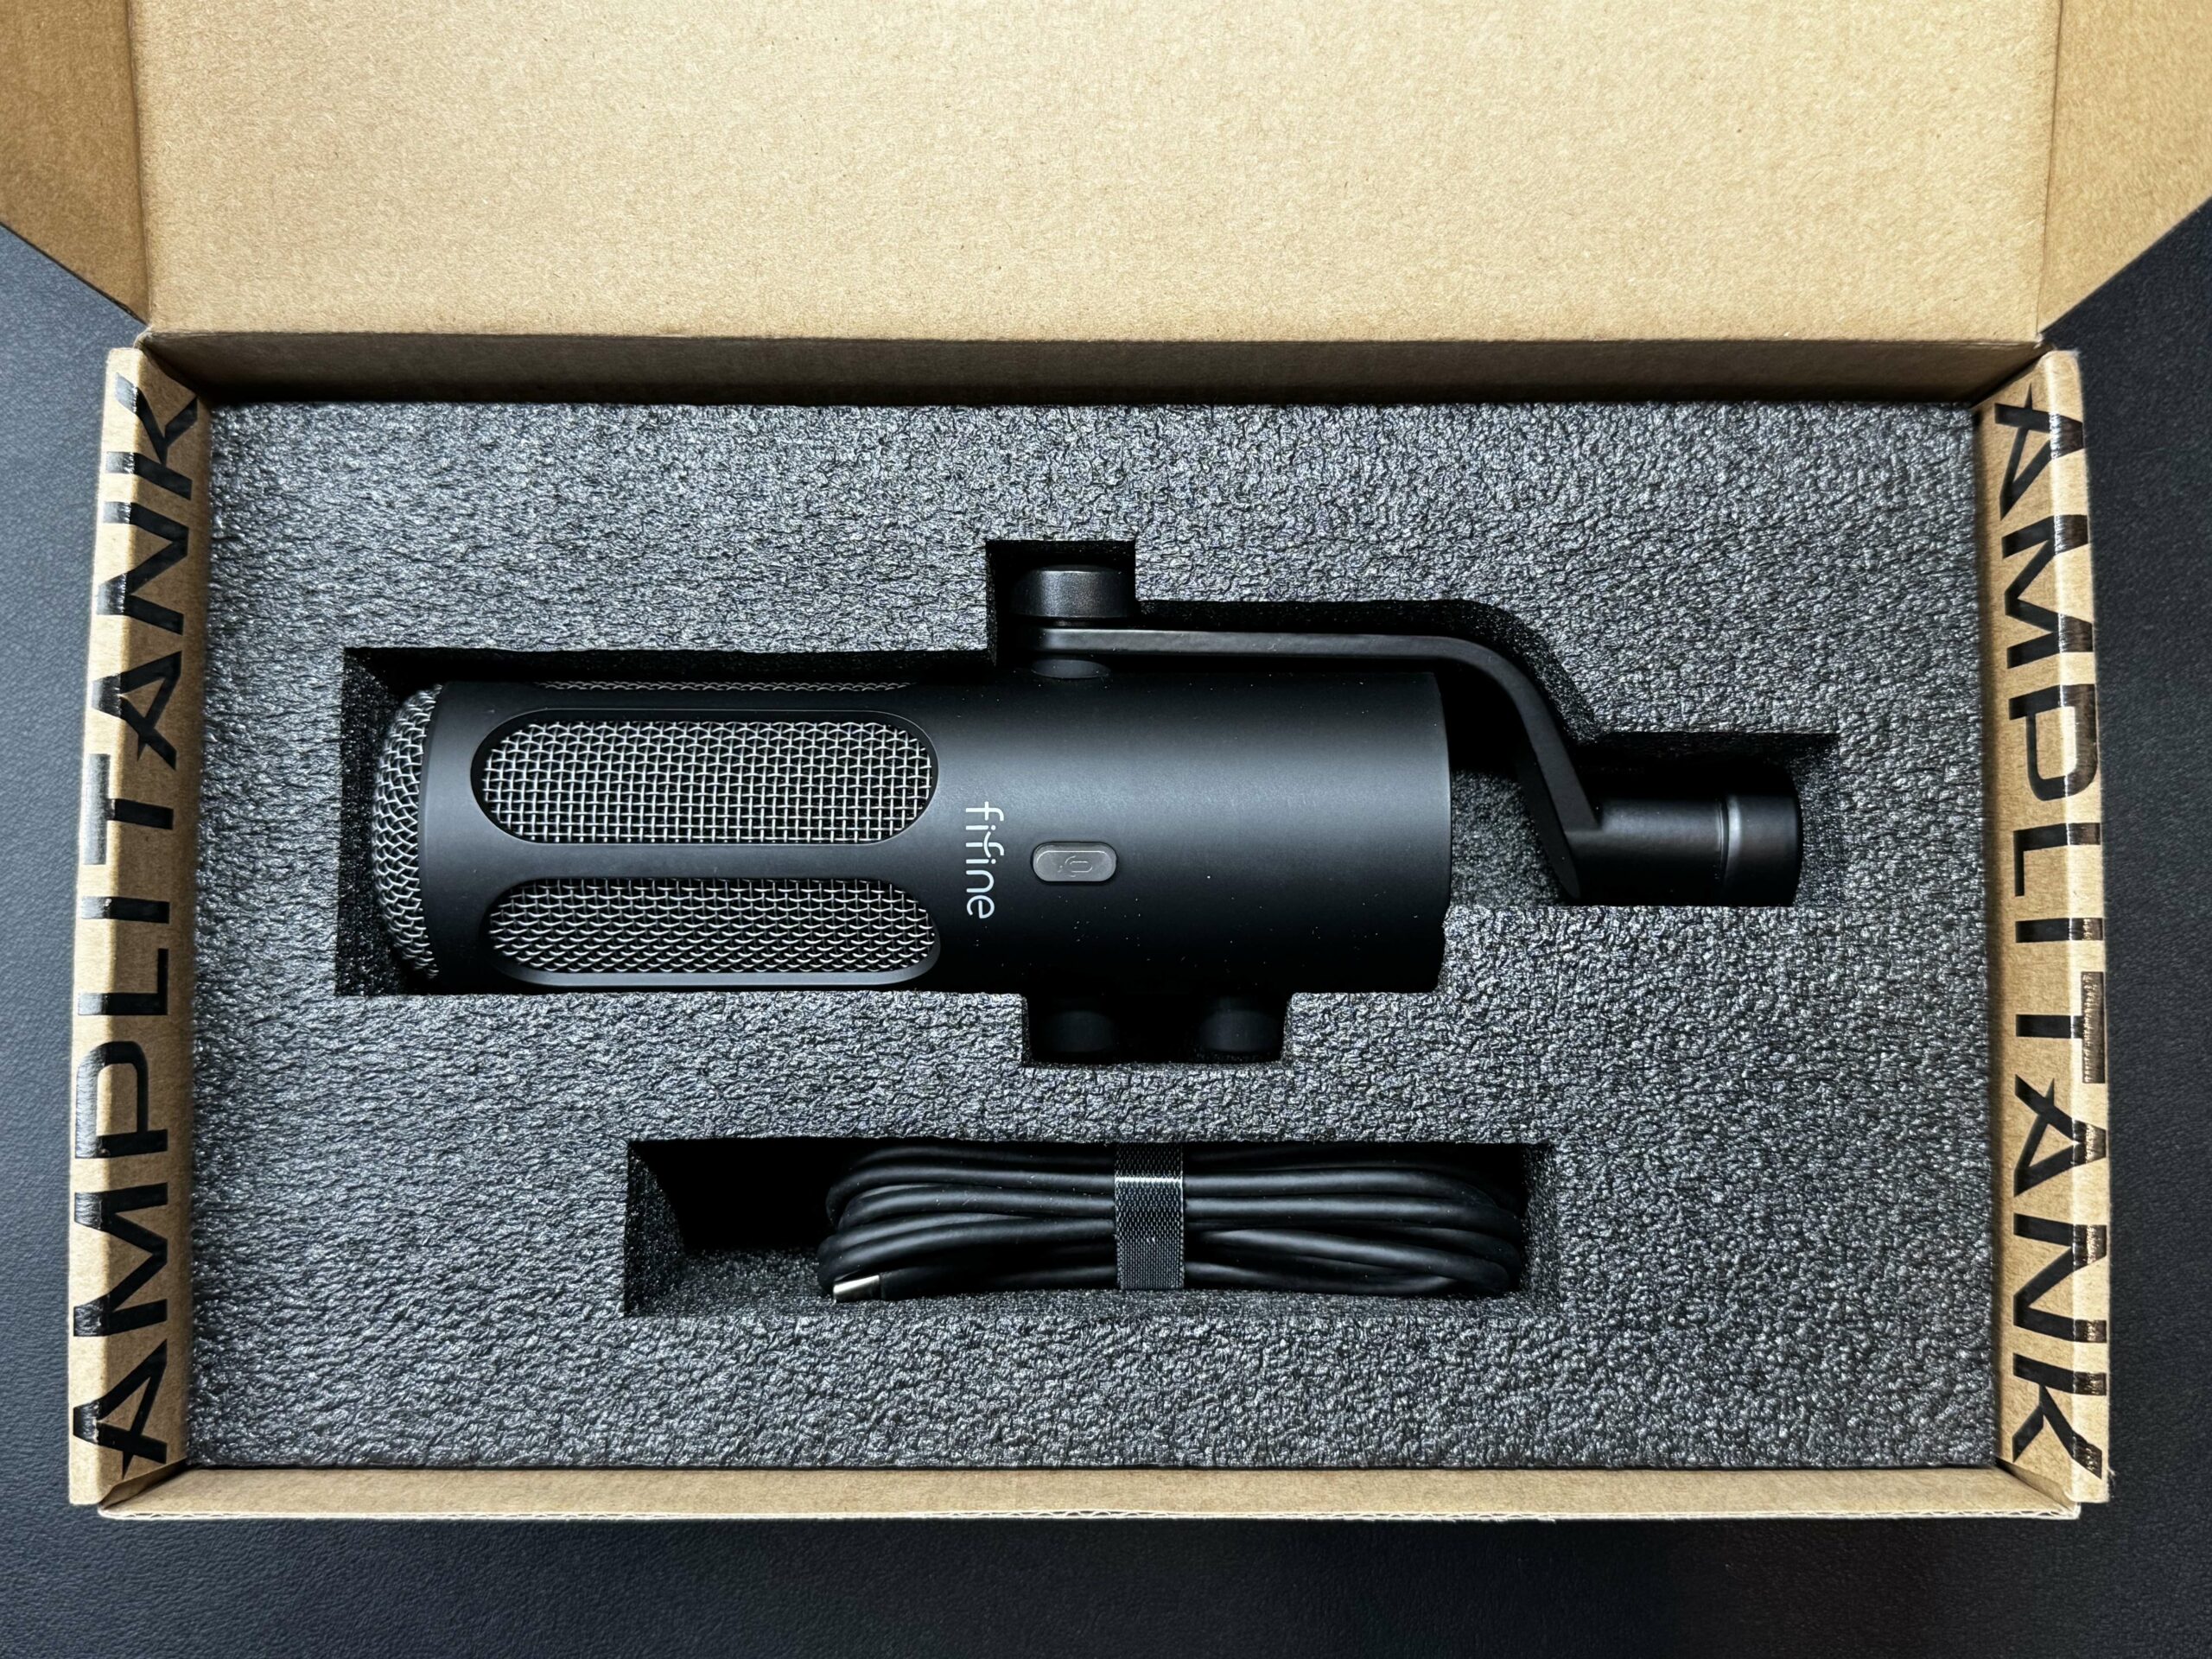
I purchased the FIFINE Tank3, which at the time of posting this article is available at Amazon for well under 80 bucks. I finally got some time today to test it out, share my thoughts, take some photos, and record some audio samples to share.
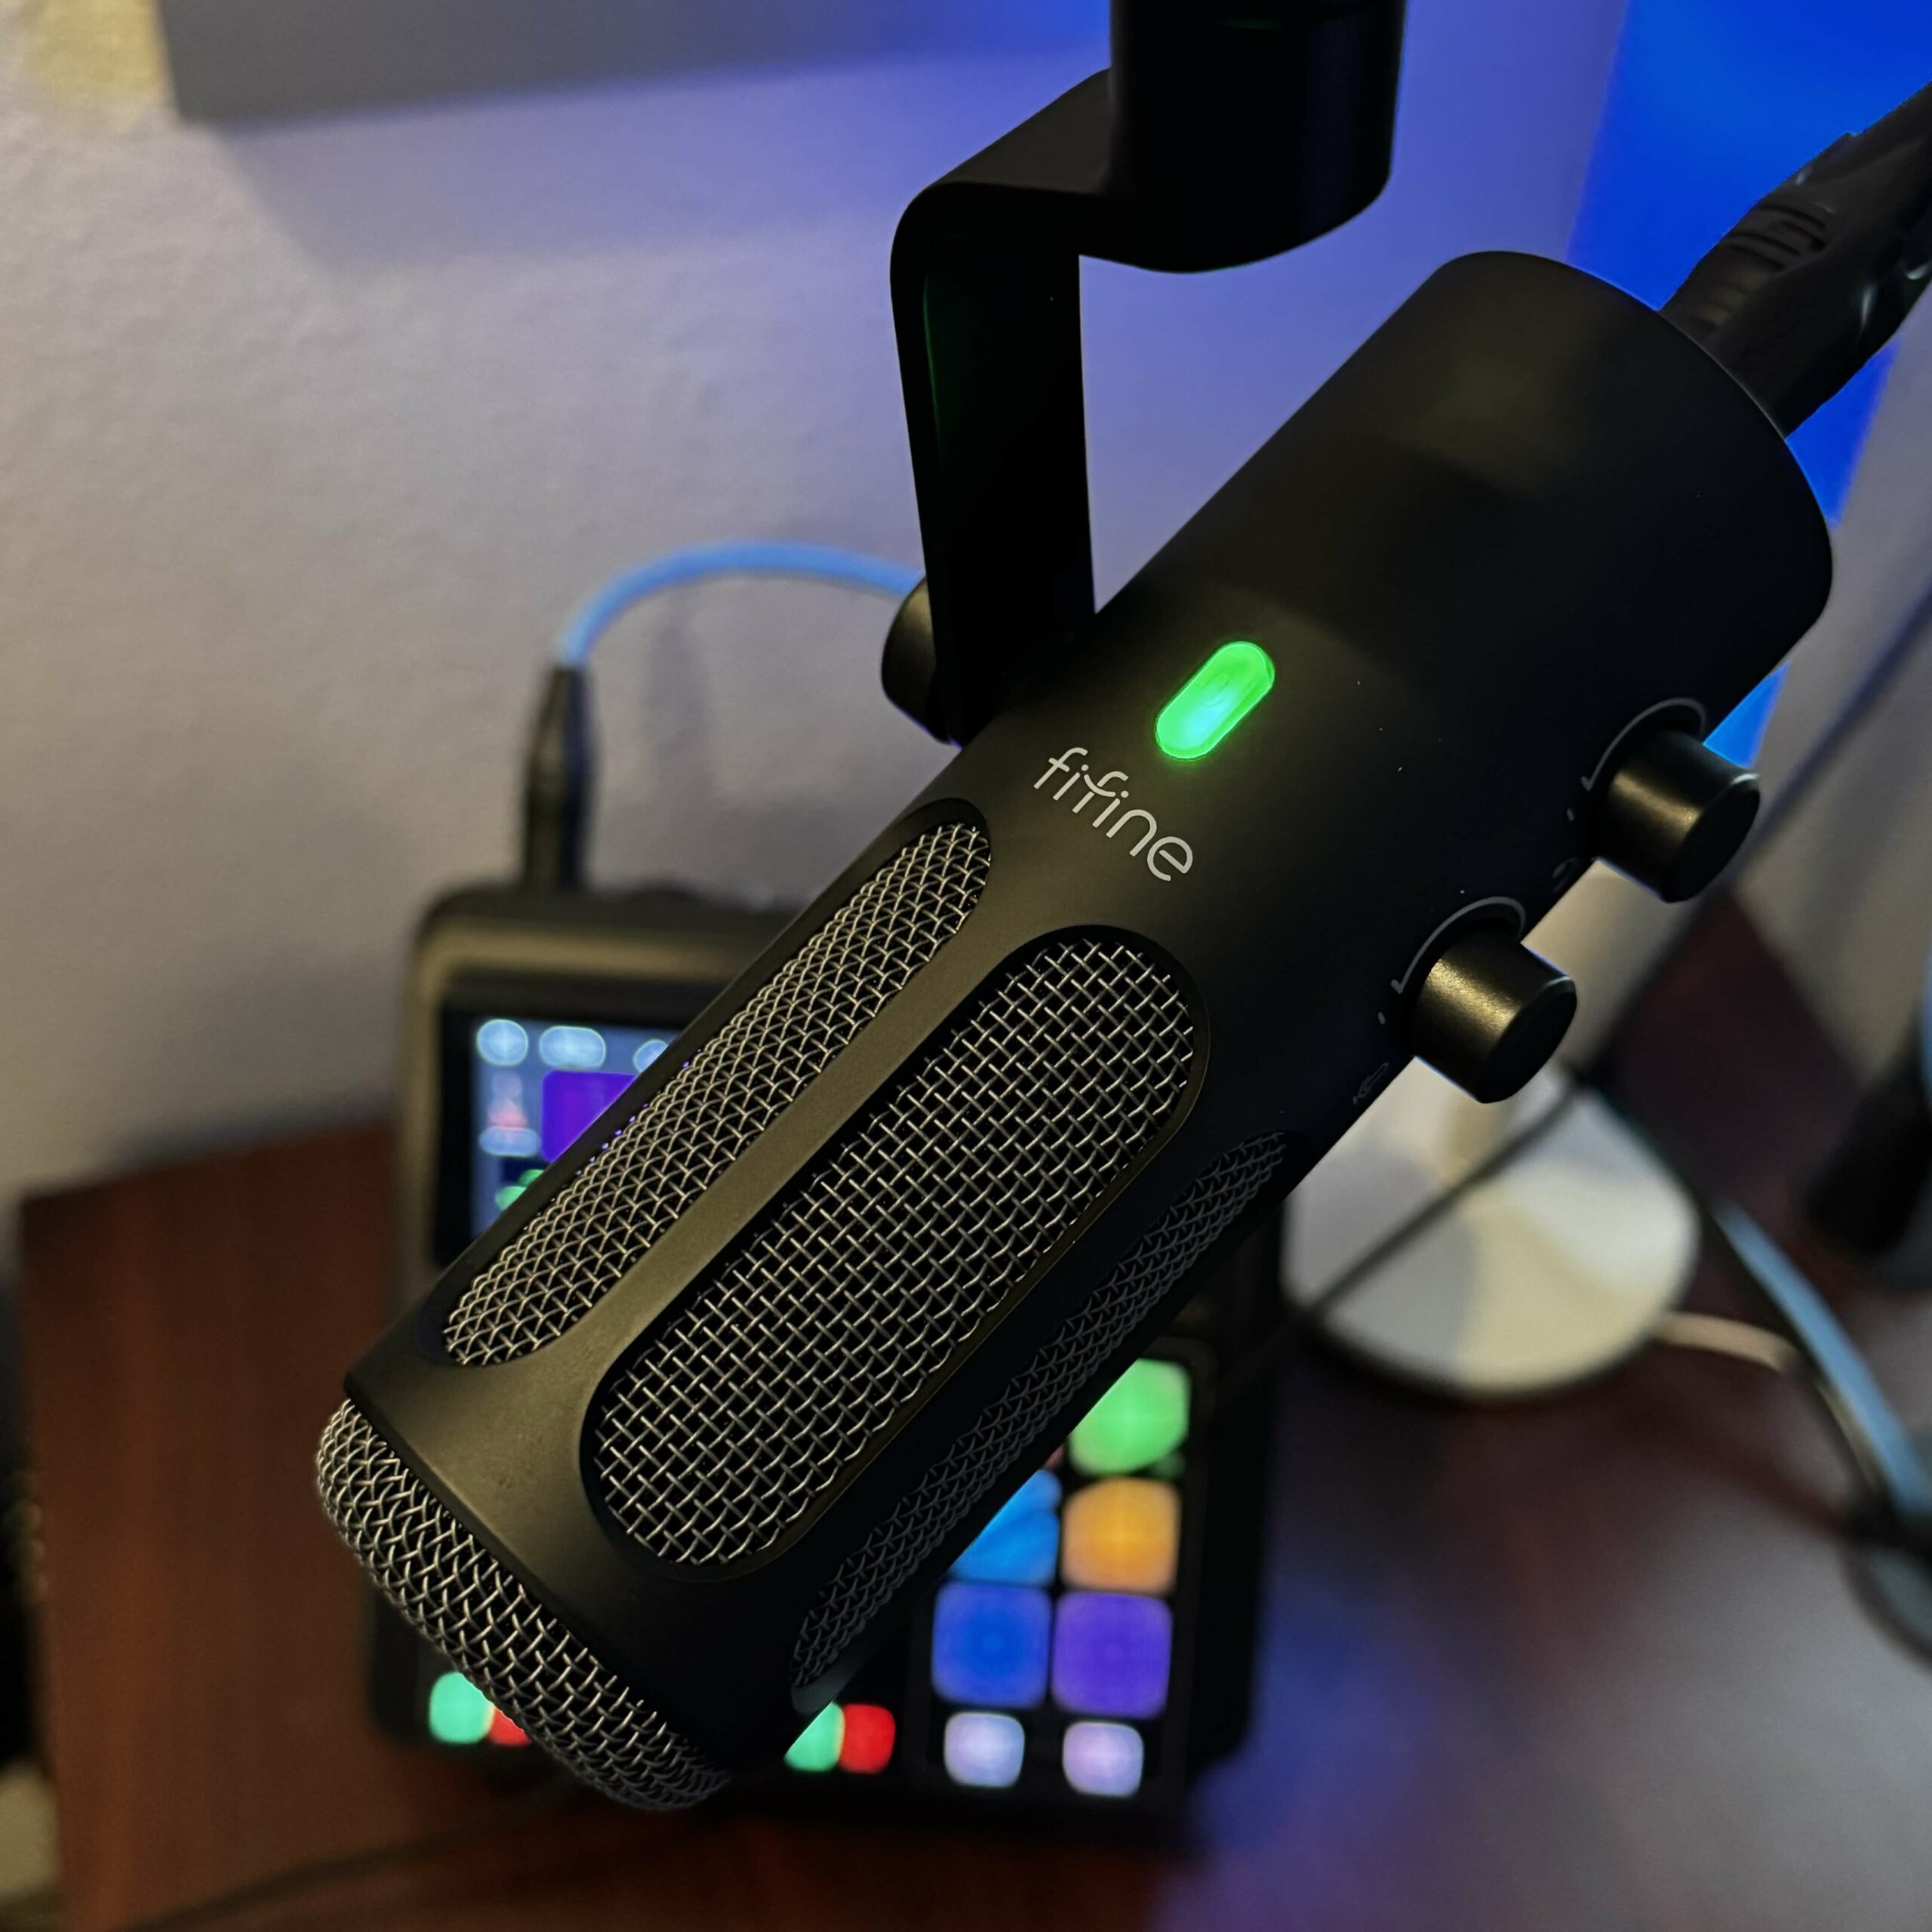
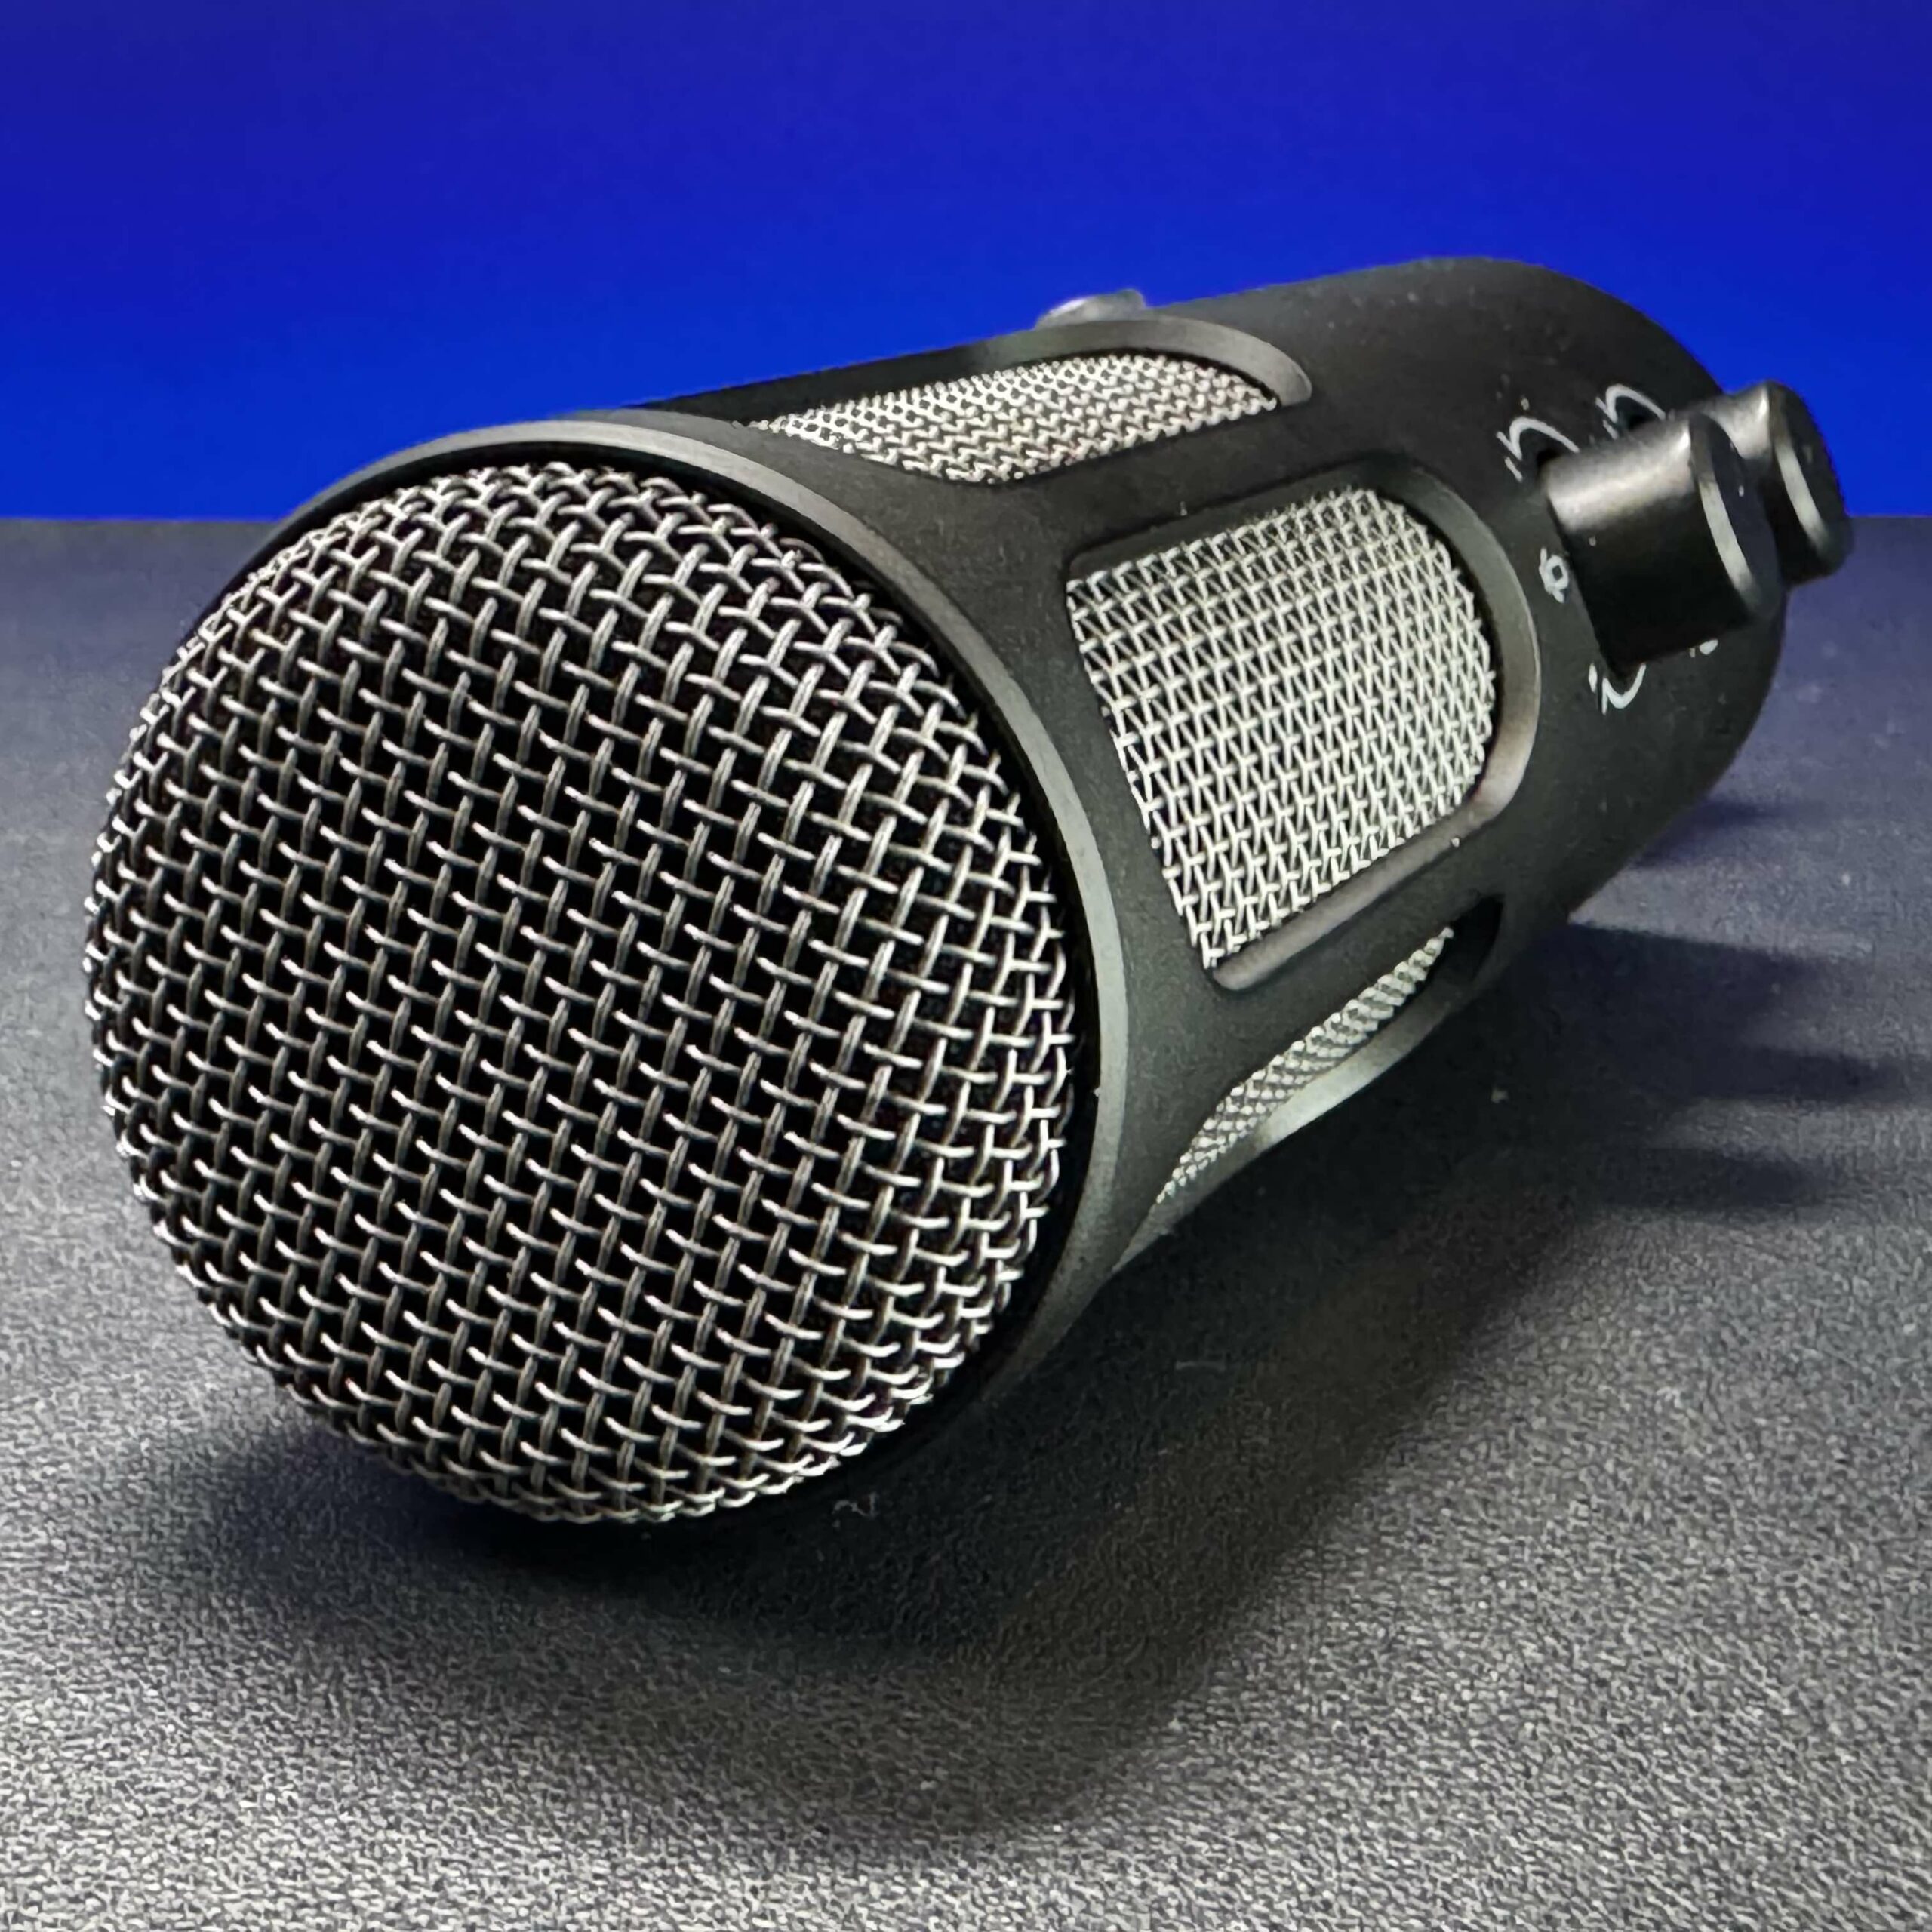
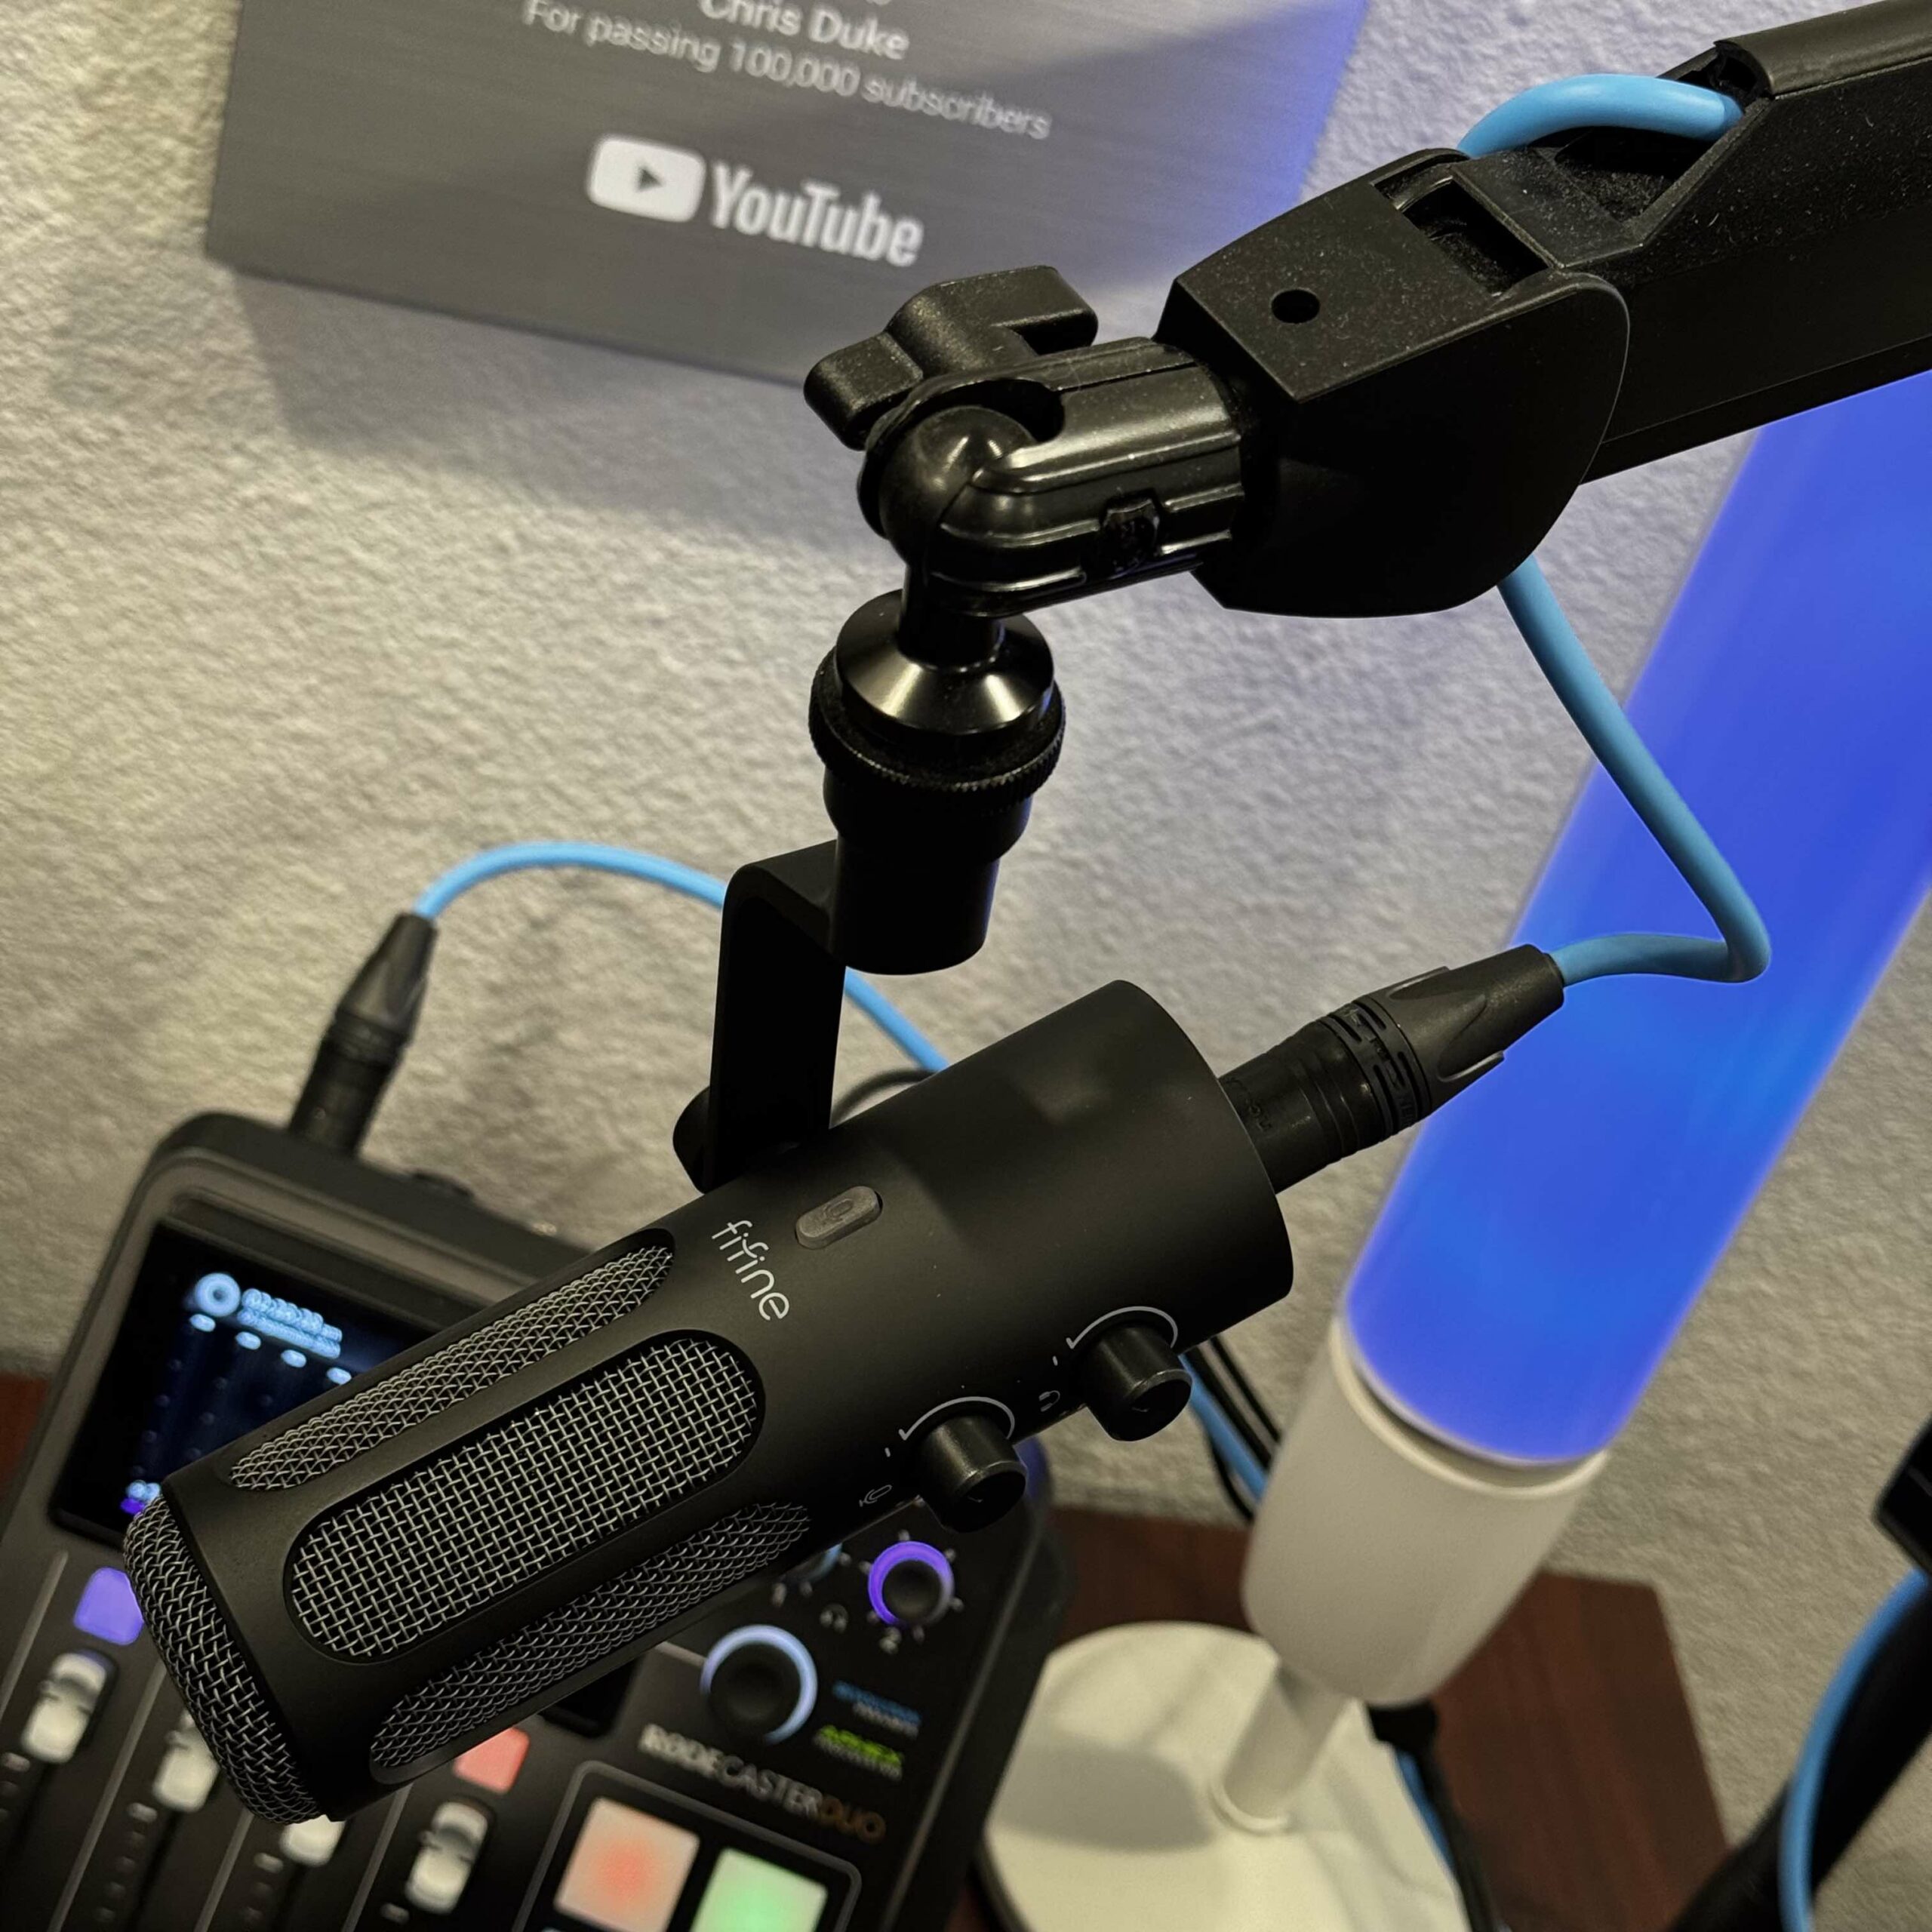
 It’s got a solid, all-metal body that feels like it could survive drops and smacks with a coffee cup. And it looks pretty slick too, with a minimalist design that doesn’t scream “gamer” like some of those RGB-laden mics out there. I installed it on my Elgato Wave Mic Arm (which I absolutely love) and it looks extremely professional. Very well designed.
But looks aside, it’s the sound that really matters, right? And the Tank3 delivers. It captures my voice with amazing clarity and detail, making it perfect for voiceovers, and the occasional podcast interview. No matter if I’m up close for that proximity ASMR effect, recording narration or normal voice overs, or pretending I’m an obnoxious DJ, it handles everything just (fi)fine.
Like most sensitive mics, it will pick up the slight pops inside your soda can sitting on your desk, the dog barking next door, or virtually anything your ears can hear. Thankfully you can monitor your recording via the built-in headphone jack, if you aren’t using your computer’s capability to do this (I use Adobe Audition for monitoring). My recording studio is acoustically treated, so be sure to find a space suitable for audio recording like your closet with lots of clothes if you’re just starting out. But that’s a topic for another article.
Let’s talk a bit about pop filters. In my experiences with this mic, I had no issues with plosives. Letters that commonly cause plosives are “B,” “T,” “D,” “K,” “G”, with “P” being the biggest offender. These sounds create bursts of air when spoken, which can be harsh on mics without proper technique or a pop filter.
The proper technique, at least for me, is to have the microphone positioned just slightly off centered to your mouth so the bursts of air are passing by, as opposed to directly into the mic. This is the way I’ve always recorded my voice overs and I’ve never needed a pop filter as a result. However, if you feel the need to speak directly into the mic then you will definitely need to get a pop filter. I’ve tried them in the past, and have always felt they got in the way of reading copy (the script) and using proper technique was the better option.
 Thankfully for the Tank3, it handles plosives quite nicely–unless you get up on that mic or haven’t found that proper technique when speaking into it. Just keep in mind that microphones are sensitive instruments. You don’t need to shout or talk loudly into them like you normally would when speaking with a normal person a few feet away from you.
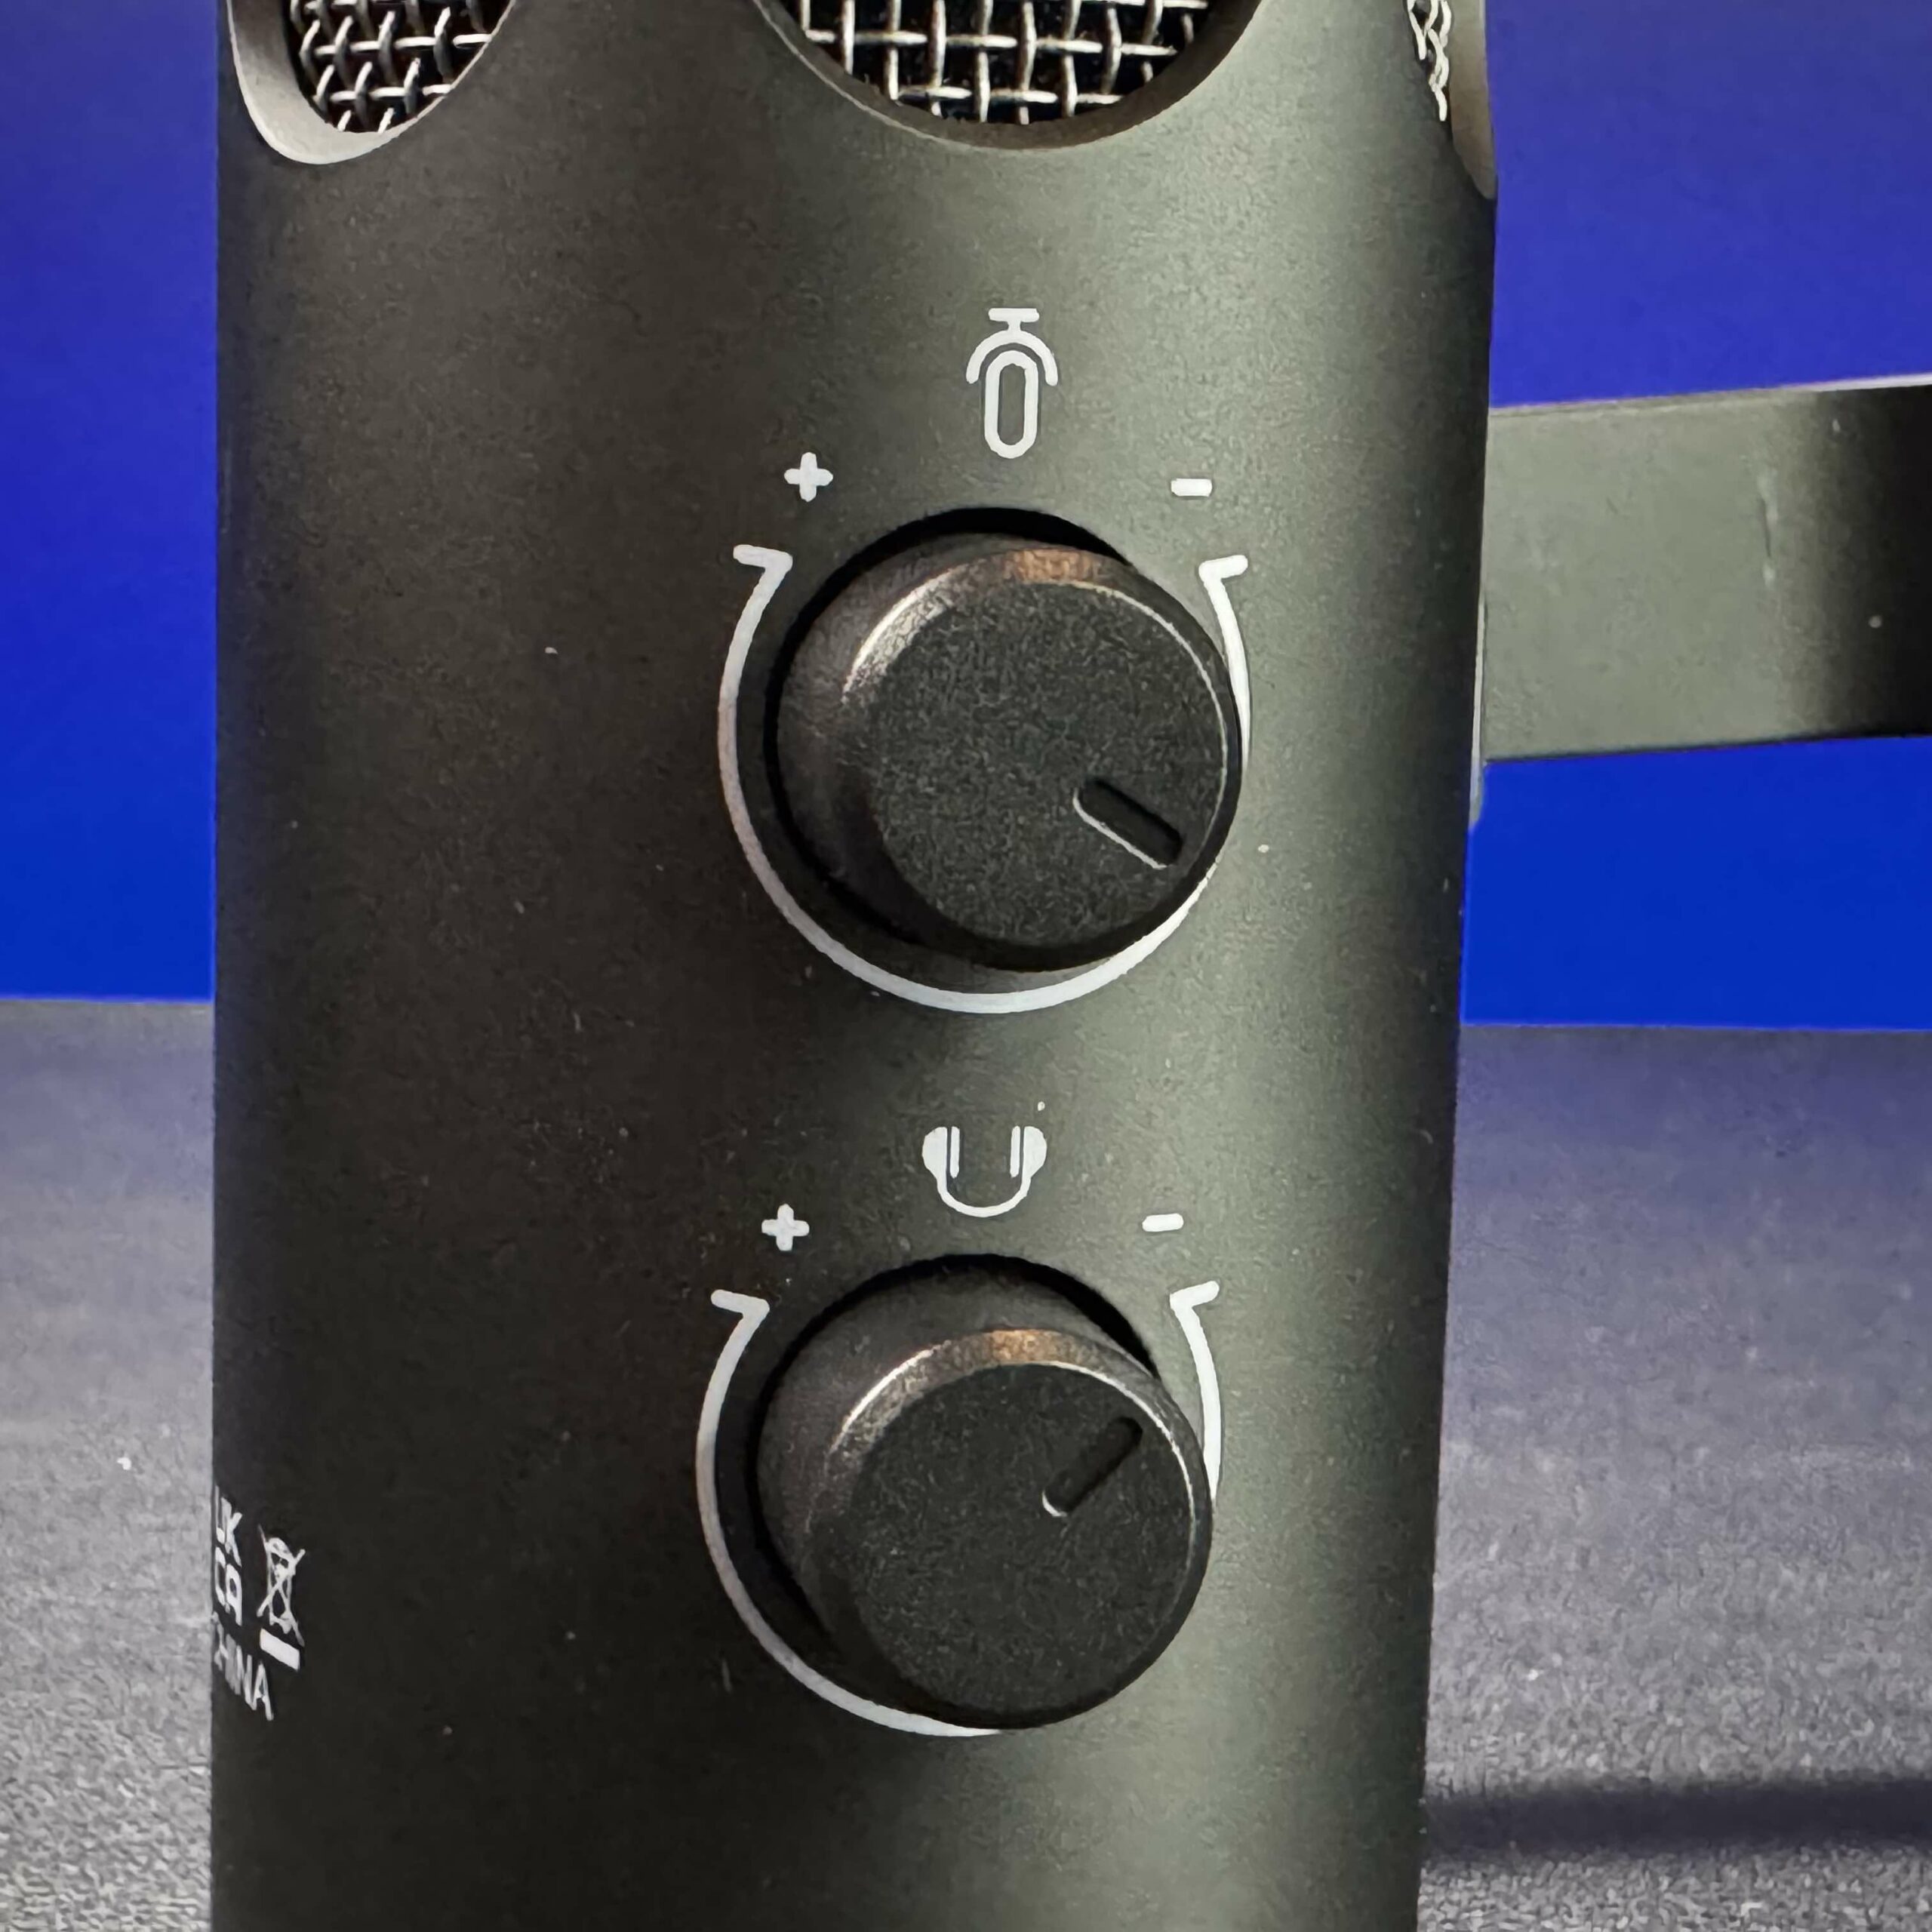
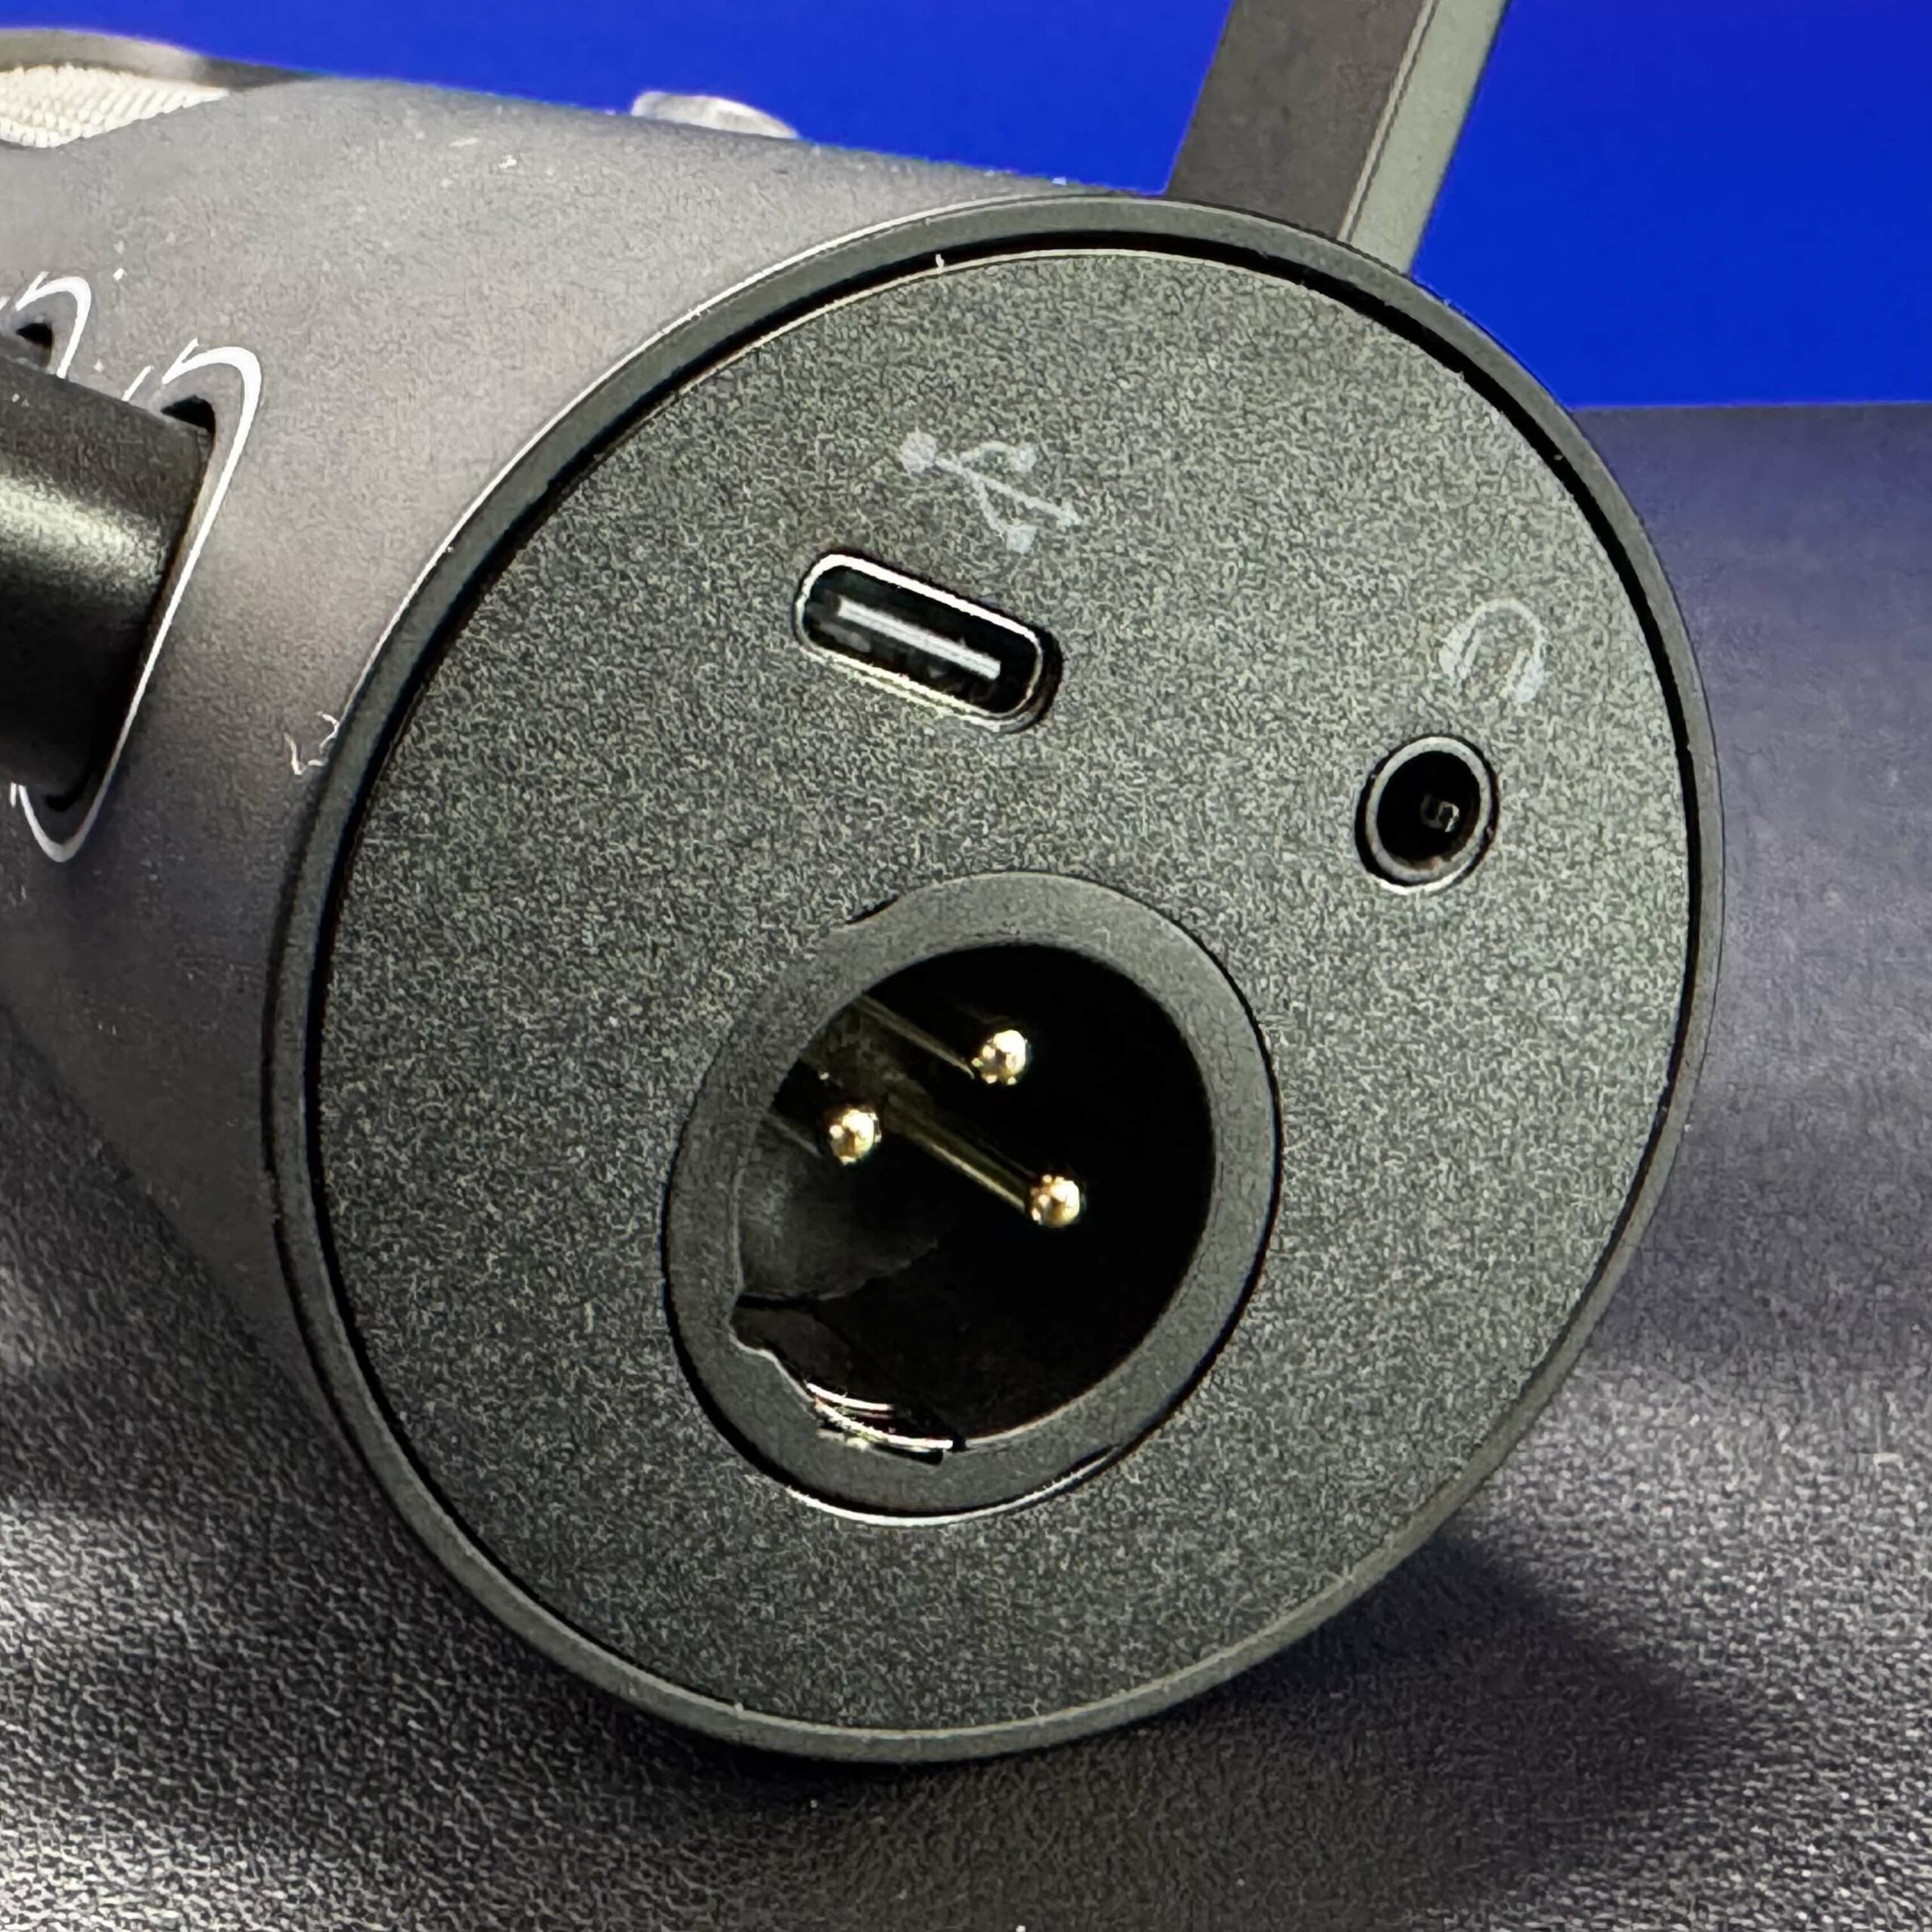
Overall, though, I feel like I can recommend this mic to anyone on a budget. It’s versatile, sounds great, and feels like it’ll last forever. Plus, having both USB and XLR connections is a huge bonus. You can plug it straight into your laptop for quick recordings or use it with my audio interface for more professional setups.
Speaking of which, I did find the quality of the USB interface to not be as clean as the XLR interface. In order for my recording software (Adobe Audition) to measure the level I like, I had to max out the gain knob on the microphone. This caused more noise to be recorded, but lowering that and tweaking the audio via your software of choice is always a possibility. Thankfully XLR audio interface devices such as the Focusrite Scarlett Solo (and many others even cheaper) are available.
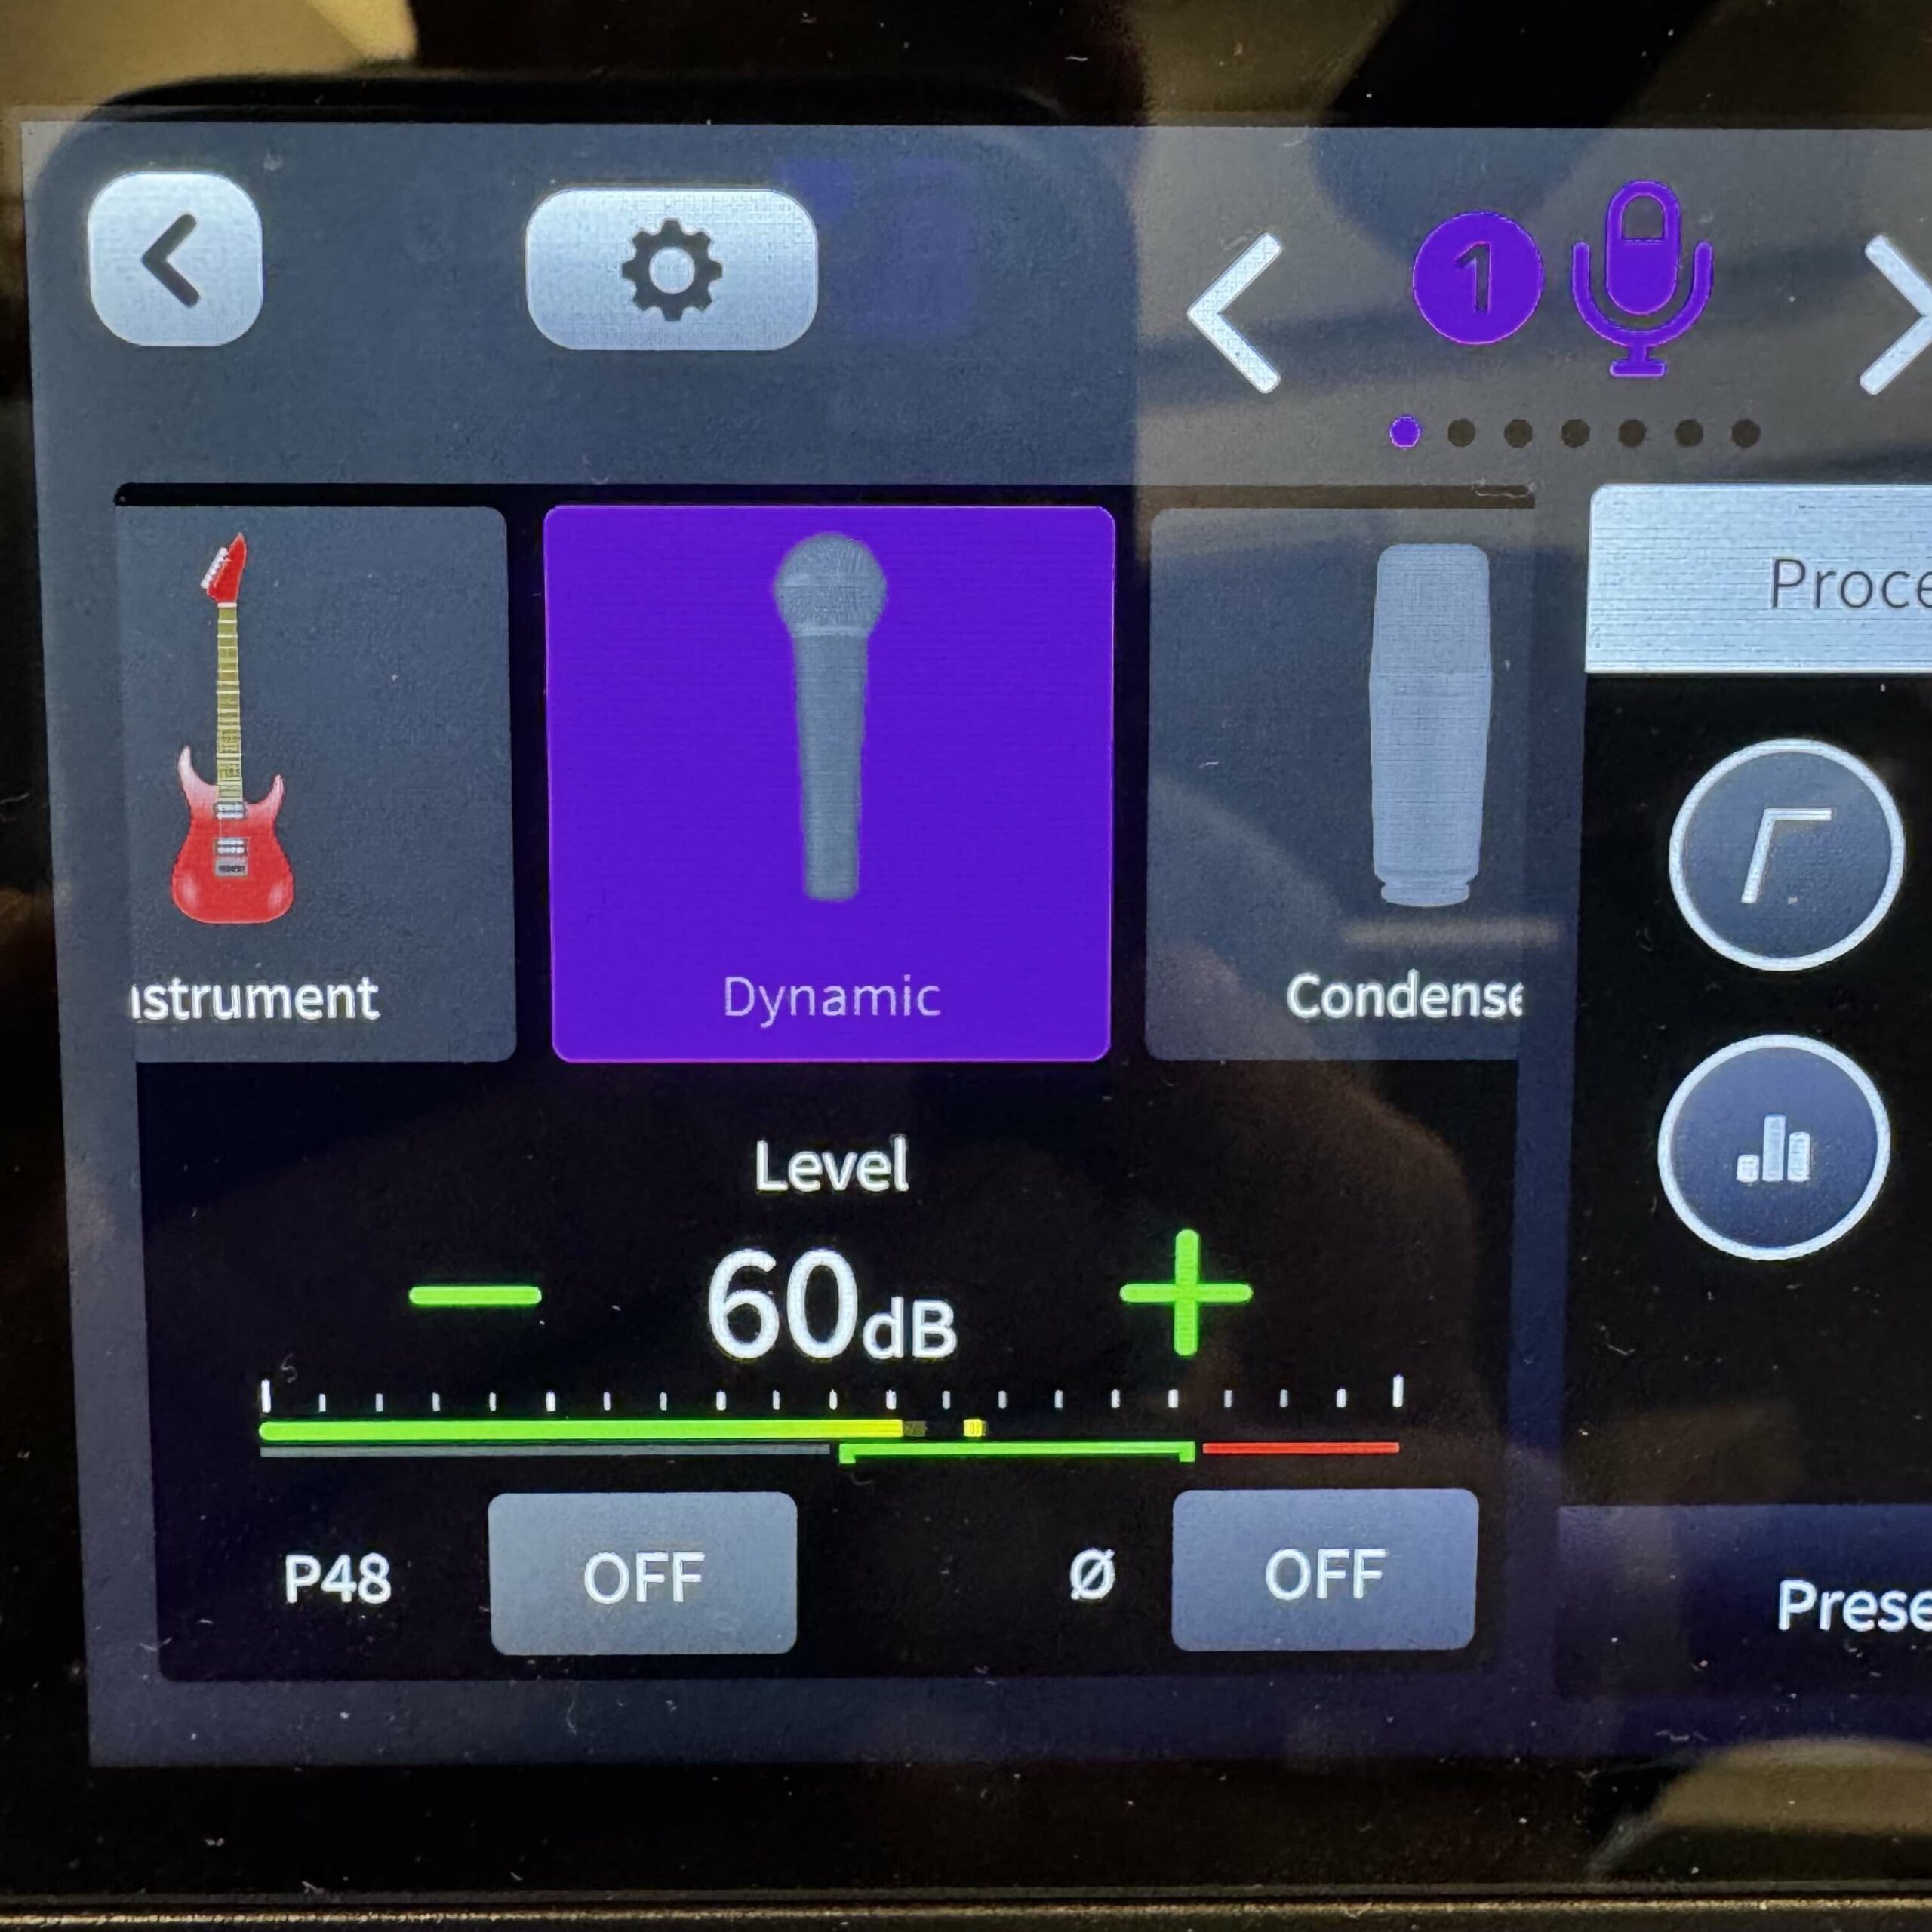 If you’re on a budget but don’t want to compromise on quality, do yourself a favor and check out the Tank3. It might just surprise you. Below are several recordings I made today. They are all unprocessed, meaning I recorded them directly into Adobe Audition and saved them to .wav files. For the USB-connected tests, I maxed out the gain knob on the mic. For the XLR-connected tests (using my RODECaster Duo), I used the default Dynamic mic selection with a gain of +60 dB.
Bottom Line: The FIFINE Tank3 is a fantastic microphone that punches well above its weight class. It’s not perfect, but for the price, it’s hard to beat. Whether you’re a podcaster, streamer, musician, or just someone who wants to sound their best on Zoom calls, the Tank3 is a solid choice.
BTW, if you’re interested in checking out my voice over demos, please head to chrisduke.tv/vo.
Unprocessed Audio Tests
Connected via XLR
Connected via USB
Plosives Test (XLR)
Proximity and ASMR Test (XLR)
Obnoxious DJ Test (XLR)
Additional Photos
Discover more from Chris Duke
Subscribe to get the latest posts sent to your email.
Leave a Reply